Gluten-Free Green Pumpkin Bread: A Delicious Way to Use Unripe Garden Pumpkins
Can you use pumpkin that has not ripened fully from the garden? Absolutely! If your pumpkins did not have time to ripen to orange before the end of the growing season, you can still enjoy them. Here is a homemade happy recipe for Gluten-Free Green Pumpkin Bread.
Ripe and unripe pumpkins are used differently in baking and cooking. A pumpkin that has not fully ripened in the garden will have a different flavor, consistency and sugar content than a ripe orange pumpkin. Unripe pumpkin in baking is used similarly to a zucchini. In fact, if you have no green pumpkin in your garden you can substitute zucchini in this recipe. This recipe was based off an heirloom recipe that was labeled simply “squash cake.” The recipe was updated for GF/CF (gluten free/casein free) baking and the sugars were changed to a healthier option. The coconut sugar gives it a deep, rich flavor that compliments the green pumpkin well.
Making Green Pumpkin Bread
You will need:
Two 9” x 5” loaf pans
a medium and large mixing bowl
A green pumpkin, 3 eggs, ghee (or butter), coconut sugar, honey, GF all-purpose flour, baking powder, baking soda, salt, cinnamon, and vanilla
Walnuts are optional in this recipe.
Xanthan gum if your recipe does not already contain it

Green Pumpkin Bread
Ingredients
- 3 eggs, beaten
- 1 cup ghee (or butter)
- 3/4 cup coconut sugar
- 1/2 cup honey
- 2 cups grated green pumpkin
- 2 1/2 cups gluten-free all-purpose flour
- 3/4 teaspoon xanthan gum if NOT in your flour blend
- 1/4 teaspoon baking powder
- 2 teaspoon baking soda
- 1 teaspoon salt
- 1 Tablespoon cinnamon
- 1 Tablespoon vanilla
- 1 cup walnuts (optional)
Instructions
- Preheat oven to 350℉ and generously grease two 9" x 5" loaf pans.
- Lightly beat eggs.
- Add ghee (or butter), coconut sugar, honey, and vanilla and cream together well.
- Add grated green pumpkin and mix well.
- In a small mixing bowl add together the GF all-purpose flour, baking powder, baking soda, salt, cinnamon, and vanilla. Add the xanthan gum if your flour blend does not already contain it. Stir to combine.
- Slowly add dry mixture to wet mixture. Stir well to combine.
- Add walnuts, if using, and stir again.
- Pour the batter evenly between two 9" x 5" loaf pans. Bake for 1 hour at 350℉. Lightly drape a piece of aluminum foil over the top of your loaves half way through baking so the top does not over brown.
- Cool on a wire rack for 20 minutes before removing from loaf pan to completely cool.
- Store in a covered container for 3-4 days.
First, prepare your green pumpkins. Peel your green pumpkin, cut it in half, and take the seeds out before grating. There is no need to precook the pumpkin like you would for a standard pumpkin bread. You are simply grating it while raw. You will need two cups. Be sure to remove excess water after grating because a green pumpkin can be fairly watery. The pumpkin below made two cups of finally grated pumpkin.

Lightly beat your eggs. Add the ghee, coconut, sugar, and honey and cream well.

Before adding your grated pumpkin be sure to remove excess water. Add to your creamed mixture and blend well. Mossygoat Farm only uses wooden spoons for baking unless otherwise noted. There is no reason to use a beater or electric mixer for this recipe.

Add your gluten-free flour blend, cinnamon, baking soda, baking powder, and salt. Add xanthan gum only if your flour blend does not already contain it. When it doubt leave it out. Too much xanthan gum can leave a product gummy feeling and the texture will be poor in your finished product.

When your dry ingredients are mixed, add them to your wet ingredients and stir to combine. Add your walnuts if you are using them and stir again.
Grease two 9” x 5” loaf pans well. There are two keys to not having your loaves stick in the pan after baking. The first key is to grease well and use ghee or butter. I use a paper towel that I dip into the ghee and use that to spread the ghee on my loaf pans. This amount of ghee does not alter the final product. The second trick to cool your loaf 15-20 minutes on a wire rack before removing the loaves from the pan. You do not need to line your pans with parchment paper if you use these two tricks.

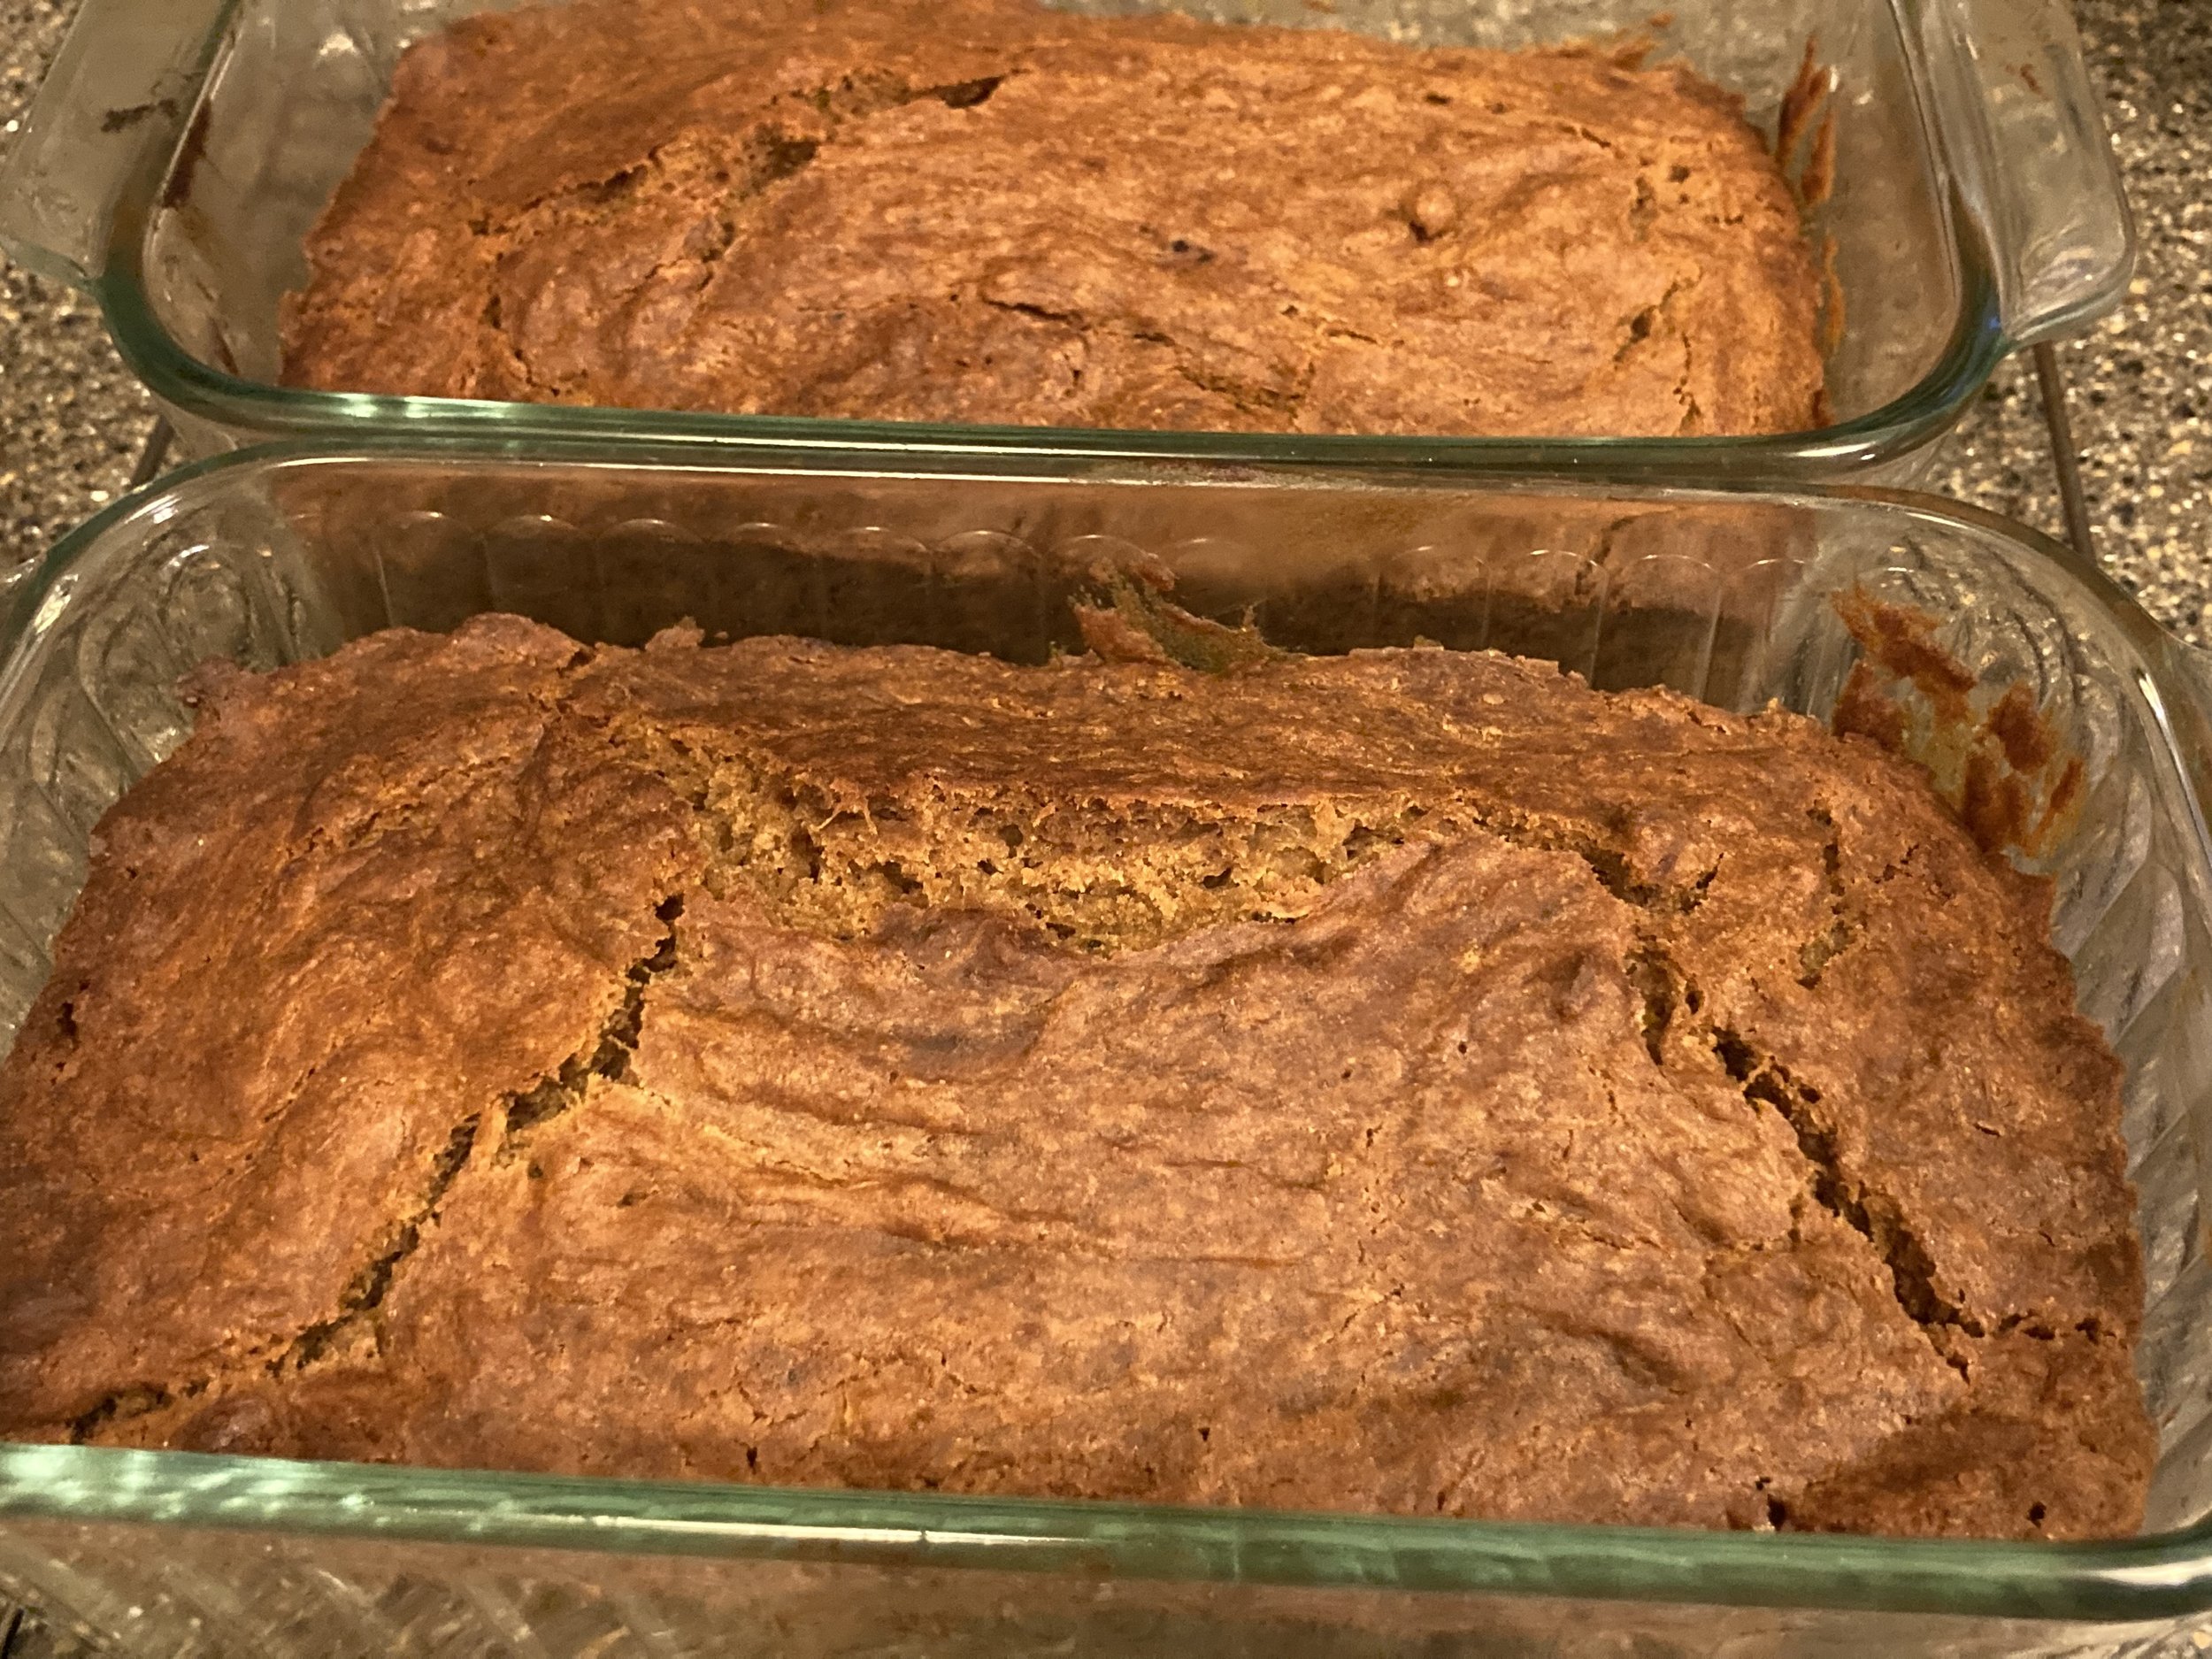
This recipe is for two loaves. When your batter is prepared you will need to pour the batter evenly into the two greased loaf pans.

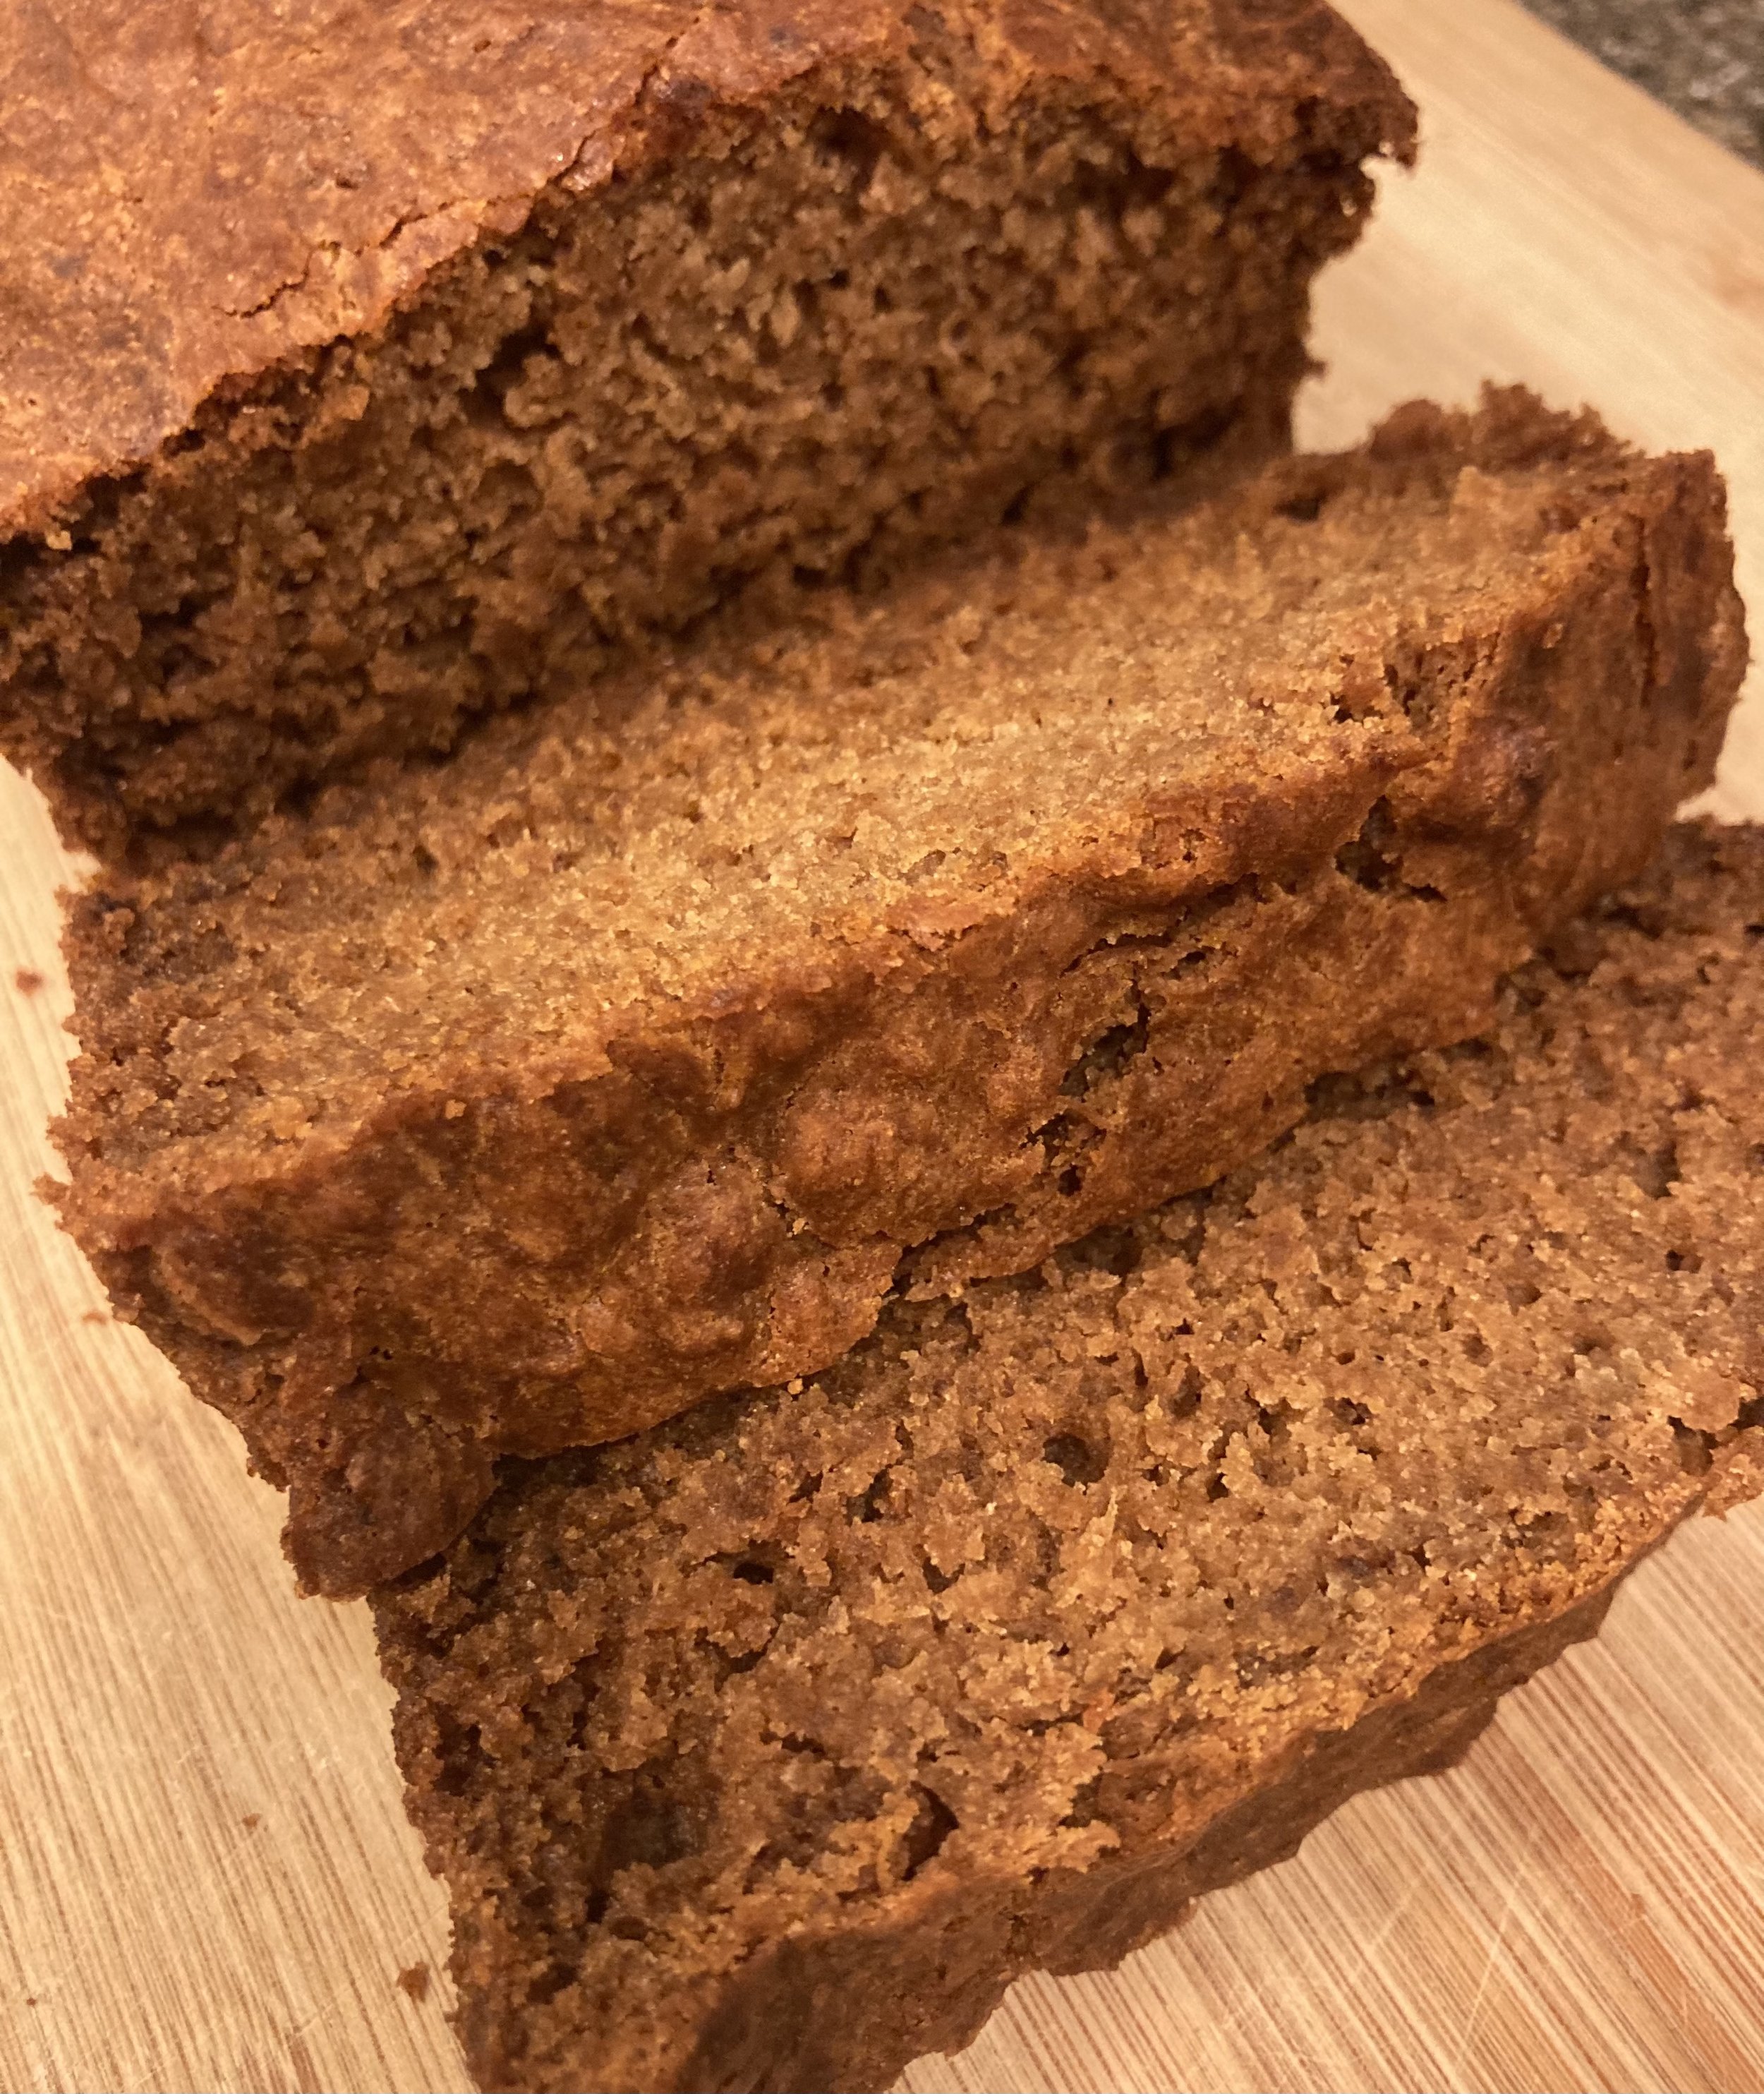
Bake the loaves in a 350℉ for 1 hour. It is done when a toothpick inserted in the center comes out clean or the internal temperature is 205℉. Cool on a wire rack for 15-20 minutes before removing the bread. Finish cooling completely on a wire rack before slicing to eat.
Enjoy! Be sure to email us and let us know how you like it.
If you need other awesome recipes for gluten-free quick breads check out our Lemon Elderberry Pound Cake with Lemon Glaze, Roasted Dock Seed Brownie Bites, or The Best GF Banana Bread.
Tips and Tricks
Honey can be tricky to measure because it sticks to the measuring cup. You can coat your measuring cup with gluten-free flour before you add the honey. You an also purchase the Pampered Chef Measure All cup. It measures both dry and wet ingredients. When you use it for sticky ingredients such as honey or mayonnaise you simply push the ingredient out rather than pouring.
Pampered Chef is a MLM (multi-level marketing) company. There is hope for those of us who live rural and do not participate in Pampered Chef parties. I buy products from Pampered Chef and Tupperware while at my county and state fairs. There is almost always a seller ready to help me.
