What is Ghee and How to Make It. Why you Should (or Shouldn’t) Make It.
Several readers have emailed me asking me about about ghee and asking why all my recipes feature ghee. Here at Mossygoat Farm, we use ghee instead of butter or margarine in all our recipes. For digestive reasons I follow a gluten-free/casein-free diet. It often is referred to as a GFCF diet. I actually only have butter on hand to make ghee. Today I will talk about what ghee is, why you should make it, and also cover the circumstances when you shouldn’t make it.

Ghee is a type of clarified butter. In fact, many people use the words “ghee” and “clarified butter” interchangeably although they are slightly different. Our pioneer ancestors made clarified butter. They probably didn’t do so for great health benefits but simply because it doesn’t need to be refrigerated and you can fry with it. Ghee originates from India, where historically the heat did not allow for the long storage of butter. Ghee and clarified butter are shelf stable at room temperatures for a year or more. Yes, you read that correctly, it is shelf stable for a year! Because you can store it at room temperature, it is naturally softer than refrigerated butter and you don’t have to soften it to bake. The difference between clarified butter and ghee is simply cooking time. In India, they cooked their butter into ghee for a longer time resulting in no lactose or casein and a rich nutty flavor.
Butter is composed of water, milk proteins, and milk fat. To clarify butter you are boiling out the water and separating the milk fats. Ghee takes that cooking process just a bit longer and lightly caramelizes the milk fats giving the butter a slight nutty flavor. Casein and lactose are two milk proteins which many people have problems digesting. When you boil the butter to make ghee, the milk proteins separate from the butter and sink. This leaves a product that has no casein or lactose. Ghee is 100% milk fat.
Because ghee contains only milk fat, it has a high smoke point of 485℉. These makes it ideal for high temperature uses such such frying and baking. Comparatively, butter has a smoke point of 350℉.
The Benefits of Ghee at a Glance
No casein or lactose
Shelf stable at room temperature
Often (but not always) safe for people who can not digest milk
Does not burn as easily when used for frying
It is believed ghee helps fight gut inflammation
Paleo-friendly
Who Shouldn’t Make Ghee?
There are two instances of people who shouldn’t make ghee. The first is vegans. Because ghee is made from milk, it is not vegan despite having no milk proteins present. So who else shouldn’t make ghee? Budget conscious people might want to think twice about making ghee.
I remember sitting with another stay at home mama drinking coffee and telling her about all the wonders of ghee. She just looked at me in disbelief and said “But Kimberly, I can’t afford to waste the product." I have not forgotten her comment all these years later. Many homesteaders are living on a single income or limited income. Inflation has hit the United States hard and the cost of feeding our families keeps on increasing by the day. I get it! I really do. Using butter stretches your food budget more than making ghee. This is important to point out. If butter is working for you and your budget, then there is no reason to change. Ghee and butter are generally interchangeable in baking recipes.
However, if you are struggling with digestion issues or learning how to cook casein free for health reasons then you should give making ghee a try. Store-bought ghee is a pretty expensive product but luckily, it is pretty easy to make at home for a fraction of the cost.
How to Make Ghee
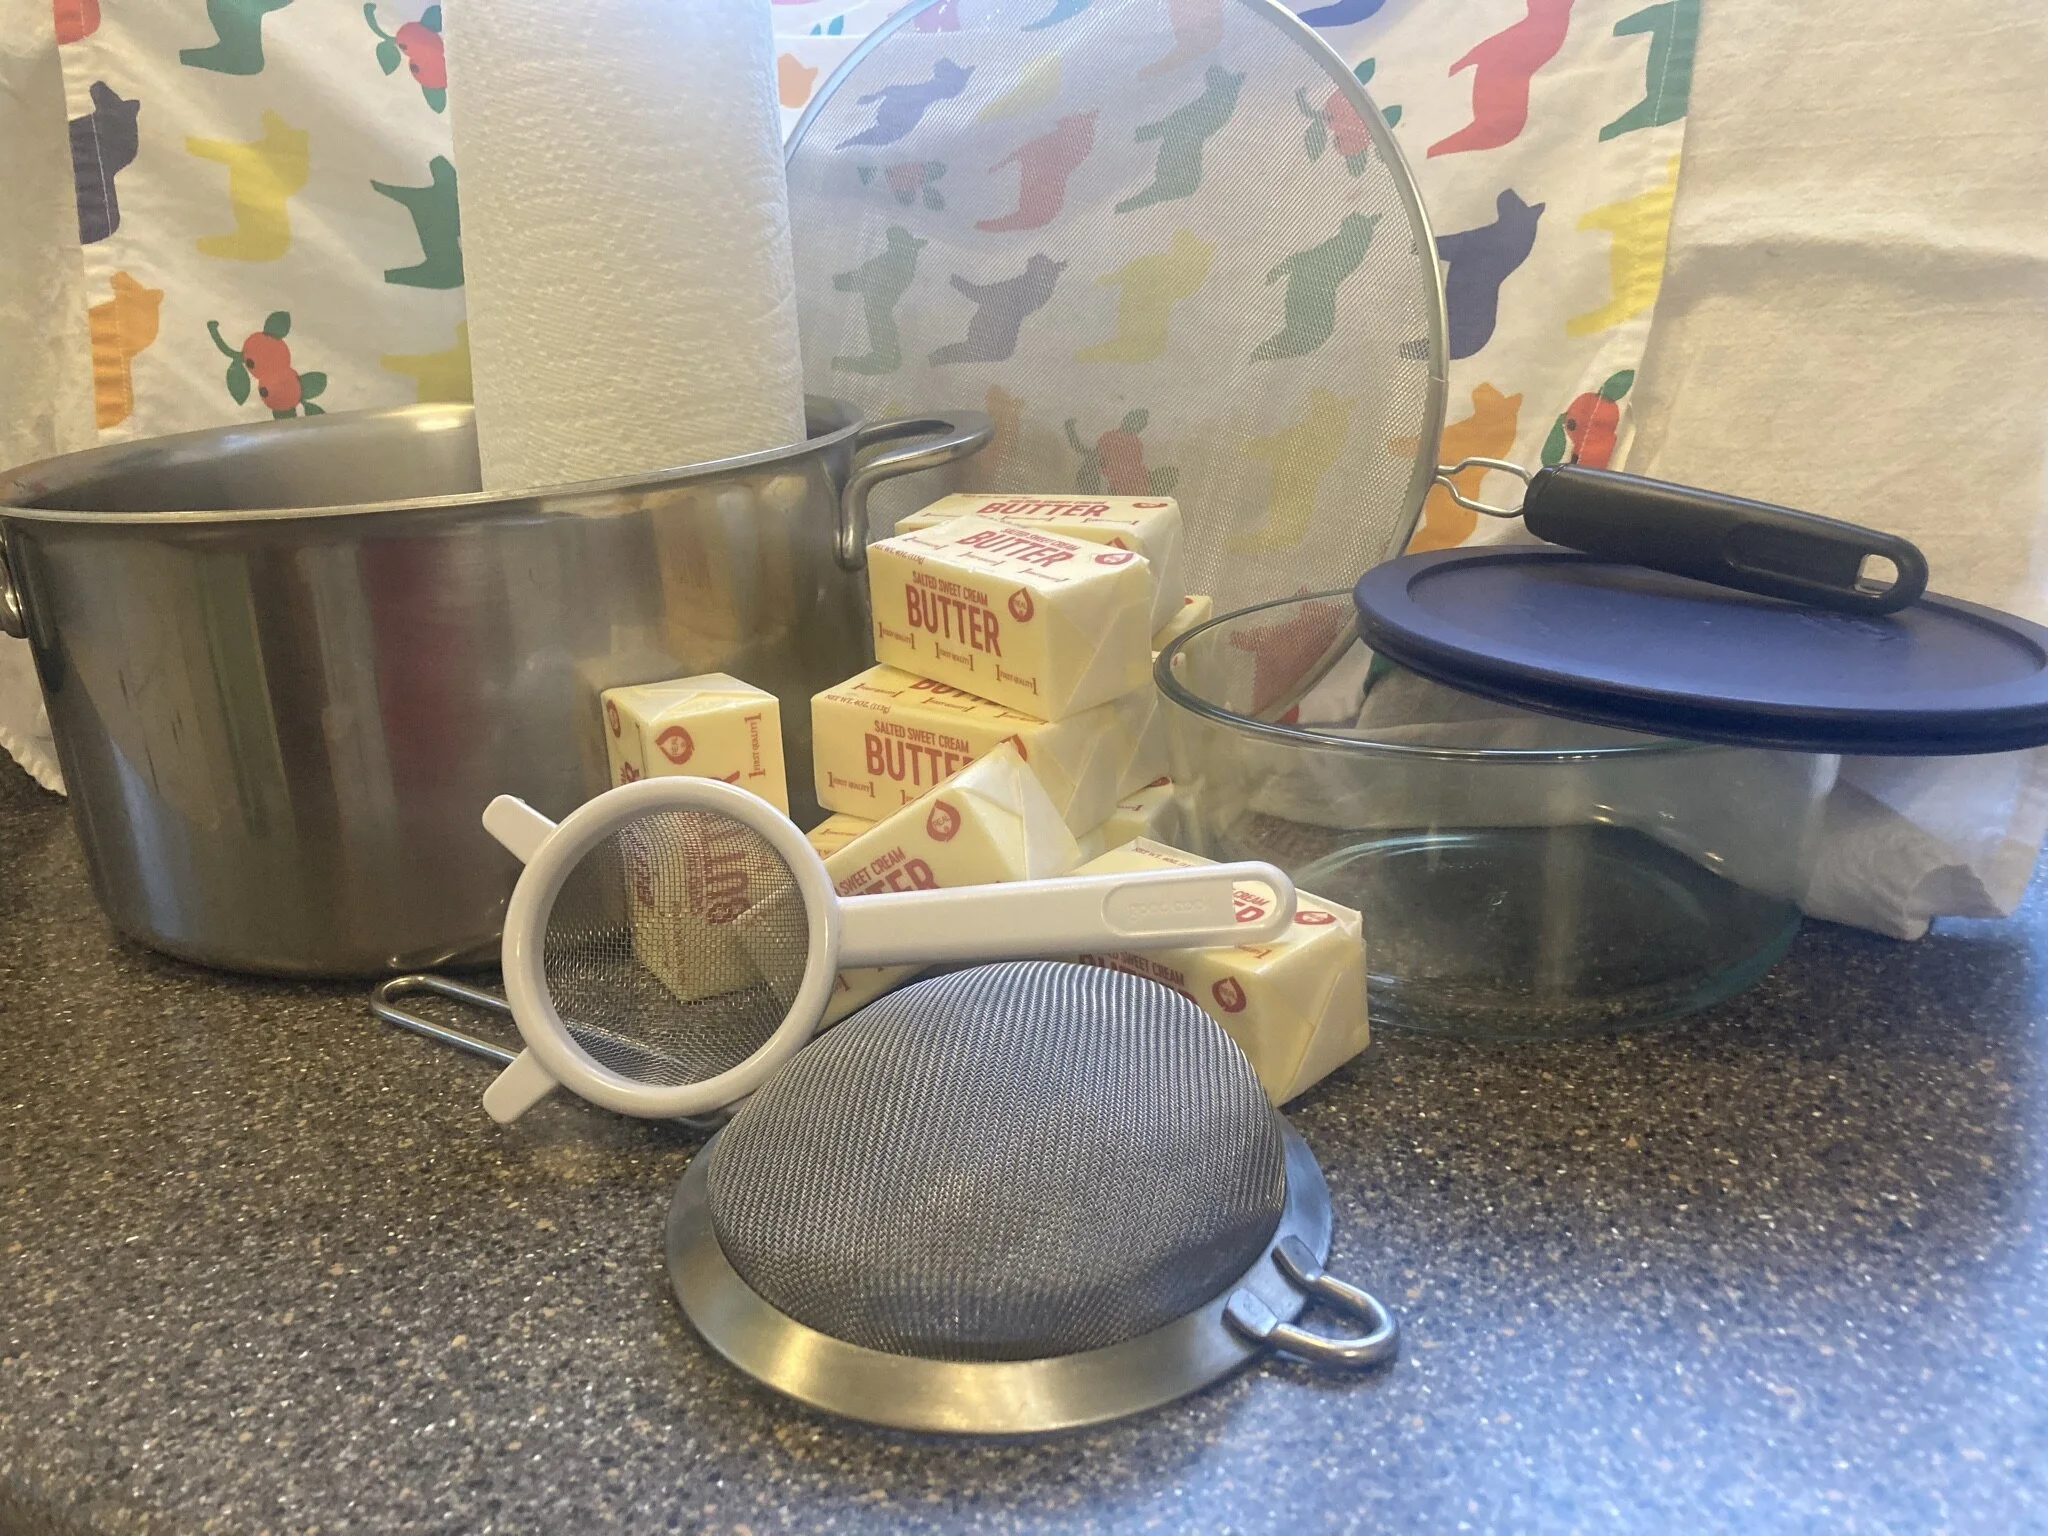
To make ghee you will need:
Butter (see notes on salted versus unsalted below)
A large soup pot
A glass container large enough to store your ghee
2 strainers or cheesecloth to strain out the milk proteins
A splatter guard for your pot (optional but really nice)
Paper towels (help keeps everything clean)
Salted Versus Unsalted Butter in Making Ghee
The vast majority of people say to only use unsalted butter when making ghee. However, we have found the exact opposite to be true. We have been making ghee for over 10 years. It is our experience that salted butter helps the casein and lactose sink to the bottom and settle.
The resulting ghee is not salty because the salt settles with the milk protein in the bottom of the pan. You do not need to make any change to the salt in recipes when using ghee made from salted butter. Salted butter does foam a bit more than unsalted butter. Using a large pot and splatter guard will alleviate any problems with foaming.
I also want to note that the final texture of ghee is dependent on what the cows ate. The lush grass ghee of spring and summer is going to be different than the ghee from hay and alfalfa fed cows in the winter. Summer ghee is often soften and runnier than winter ghee when cooled.
How to Make Ghee
Place your butter in a large pot. Three pounds of butter perfectly fill a 7 cup glass Tupperware bowl with ghee.

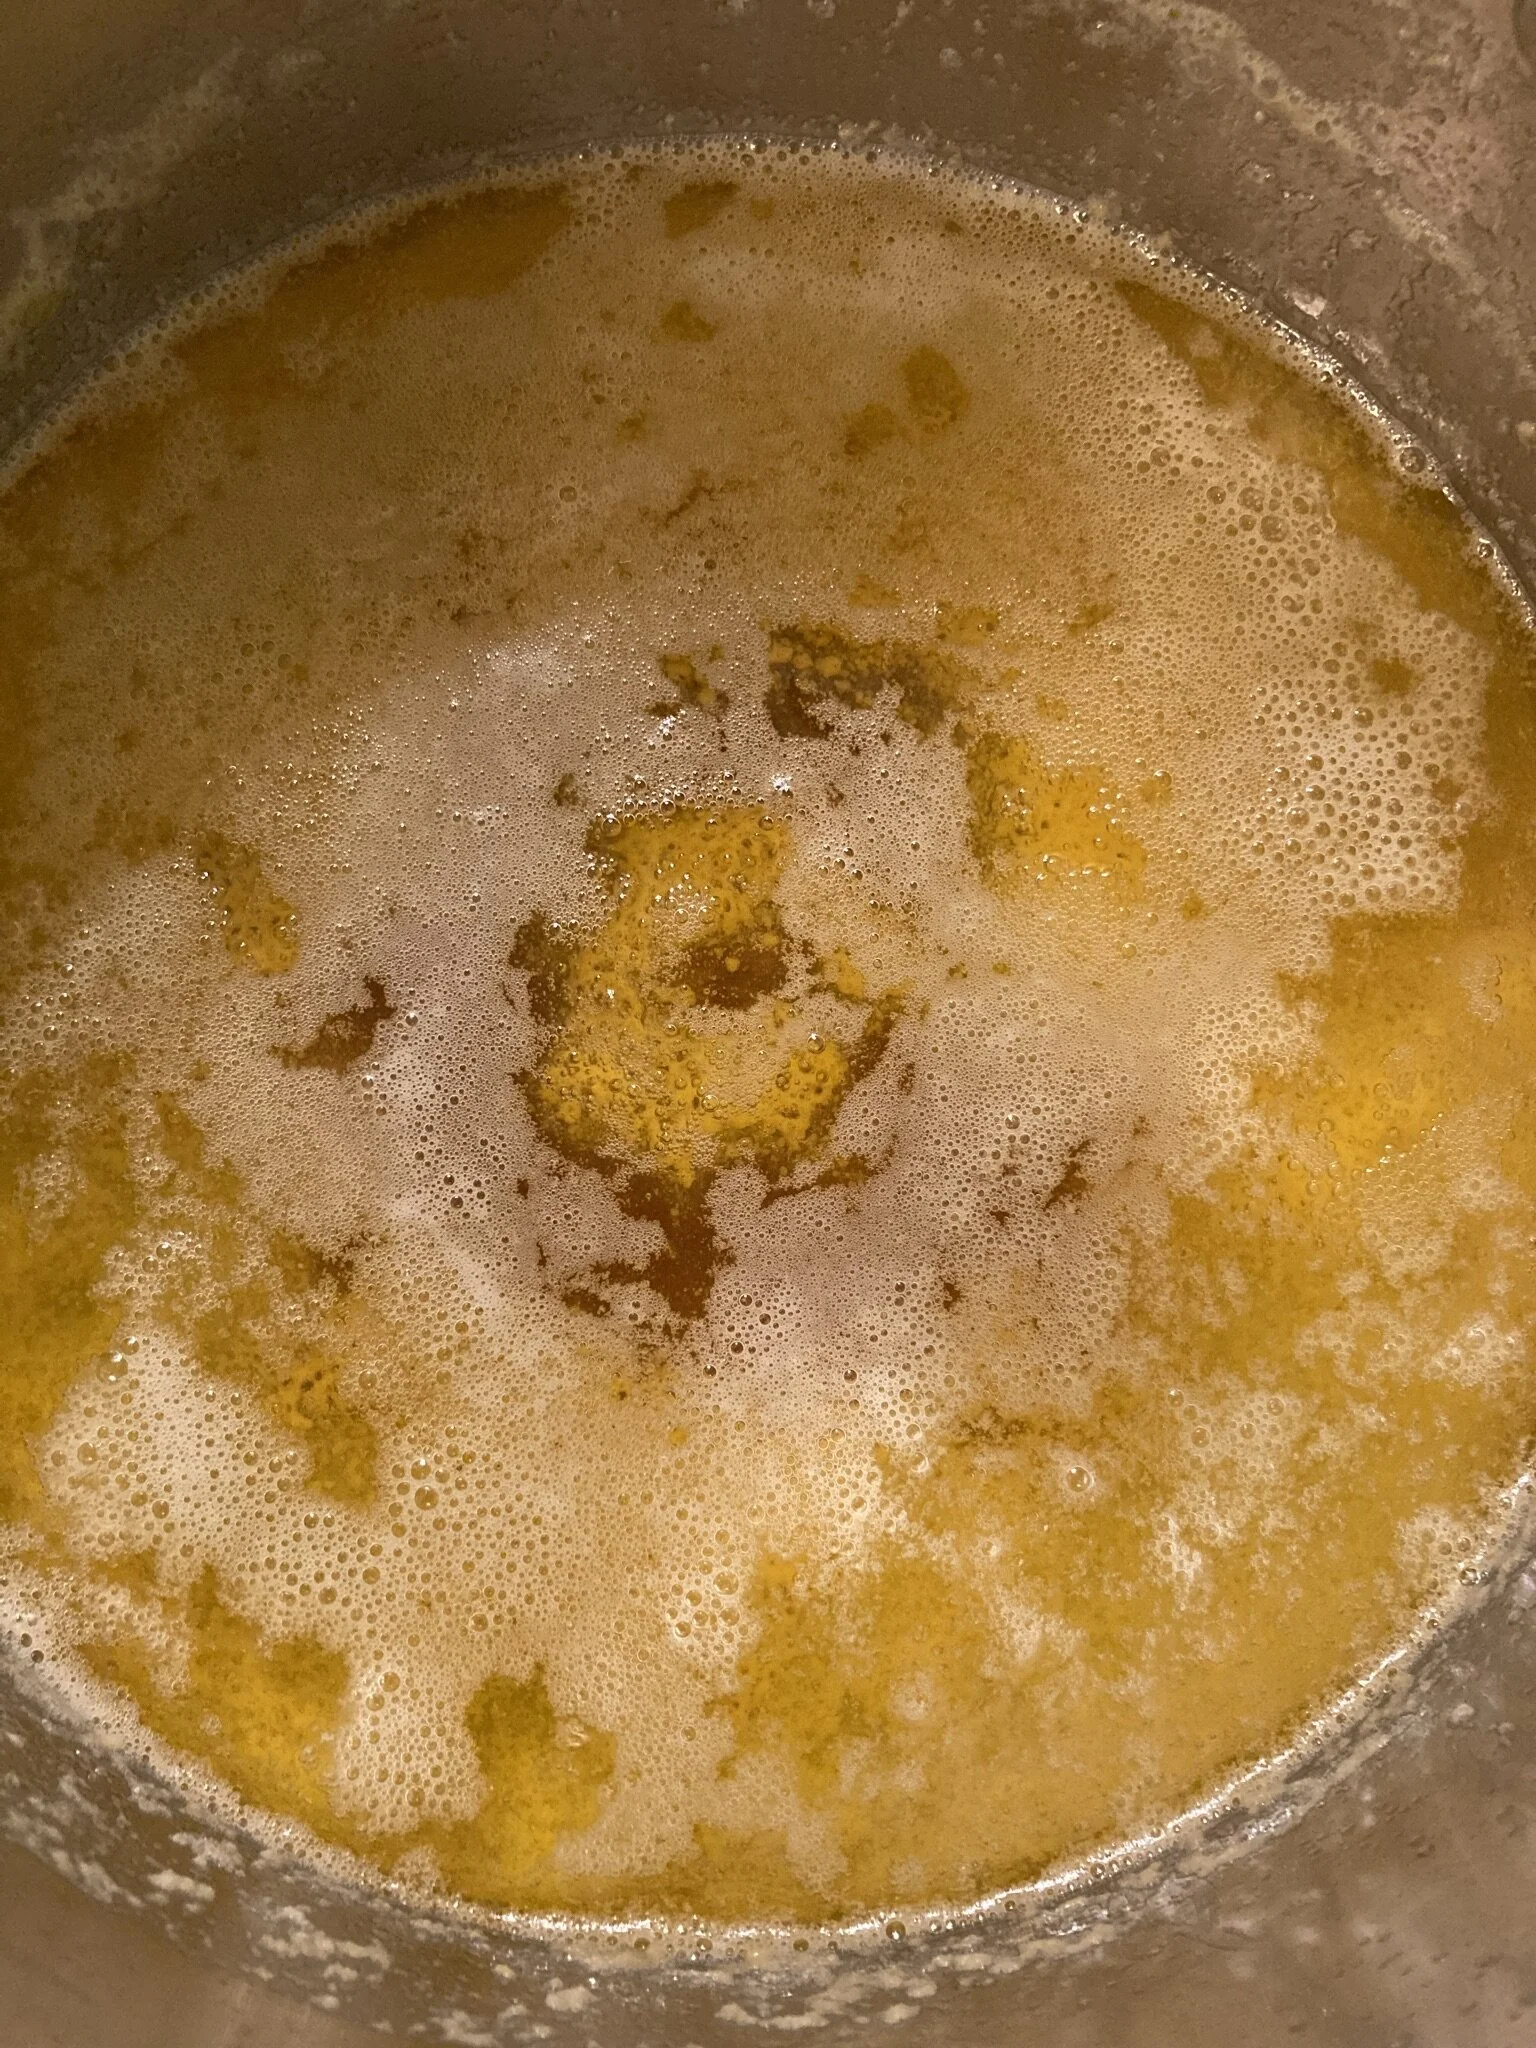
Turn your burner on medium. Cooking the ghee over a lower heat for a long time helps prevent burning.

Cover your pot with a splatter guard. You want to evaporate the water out of the butter so covering your pot with a lid will not work. A splatter guard will help. If you do not have a splatter guard all you need to do is be careful of splatters.

Cook the ghee for 25-30 minutes or until it is slightly dark in color and the milk solids begin to caramelize on the bottom. The bubbling will have diminished because all the water is boiled out. Do not count on the bubbling having stopped completely but it should be diminished. When the bubbling is diminished you should check the casein at the bottom. When the casein turns dark brown it is done. You do not want to burn your ghee although over cooked ghee is still usable. Overcooked ghee will just have a stronger flavor.
Now to strain the milk solids out of your pot. You should double strain your ghee. Below you can see how we use two strainers at once to accomplish this. The smaller strainer sits on top of the larger one over the container. You can also use multiple layers of cheese cloth. The finer the straining material, the less milk protein will enter your product. Please note that your pan will be hot and you need to protect your hands. Also, have the glass container on a heat resistant surface or a hot pad.

This is the bottom of the pan with the milk fat removed. The casein, lactose, and salt are visible. It comes off your pan easily after a short soak in warm water.

The ghee will be bright yellow and liquid when you pour it into the glass container. It will cool solid into a beautiful soft yellow butter color. Use ghee as you would butter in your baking recipes.

I love to hear from my readers! Please email kimberly@mossygoat.com and let me know how it works for you or if you have any more questions about ghee. Thank you for reading and I wish you happy baking.