How to Make Cherry Juice in a Steam Juicer
Cherries! Cherries! Cherries! This year was a huge bumper crop of cherries at Mossygoat Farm. Making juice in a steam juicer is an easy way to handle bumper crops and you can use the juice in a variety of ways. I will share with you how to make cherry juice in a steam juicer.

Cherry juice is what saved my over reduced cherry butter. Cherry juice can be used for drinking and you can combine it with other juices or beverages. You can use the juice to make cherry popsicles. You can also make cherry jelly and cherry syrup with juice. There is nothing happier than homemade fruit pancake syrup. Keep an eye out for the recipe. I will be sharing it soon.
A steam juicer is an expensive investment. I have the Norpro Stainless Steel Steamer/Juicer. Homesteading is often a practice in budget living and I understand how this can be a major investment. It is not something I recommend investing in if you are only going to make juice occasionally or in small quantities. However, if you have an orchard this can be a must have.
You theoretically can save money by purchasing an aluminum model. However, I do not recommend this. Stainless steel is non-reactive. Aluminum reacts to acid and fruit is very acidic. The acid in the fruit will react to the aluminum and cause leeching of aluminum into your food. Aluminum plays no biological role in living organisms and acts as a toxic heavy metal.
The Pros of Purchasing a Steam Juicer
You can process a lot of fruit into juice relatively quickly.
You can produce clear juice for jelly without a strainer or cheese cloth.
You do not have to pit, core, or peel your fruit to process it.
The Cons of Purchasing a Steam Juicer
It is an expensive item.
It is large and takes up a lot of storage space, especially considering that it is an item you might only use it a few times year.
The fruit is cooked and the juice will not offer you the same health benefits of raw fruit juice.
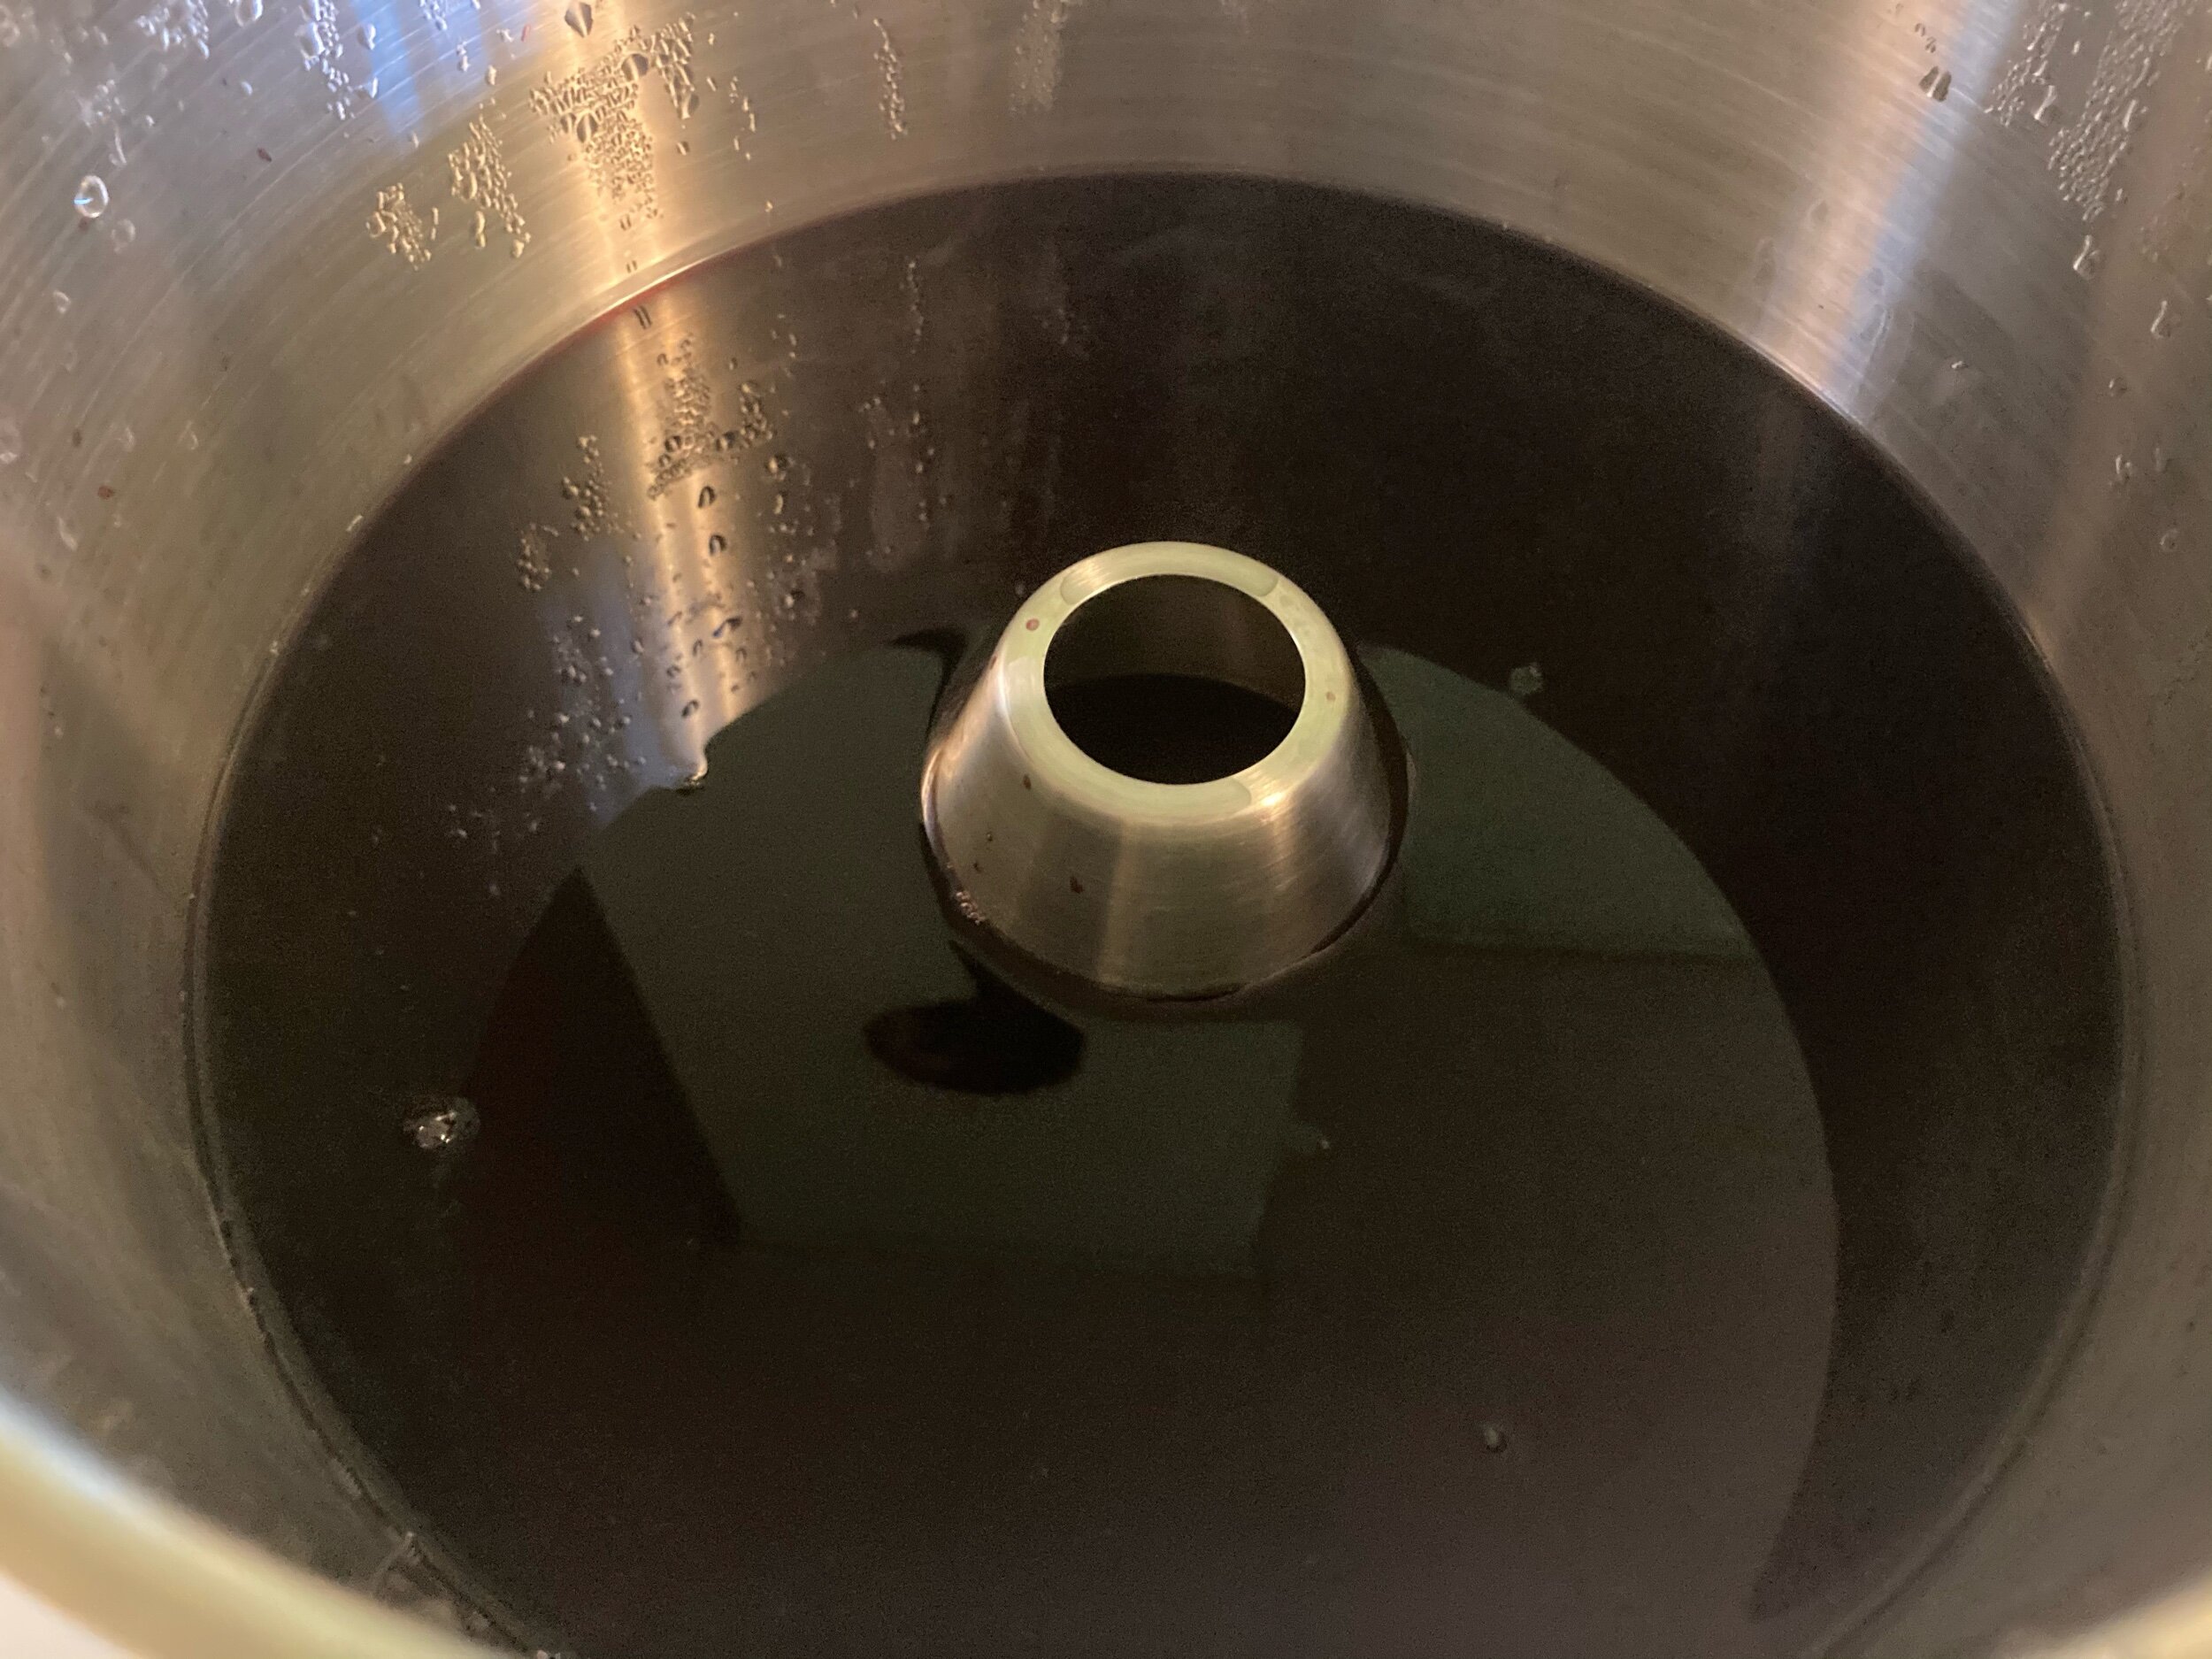
The juicer itself is very large and composed of three seperate compartments plus a lid. The middle compartment, where the juice collects, features a hose which allows you to drain the juice easily.

The bottom part is for water. This water will boil and produce the steam that cooks your fruit. The cooked fruit in the top section releases juice that drips down and collects in the middle section.
How to Make Cherry Juice in a Steam Juicer
The first step in steam juicing is to fill the lower compartment with water. This particular juicer has a faint fill line so that you do not overfill it.
You do not want your lower compartment to boil dry when you are using it. I check mine several times throughout the juicing process. You can also place a few clean marbles in with your water to give you an auditory clue that your water level is getting low.

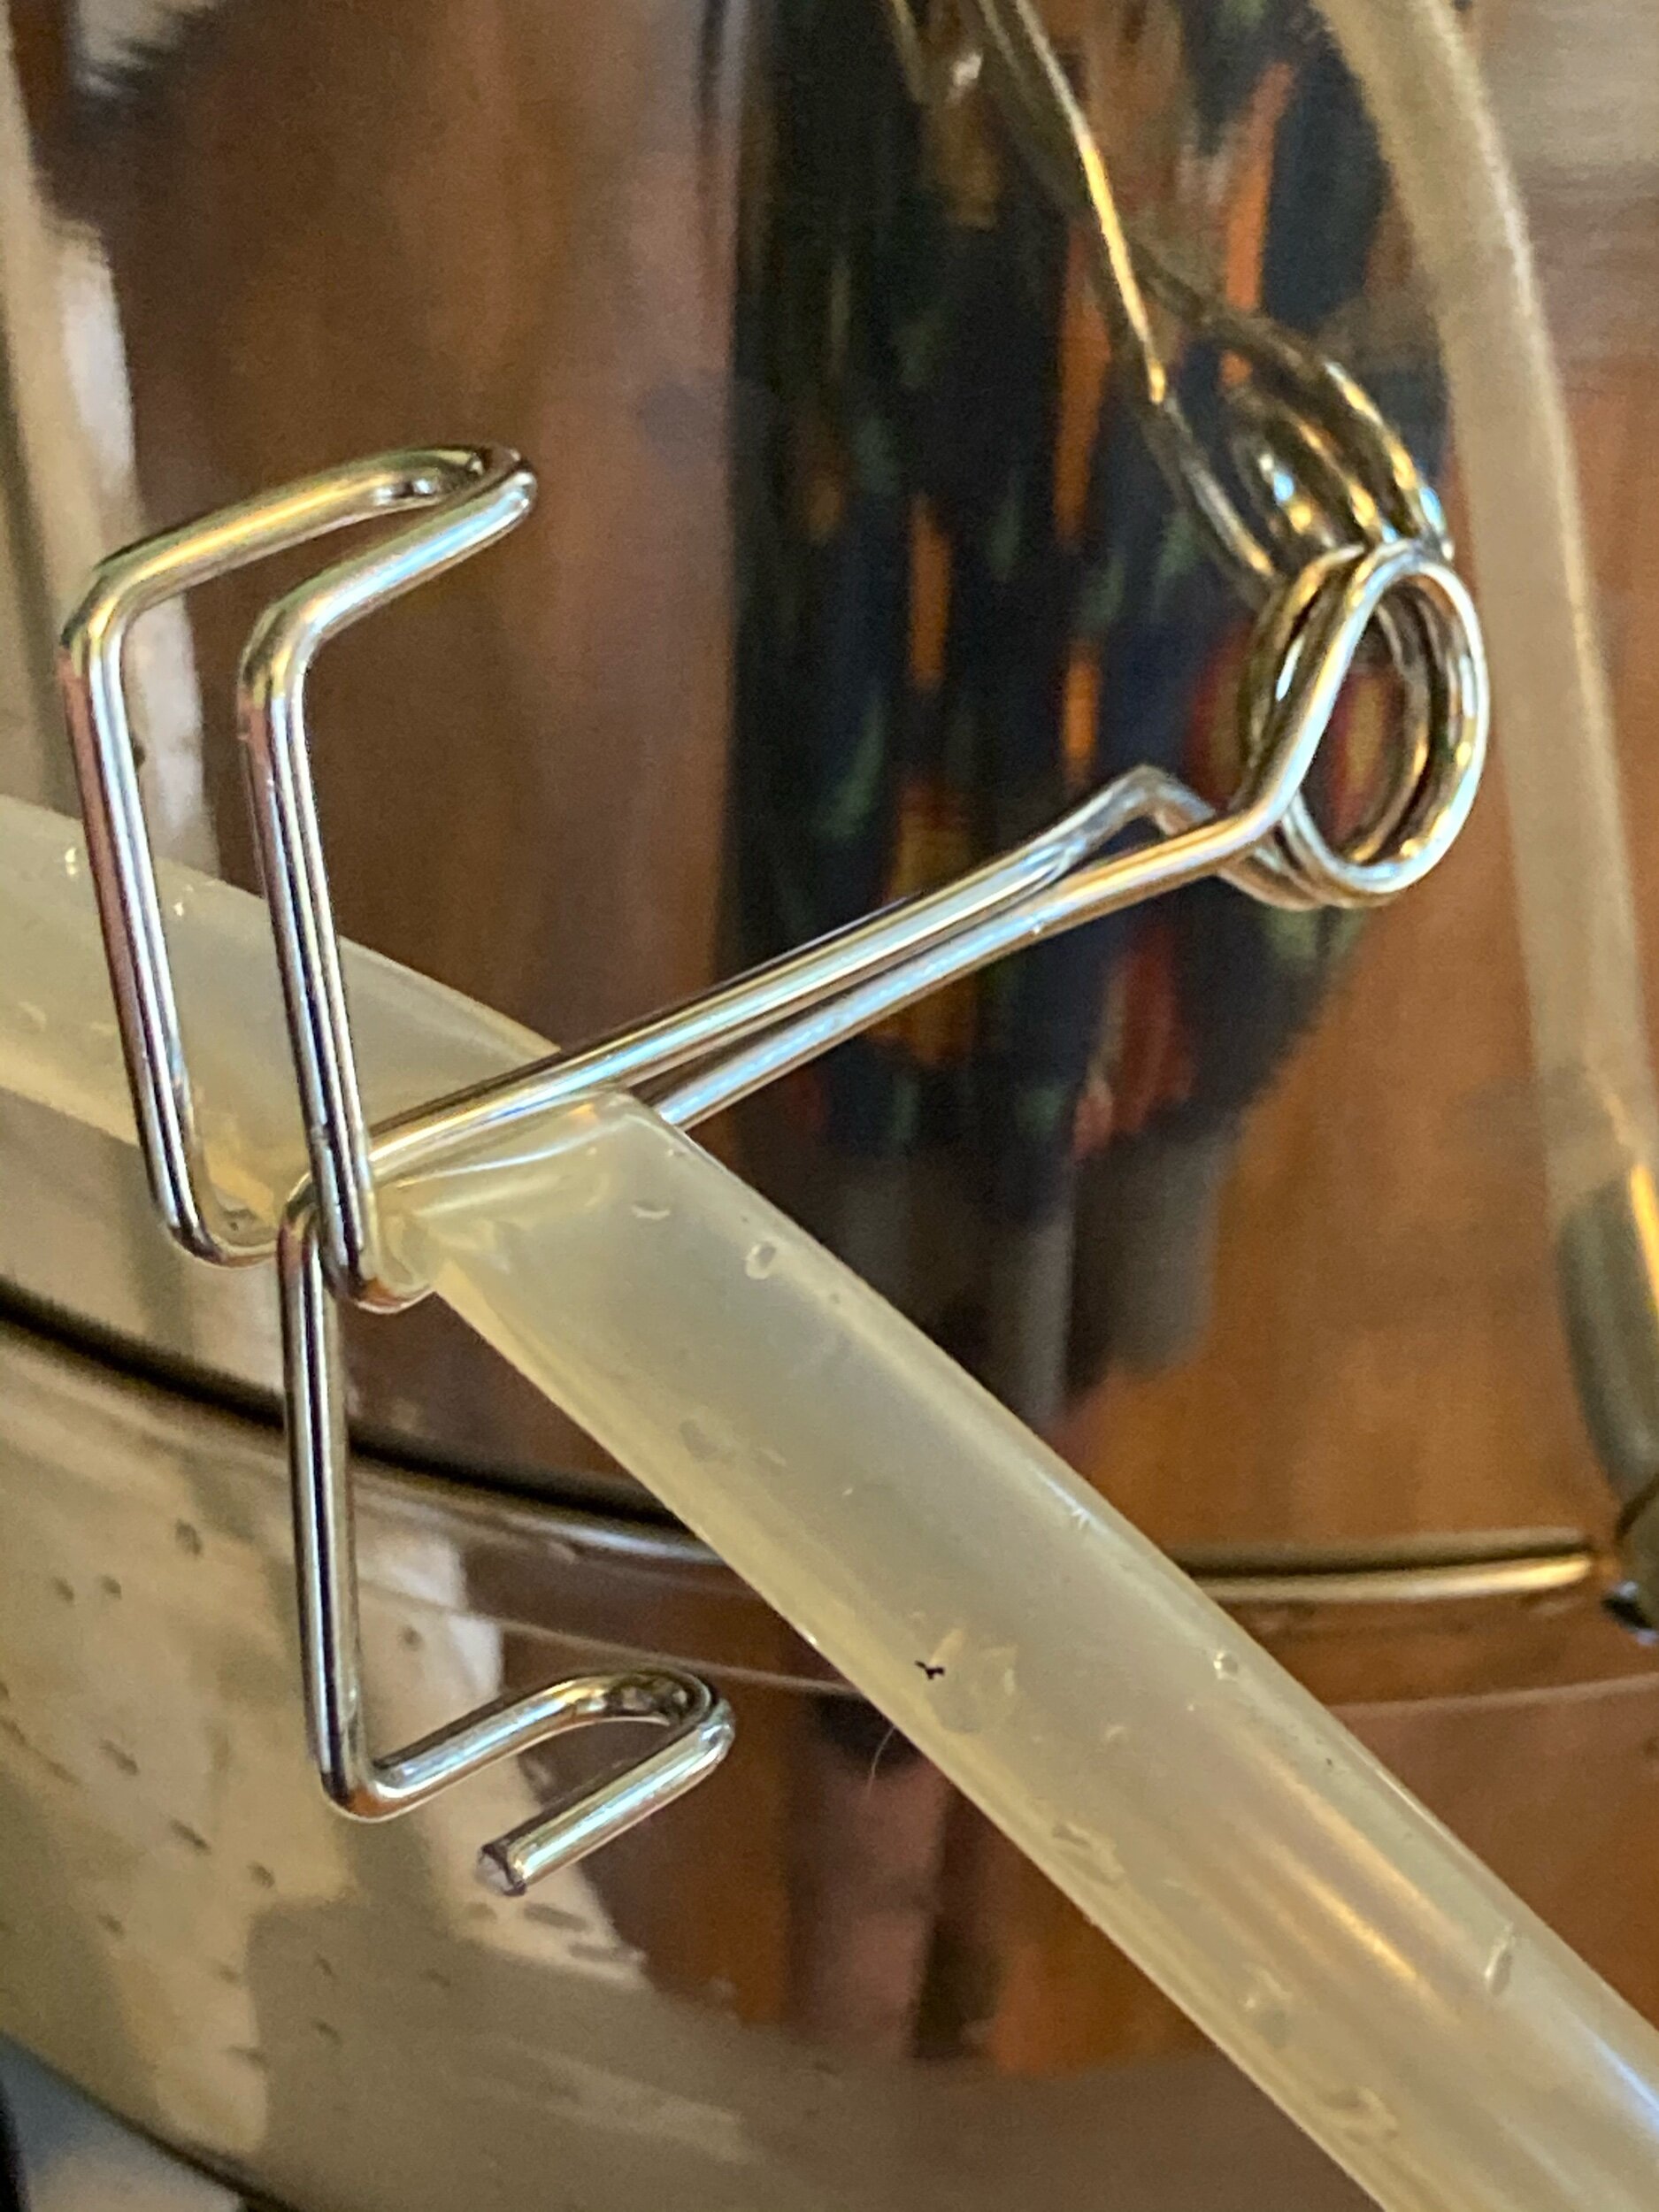
Make sure your hose has a clamp. The liquid from juicing will freely flow through the hose unless it is clamped. Pictured is the clamp that came with my juicer. The design of the clamp allows you to easily control the flow without touching the hose. The hose will get hot as the near boiling juice flows through it.
Fill your top section with clean cherries. You do not need to take the pits out of your cherries although I chose to take the stems off.

Place your lid on and turn the heat of your stove on high. All varieties of cherries are boiled for 60 minutes.
Your juice collects in the middle section of your steam juicer. The unique design allows the steam from the bottom to rise while still being able to collect juice.
After 60 minutes your cherries will look cooked, dryer, and less plump. Your juice is ready to save.
After the juice has cooled slightly, drain your steam juicer into clean mason jars. Remove the lid and top section from your steam juicer. The cherries can be thrown away or composted.
For this step it is useful to have another person helping you. One person controls the hose and clamp and fills the mason jar. The other person lifts the middle section so gravity can drain the juice through the hose. If you are alone you can place your mason jar below the level of the hose.
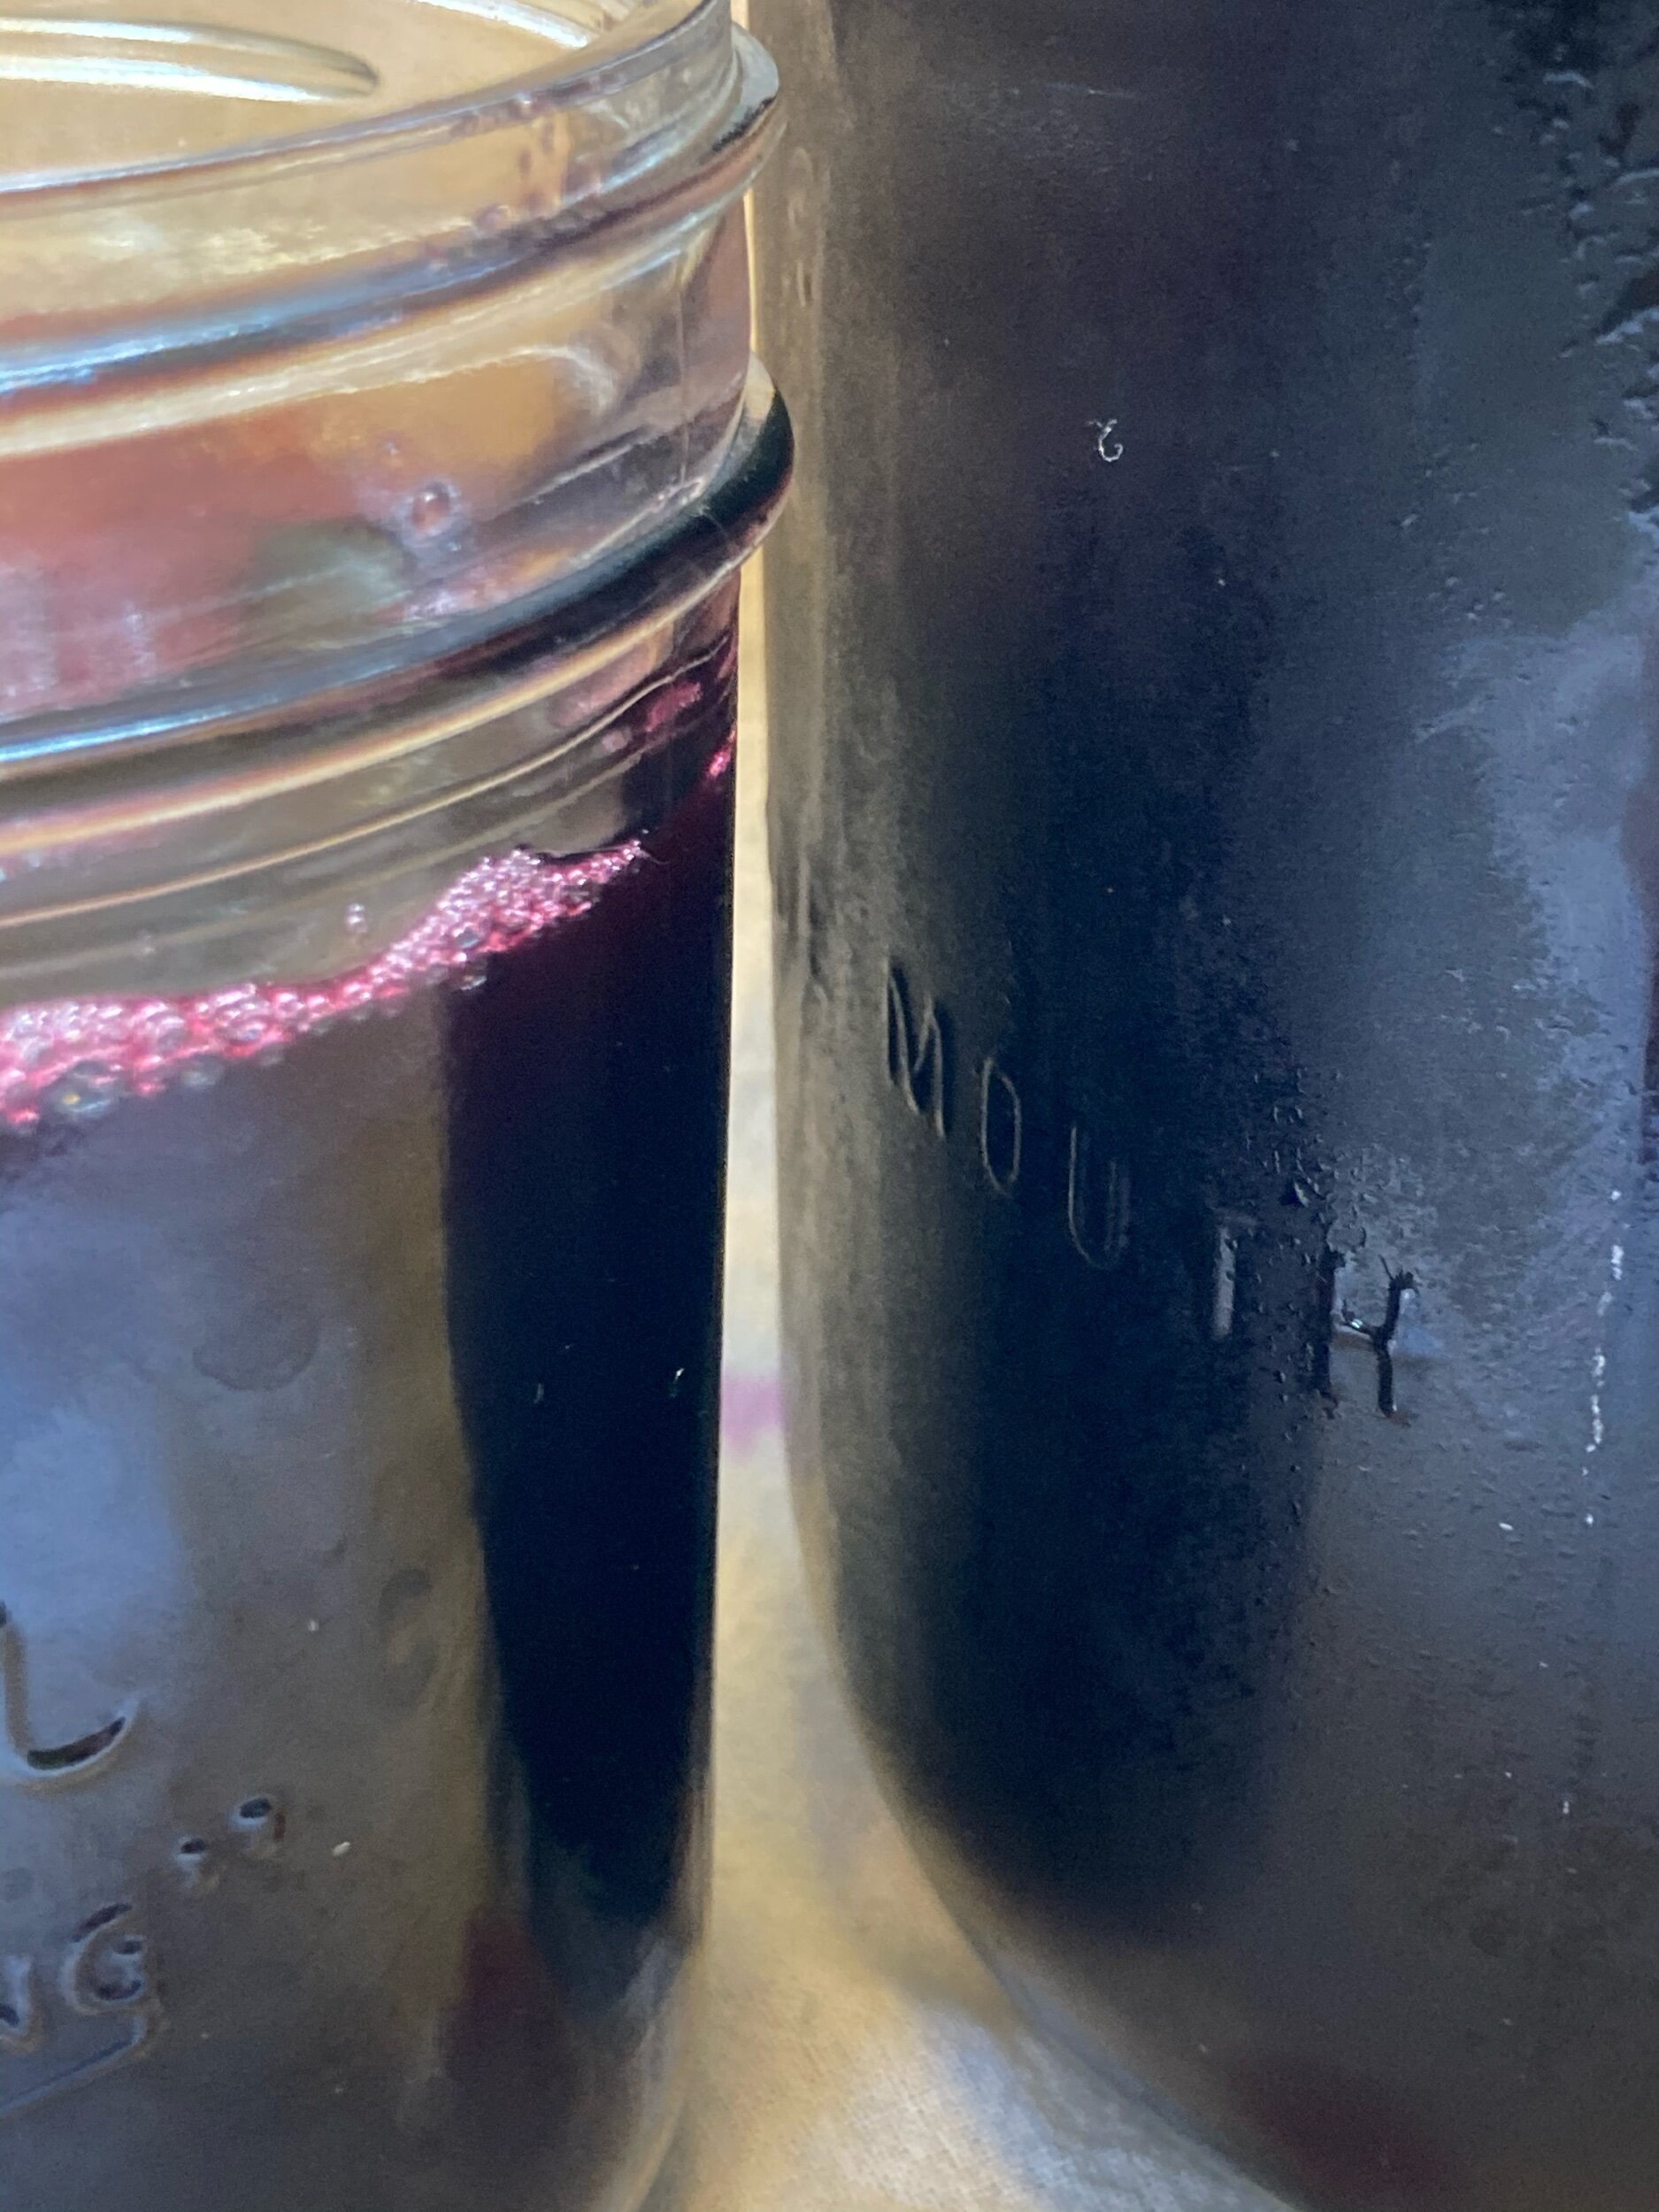
My cherries were a black variety and the juice was a deep deep shade of purple. Foam on your juice is normal and you can simply use a spoon to scrape it off.

You can pour your juice into sterilized mason jars to 1/4” headspace and process for 15 minutes if you want to can your juice. You can also fill your mason jars with 1” headspace and freeze your juice.
This year I cooled my juice and placed it in the refrigerator so I can turn the juice into jellies and syrup. I am also taking a try at making homemade maraschino cherries this year. Keep an eye out for a Cherry Pancake Syrup recipe soon!