7 Rules for Freezing in Glass Mason Jars
The world needs less plastic, I think we all can agree to that. Yet a lot of people are still afraid to freeze in glass jars because they can break. How do you freeze in glass to minimize breaking? All you have to do is follow a few simple rules. Here are my seven rules to help you successfully freeze in glass mason jars.
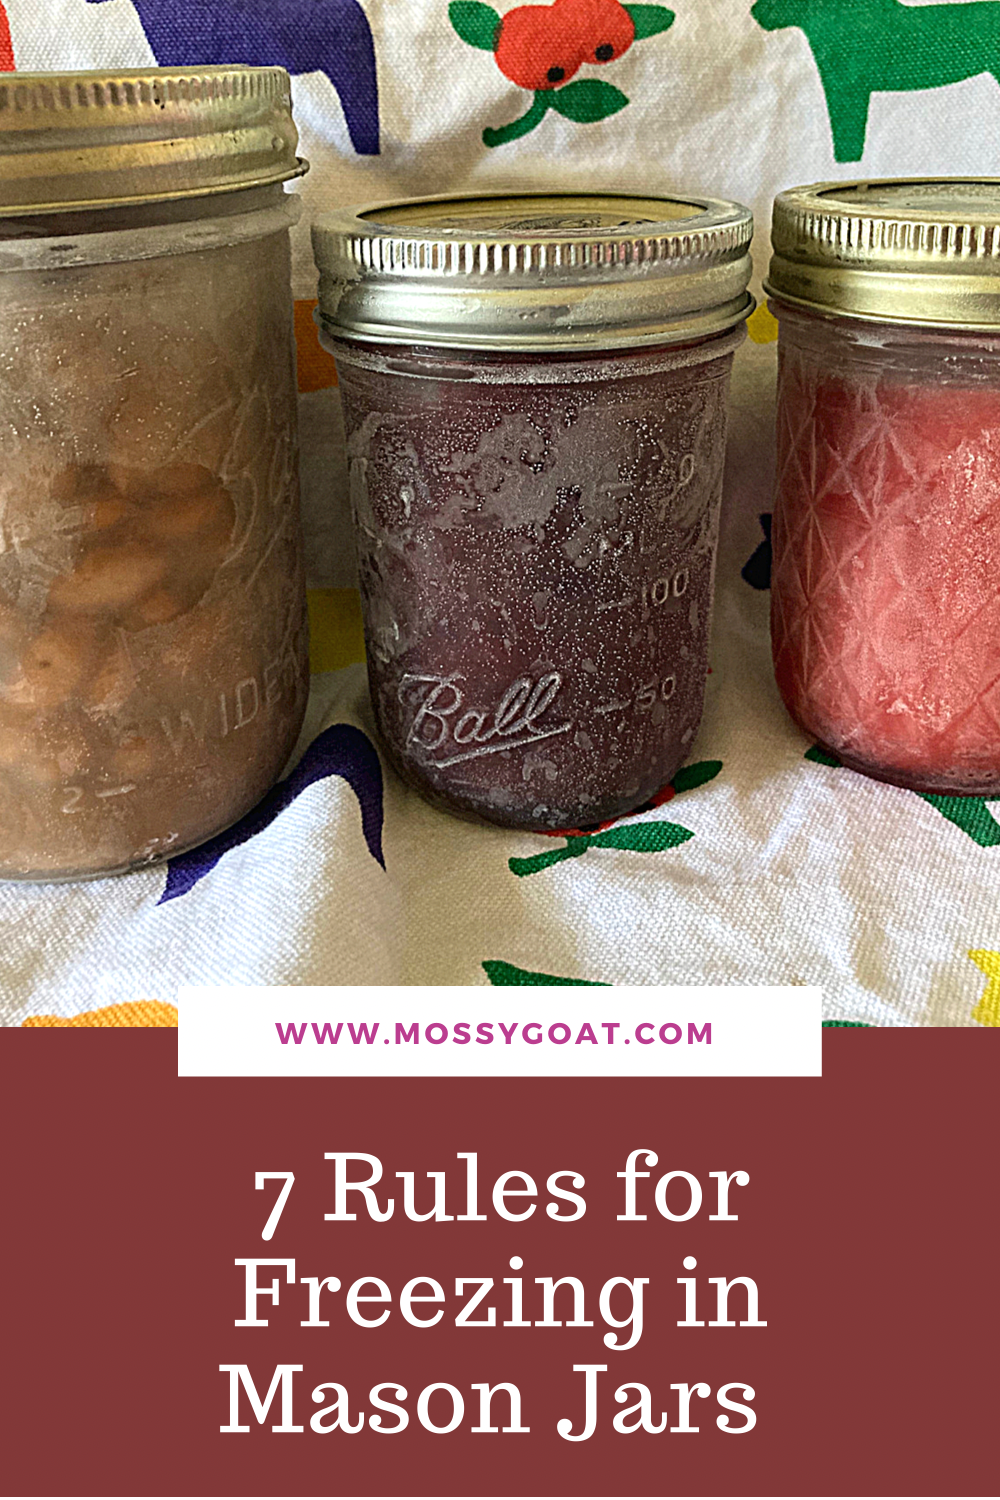
Jams, jellies, fruit butters, bone stock, and cooked beans are just a few examples of what you can freeze in glass. Freezing, rather than canning, can be be extremely helpful when it’s supposed to hit 110 in record breaking heat and you have no air conditioning. This is how I choose to save my recent cherry butter.
Rule 1- Cool hot liquids and food before freezing.
Thermal shock can break glass. Thermal just means temperature. Putting a hot product into a room temperature or colder mason jar can break the jar with shock. This is also one reason why you heat your jars before canning. The other reason is to sterilize your jars. Luckily, jars do not have to be sterile to freeze with so you do not have to heat your jars. However, DO NOT place hot liquids in room temperature jars. You need to cool your product before placing it in jars.
Placing hot liquids or food in a mason jar and then placing that jar in the freezer can also cause breakage. Mason jars are designed for both freezing temperatures and boiling temperatures. However, they are not designed for fast temperature fluctuations. Breakage is caused when you quickly change the temperature of the glass.
Rule 2- Make sure your glass jar is straight sided.
Water expands when it is frozen. This is the main reason for broken jars when you freeze liquids such as stock or jam. Your product will need somewhere to expand to. Most plastic used for freezing is less rigid than glass and the water can expand in all directions. In a glass mason jar, the water can only expand upwards Any bend or curve in a jar that restricts expansion can cause breakage. Half pint mason jars, both wide and regular mouth, as well as wide mouth pint jars are all straight sided. When the liquid freezes it has plenty of room to expand to without being hindered.

Wide and regular mouth half pint mason jars and wide mouth pint jars are all straight sided and the best choice for freezing liquids. Leave 1” headspace. The green liquid shows the best maximum level for freezing in these jars.
Rule 3- Leave a minimum of one inch head space.
To freeze in glass you will need more head space than canning. Head space is the difference between the level of your product and the top of the jar. One inch is minimum for freezing in straight sided glass jars, even in small half pint jars. If you fill your liquid to just below the lowest ridge on straight sided jars, you should be fine.
Rule 4- If you have to use a jar with a shoulder, use extra head room.
Regular mouth pint and both regular and wide mouth quart mason jars feature some sort of curvature at the top to reduce the width of the jar to the width of the opening. This is called the shoulder of the jar. This curvature will prevent expansion and cause breaking. If you freeze using these jars, start your headroom one inch or more BELOW the beginning of the curve. This should give your product the room it needs to expand.
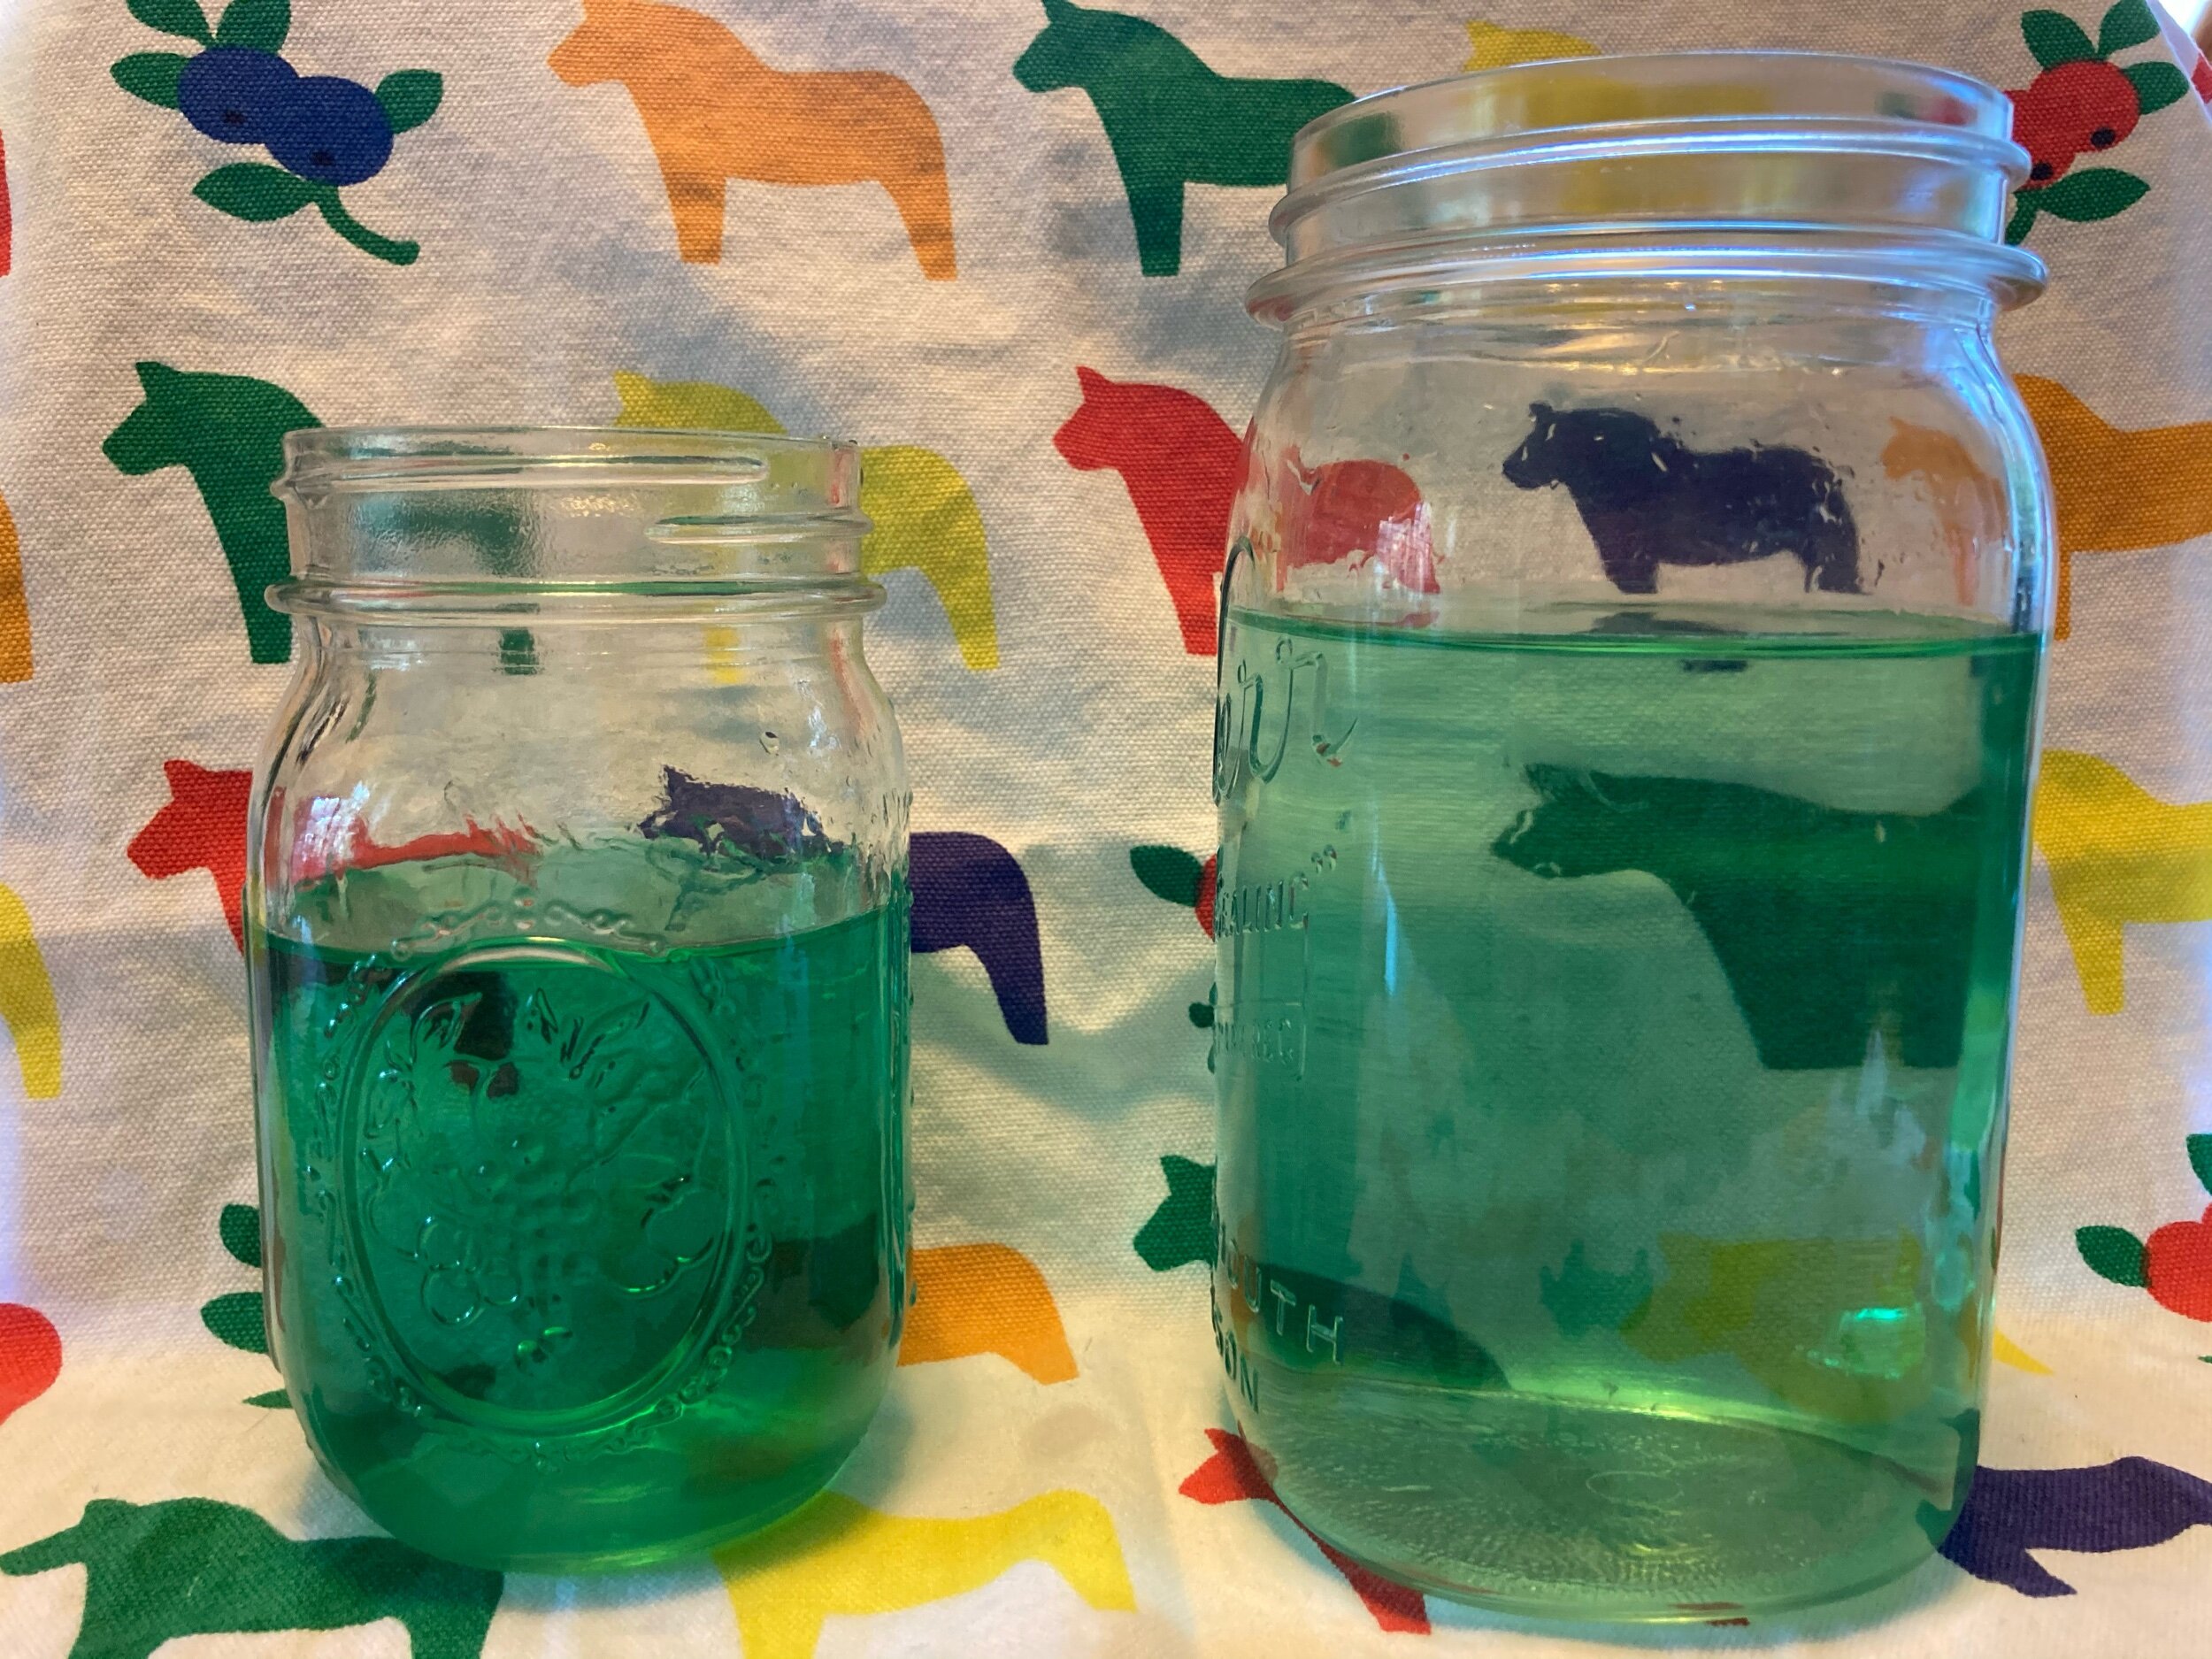
A regular mouth pint jar and a wide mouth quart jar both need extra head room to ensure that your liquid can safely expand. The green water shows the safe maximum level for filling these jars.
Rule 5- Freeze without a lid.
You won’t know how much your product expands until it is finished freezing. Because of this you need to freeze without a lid. If it expands past the top of the jar the lid will stop expansion and the jar will break. This is just one more added safety measure to prevent breakage. You can label a lid and place it on after two hours of freezing.
Rule 6- Do not use metal lids for freezing.
This is more of guideline rather than a rule. But it’s a good rule to follow. Freezer environments are wet, even if the wetness is ice. Metal bands and lids can rust. This is where plastic is useful. If you happen to have glass lids that would work too but the same rules apply, do you not freeze your product with a lid. Truthfully though, as I pulled out my frozen goods to photograph I noticed they all were saved in metal lids.

Rule 7- Always inspect for breakage before consuming.
If your jar cracked or broken, your product is unusable and must be thrown out. Hopefully, if you follow these simple rules you will not have any breakages.
It is really that simple. I personally find glass very easy to freeze in. You do need to remember to take your product out of the freezer a day in advance and place it in the refrigerator to thaw. If you find that you need to quick thaw a frozen jar you can place it in the sink and drip cool water from the faucet on the jar. Do not drip hot water because this will cause thermal shock. The cool water will still melt the ice.
Enjoy preserving your extra food by freezing in glass!