Simple Homestead Goat Cheese in Three Steps
Today’s recipe is Mossygoat Homestead Goat Cheese in three simple steps. Making homestead goat cheese is easy and this cheese is made without a starter culture. All you need is goat milk and lemon juice or vinegar. Cheese salt, canning salt, or Himalayan salt is optional. Why these salts? They have no preservatives or anti-caking agents present which may interfere with the cheese making process.

This recipe is also suitable for those who are worried about consuming raw milk and cheese. For this recipe, goat milk is heated to 180 degrees Fahrenheit. The goat milk is automatically pasteurized in the process. Raw milk will become pasteurized if it reaches 165℉ for 15 seconds.
Equipment
Large non-reactive pot
Large non-reactive metal spoon for stirring
Thermometer. I use a candy thermometer
Cheesecloth
Colander
A large pan to place under the colander. I use a 9” X 13” baking dish.
Raw goat milk

Step One: Heat the milk.
Pour the milk into a large non-reactive pot and heat over medium heat to 180℉ while stirring frequently. Use a non-reactive metal spoon to stir the milk. It is harder to sterilize wooden spoons and they should not be used for cheesemaking. A meat or candy thermometer will work for measuring the temperature of the milk. However, a candy thermometer is handy because you can clip it to the side of your pot. Make sure that the bottom of the thermometer does not touch the bottom of the pot.
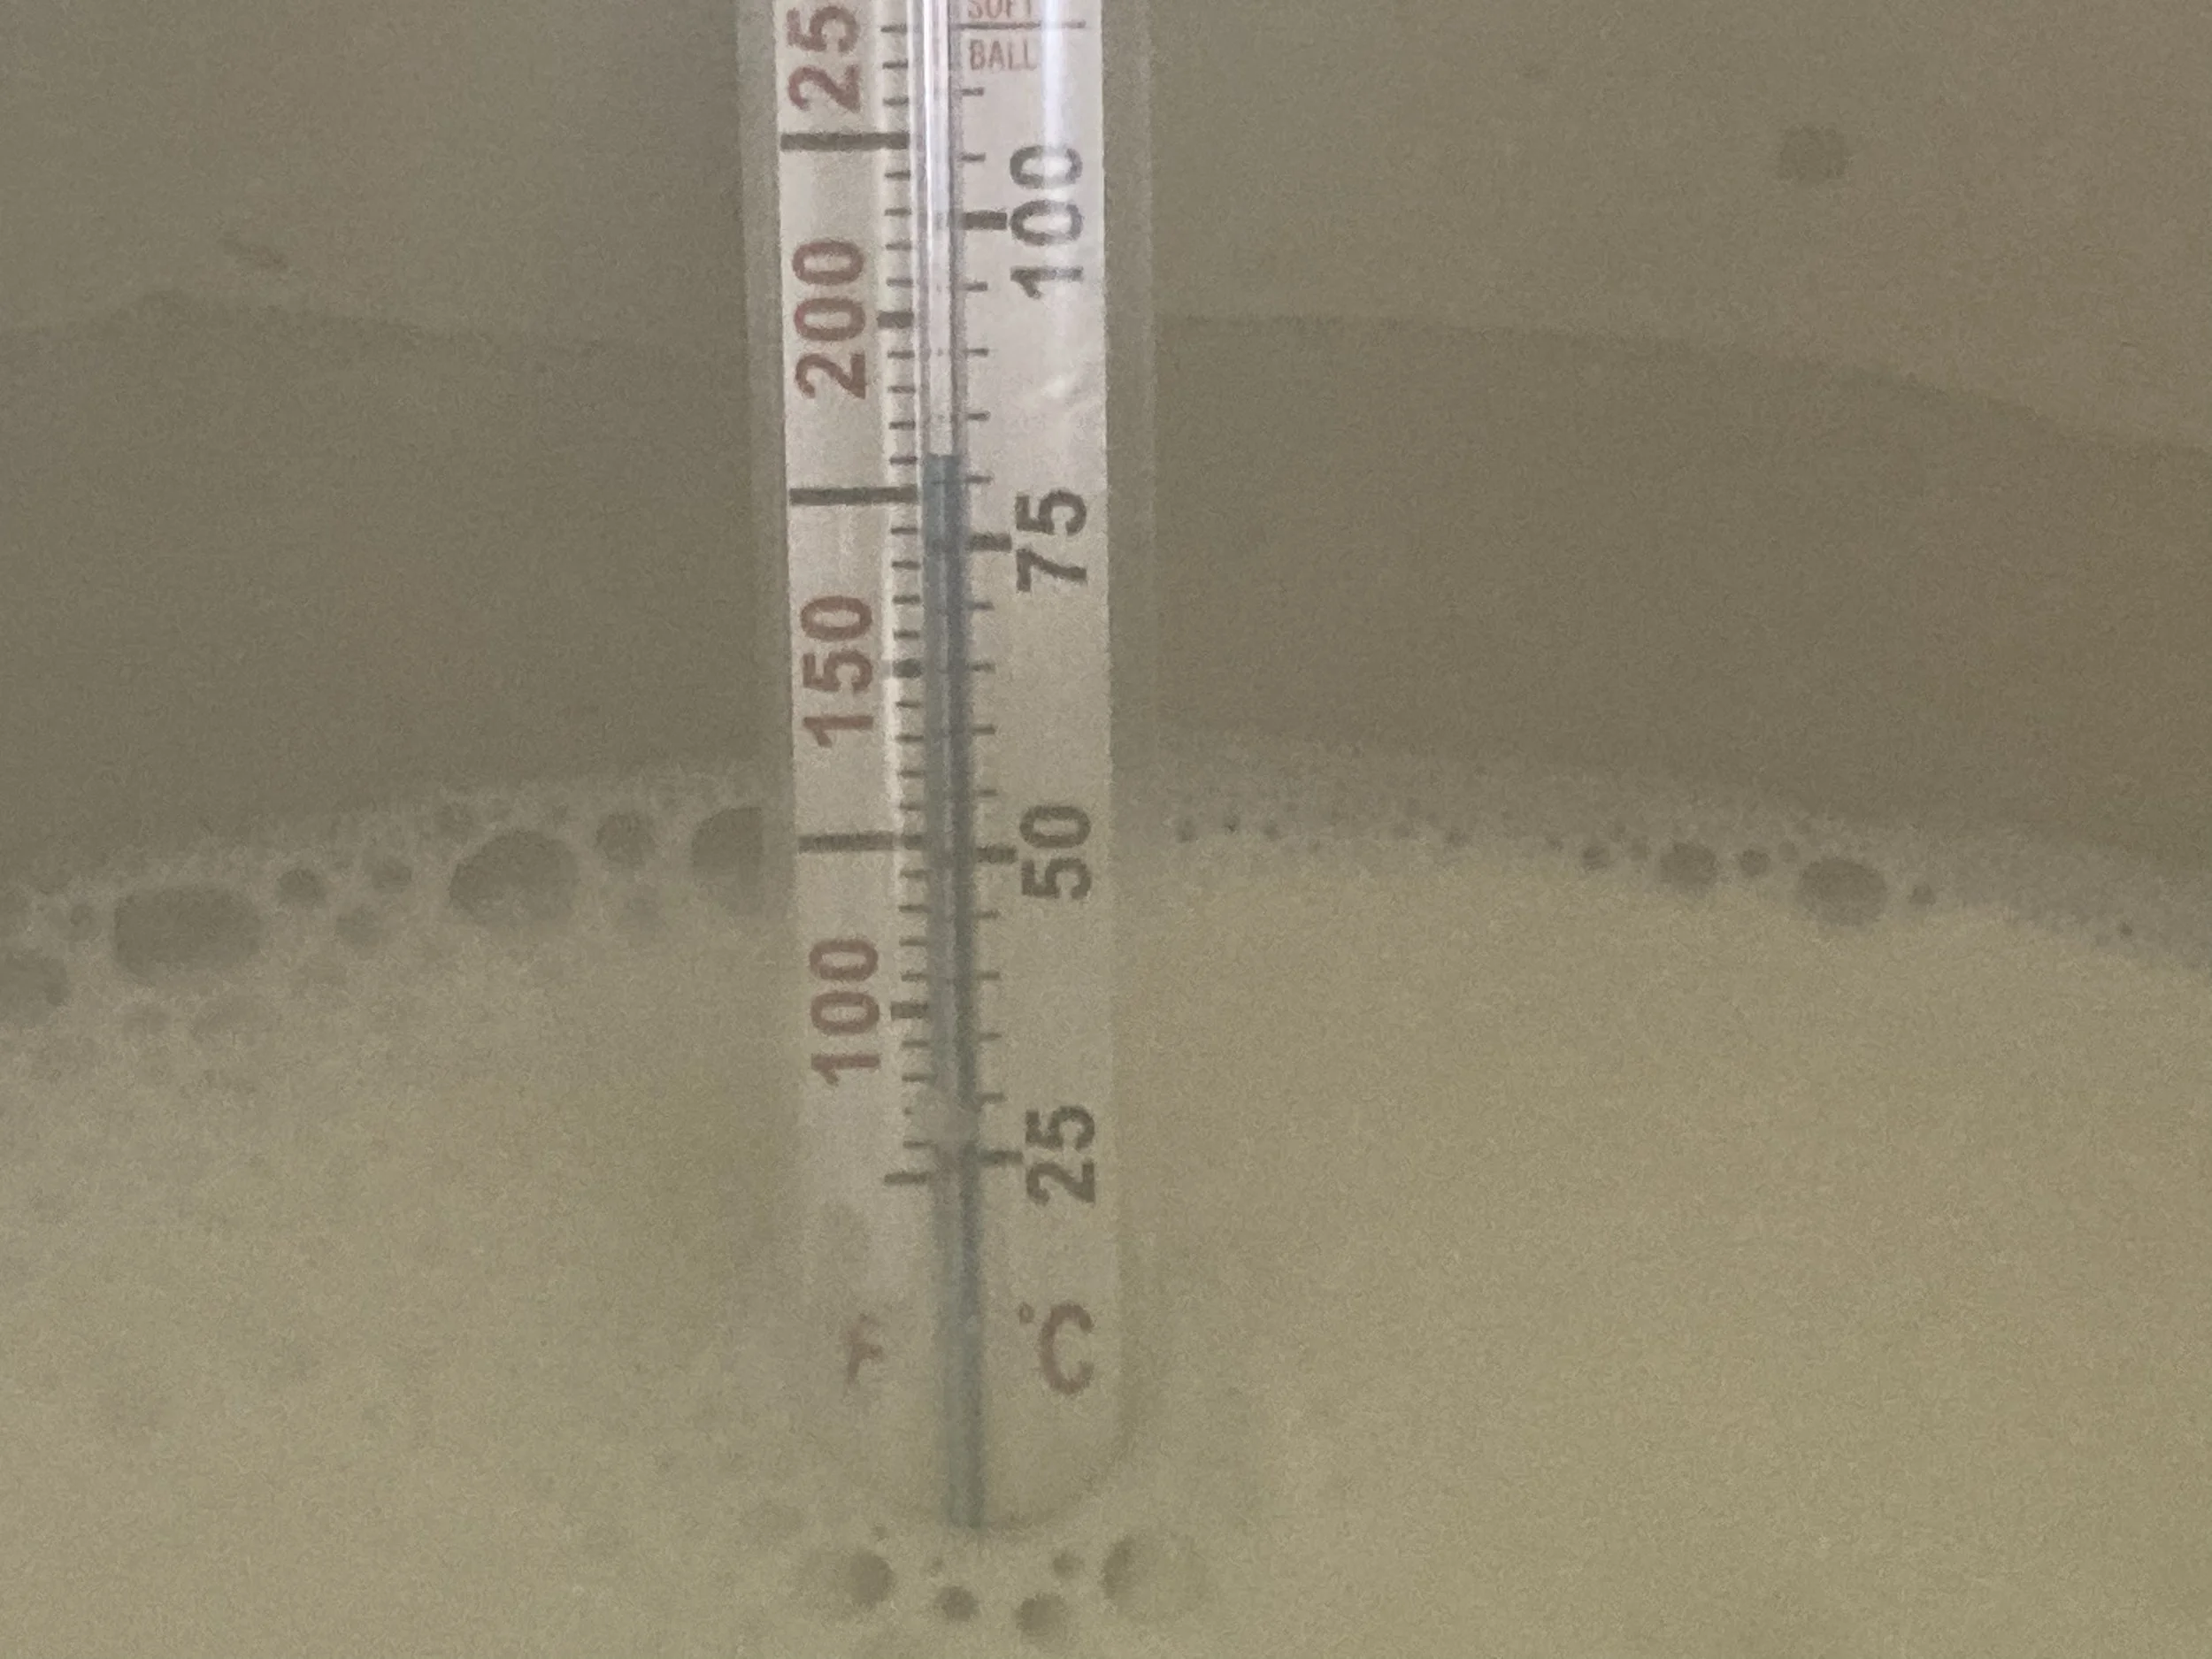
This candy thermometer is showing a milk temperature of 180℉.
Step Two: Add the lemon juice.
Turn the heat off as soon as the milk reaches 180℉. Slowly add 1/3 cup of lemon juice per half gallon of milk used and stir. Fresh lemon juice or bottled lemon juice will both work. However, some inexpensive bottled lemon juices may have additives that hinder the curdling process. Real Lemon brand lemon juice works well, and you can find large bottles of it at Costco. White vinegar will also work if you have no lemon juice on hand.
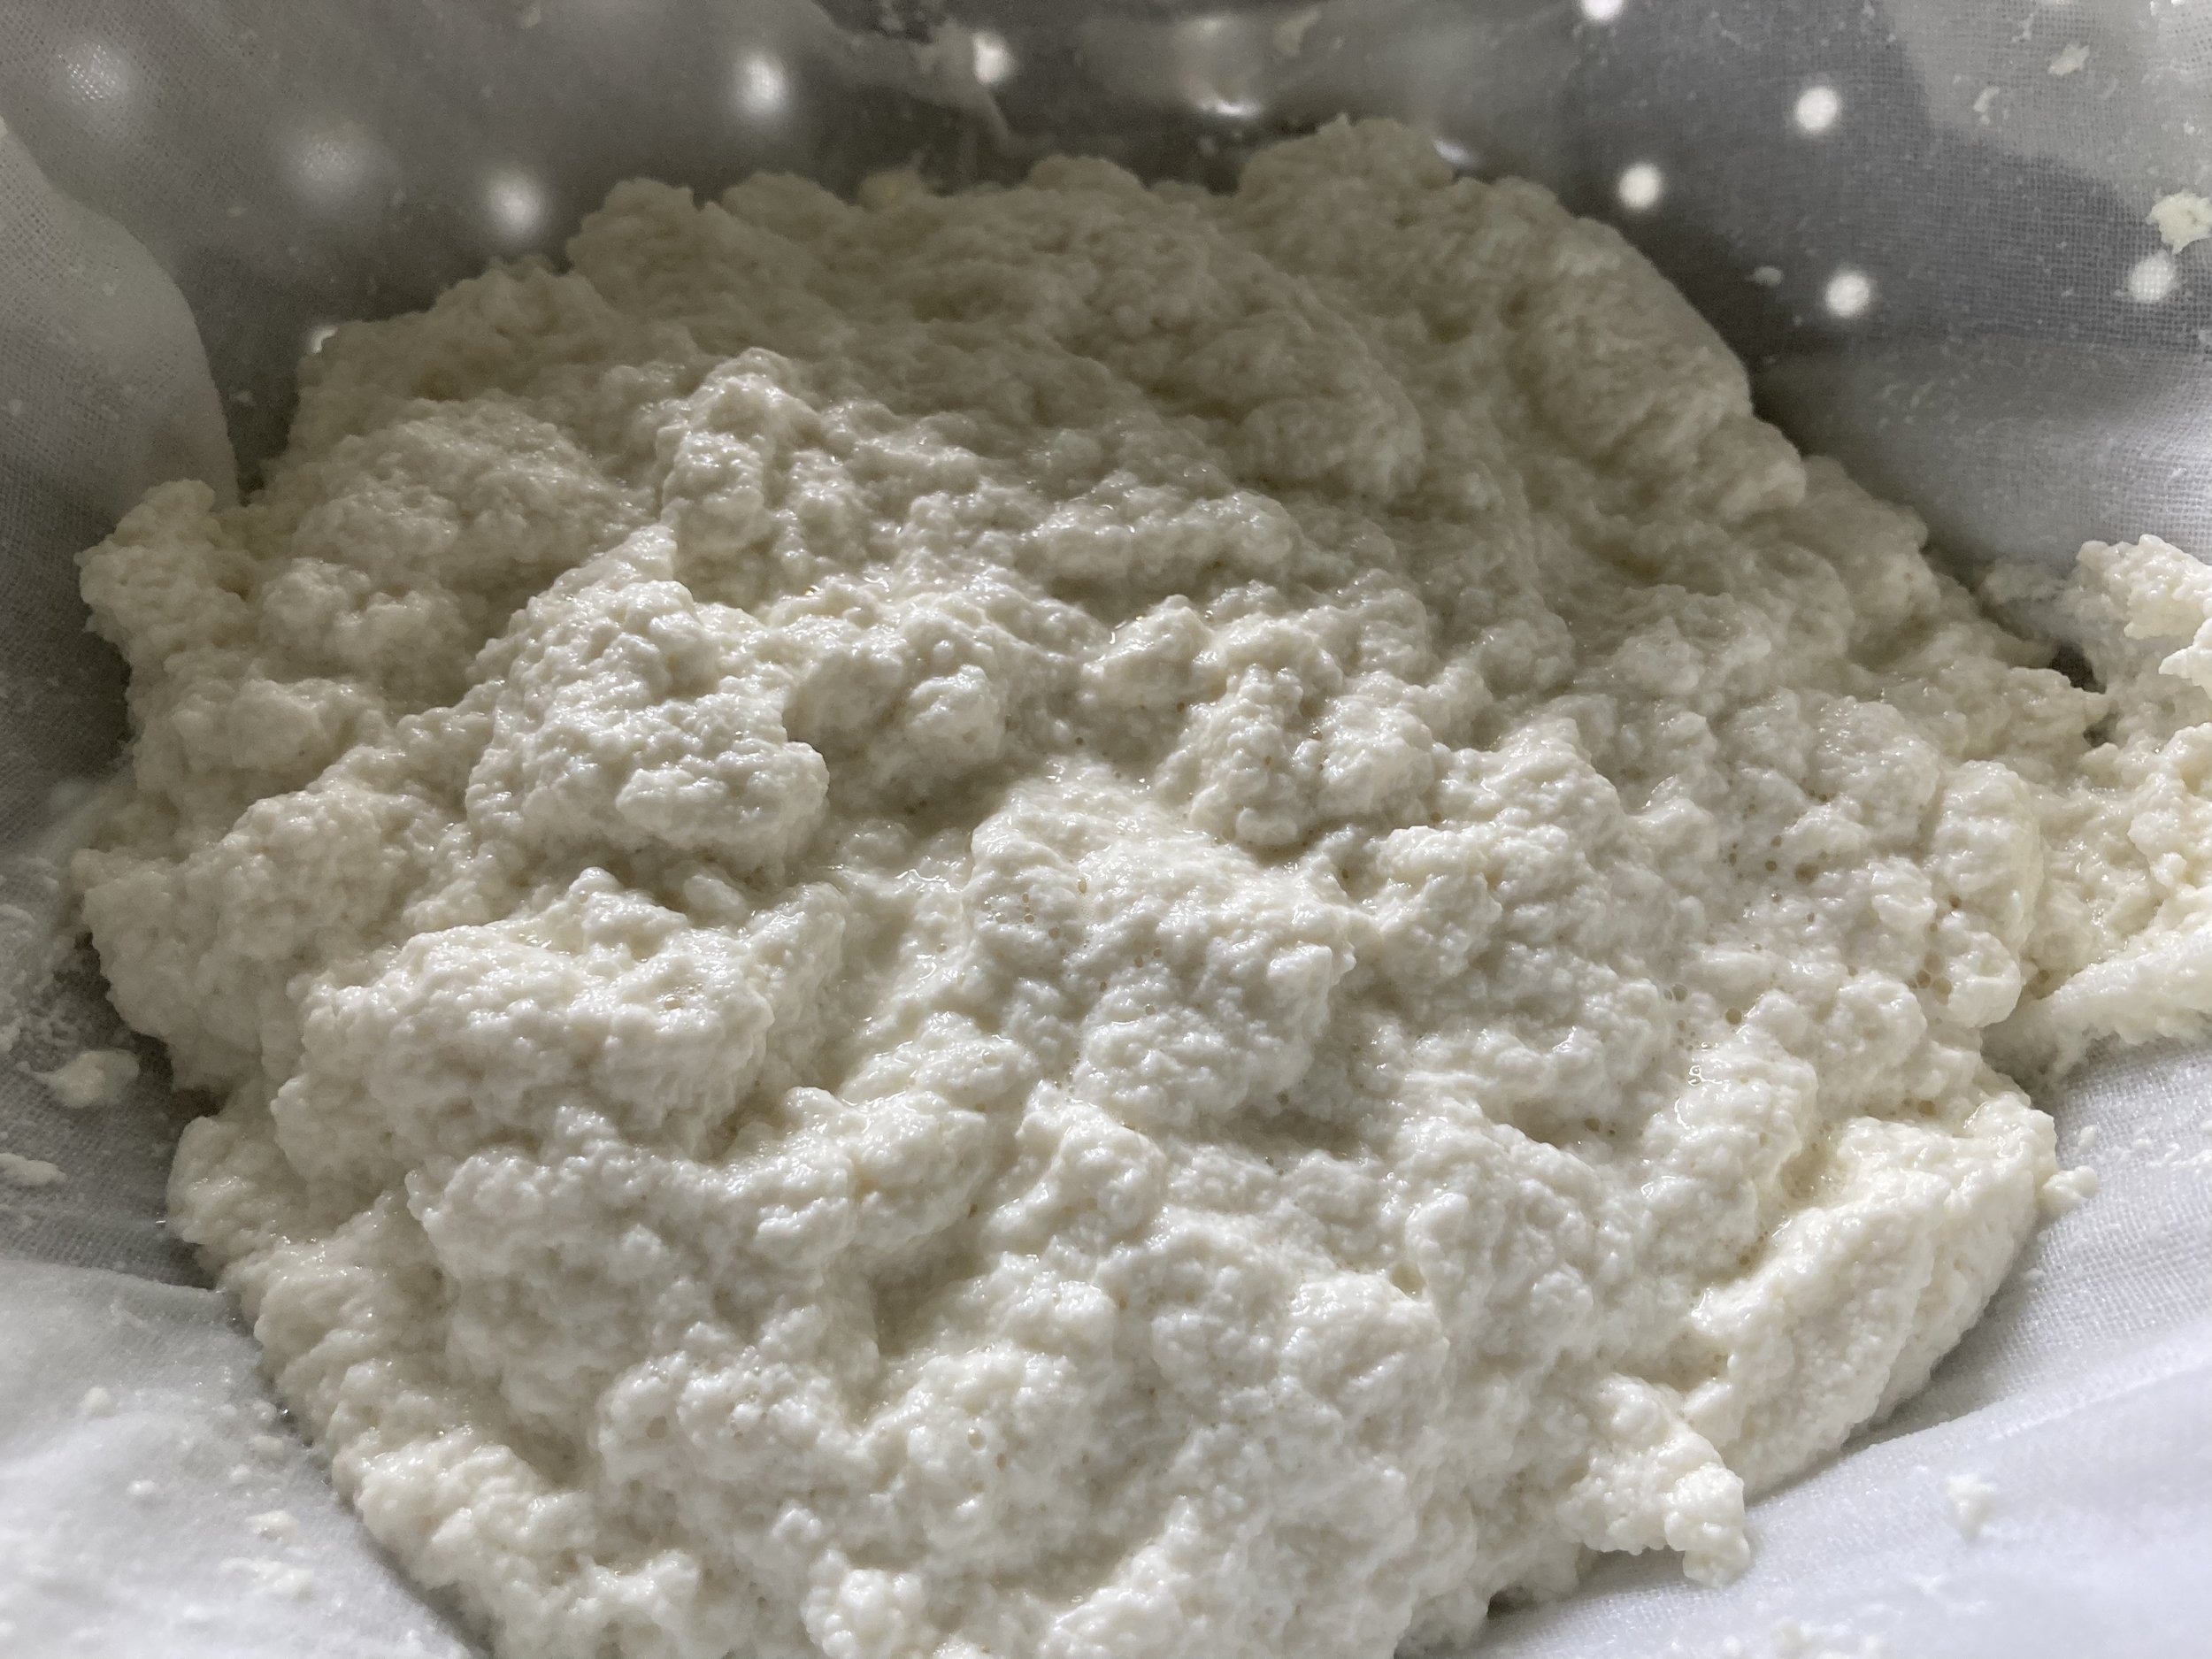
The acid in the lemon juice should curdle the cheese within just a few moments and you will begin to see solid curds separate from the liquid whey. If you do not see curds within a minute, you can add extra lemon juice 1 tablespoon at a time until the curdling process begins. Add no more than 1/2 cup of lemon juice per half gallon of milk. Please be aware that extra lemon juice will affect the taste.
Let the milk and lemon juice rest for 10 minutes so that the curds can fully form.

Step Three: Drain the whey liquid from the curds.
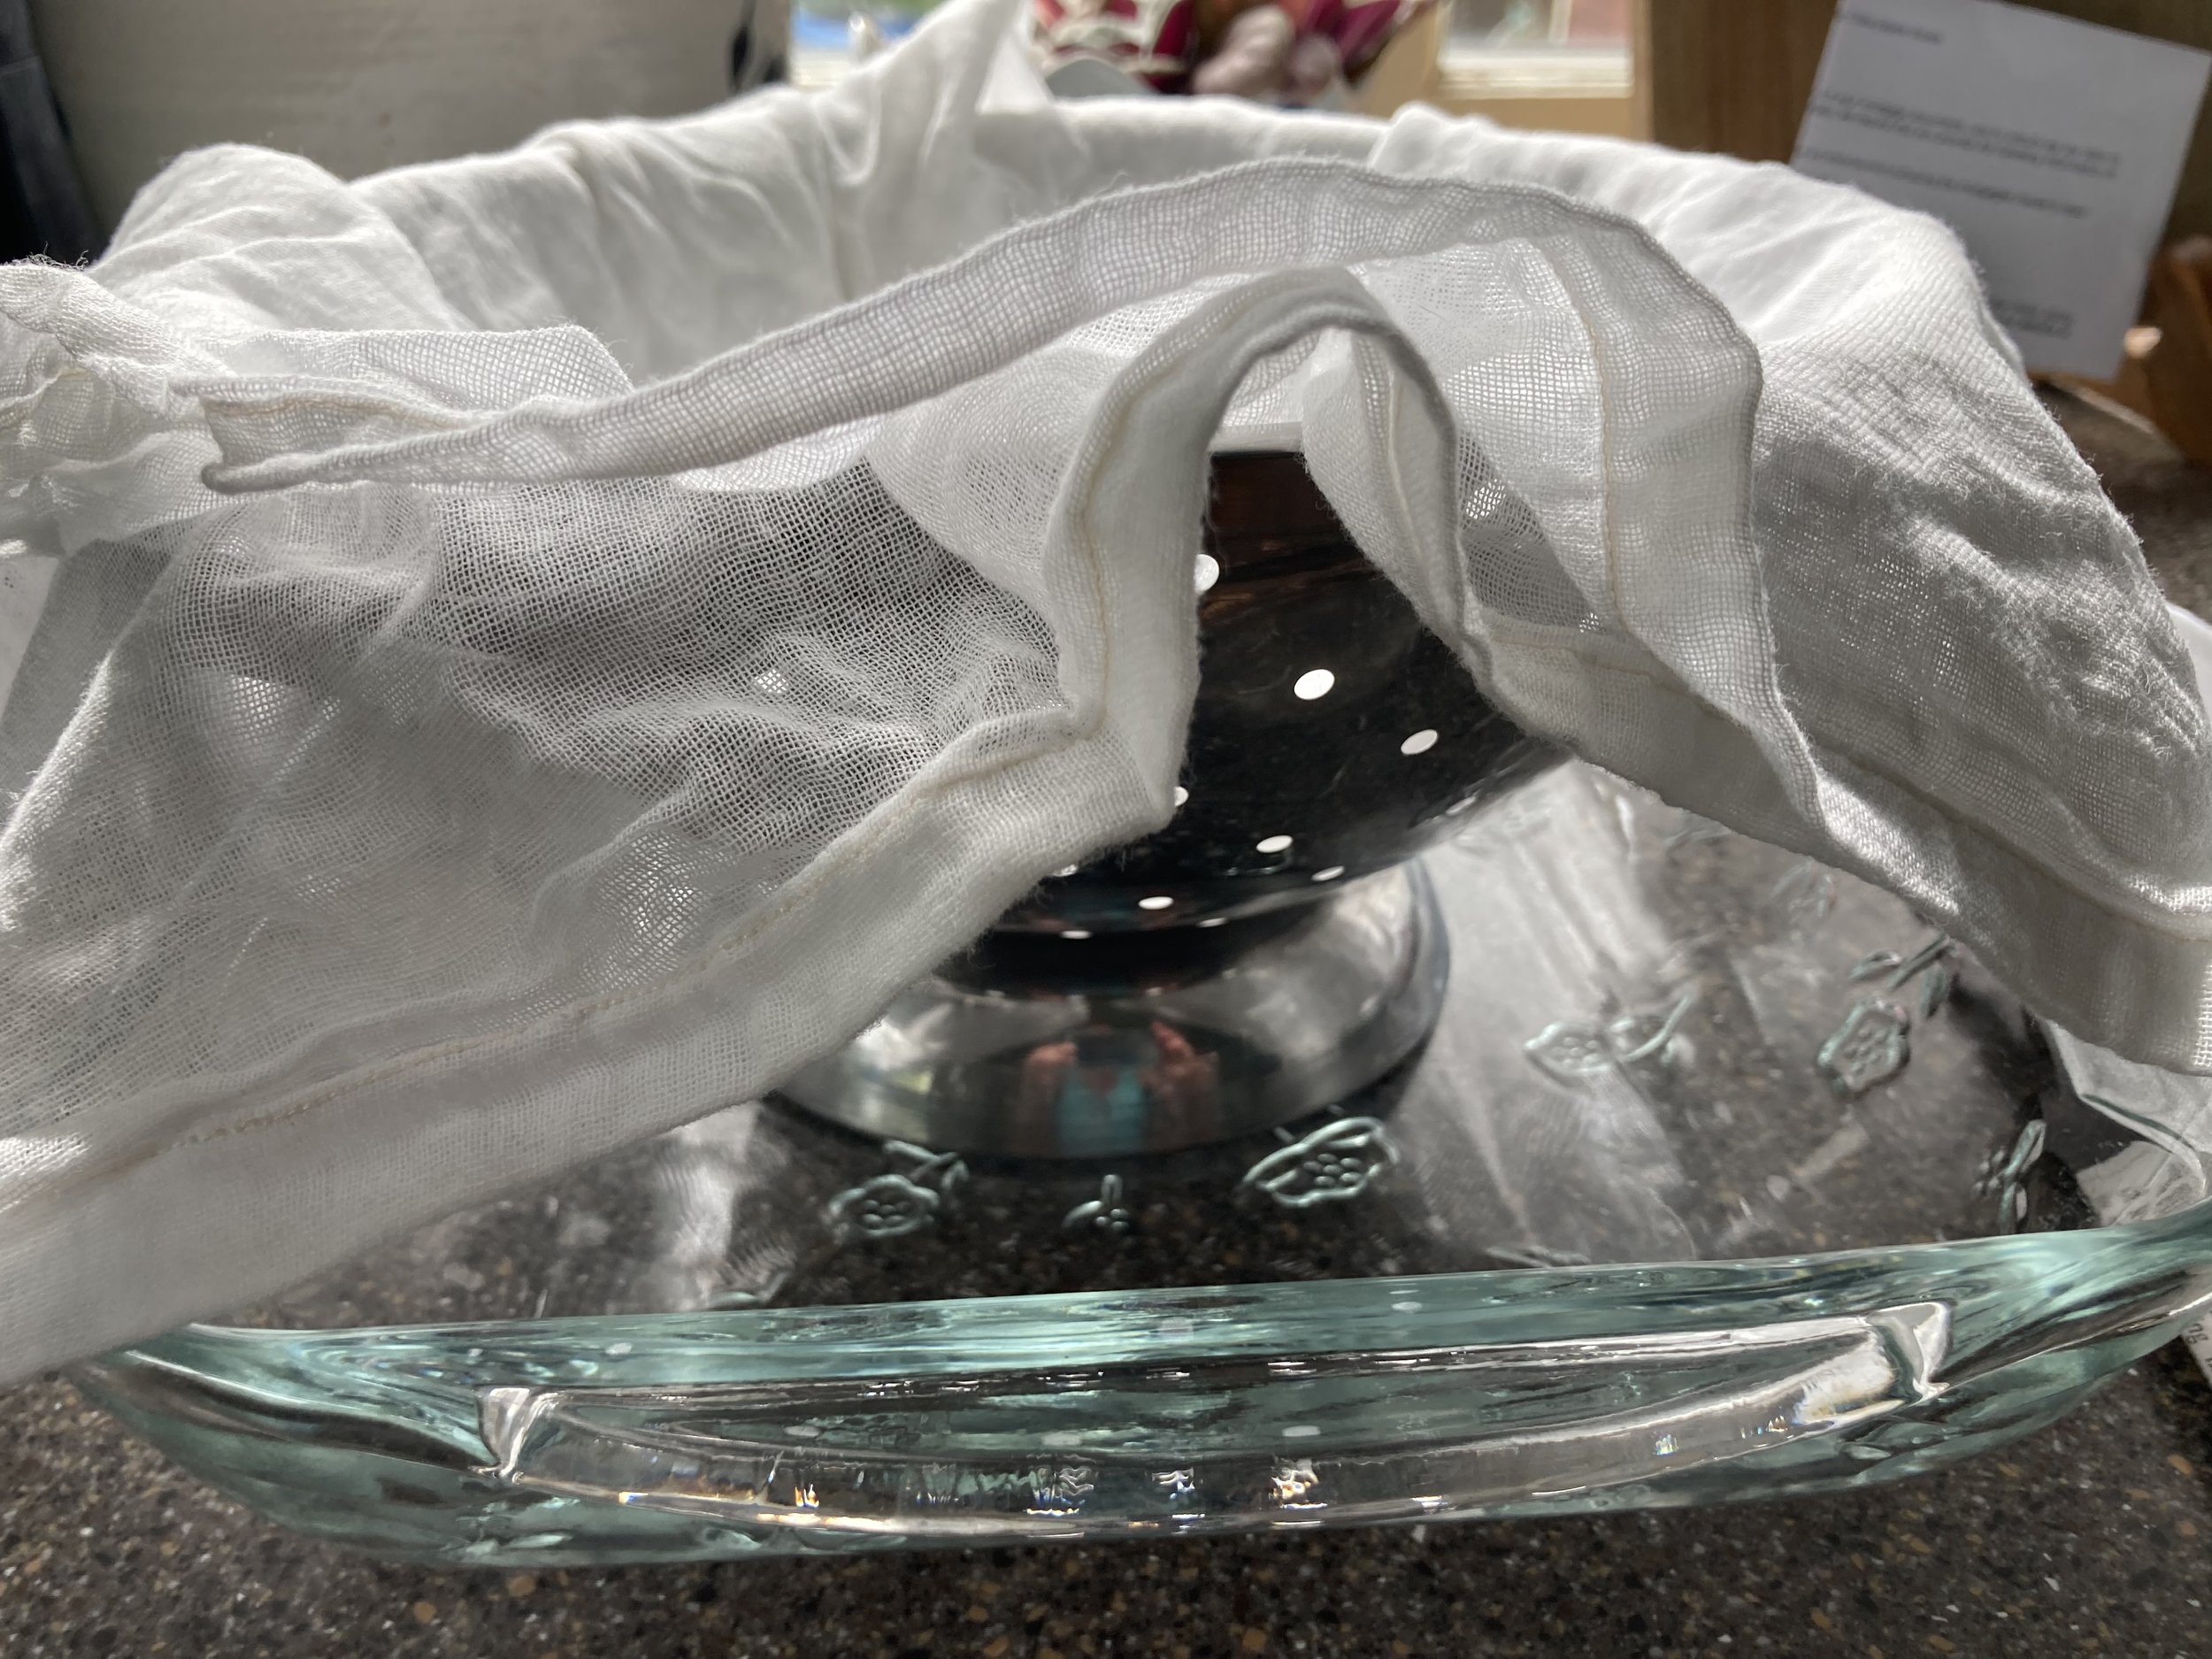
Line a colander with two layers of cheesecloth. Place the colander in a large dish to catch the drained liquid. Pour the mixture into the cheesecloth. Be sure to not overflow the catch pan below. Simply stop transfering the mixture to the colander and pour out the catch basin liquid.
Leftover whey water is excellent for septic systems if poured down the drain. You can use whey instead of milk in bread recipes. Whey can also be saved and used for lacto-fermenting.
Let the curds sit in the cheesecloth for 4 hours on the countertop to drain.
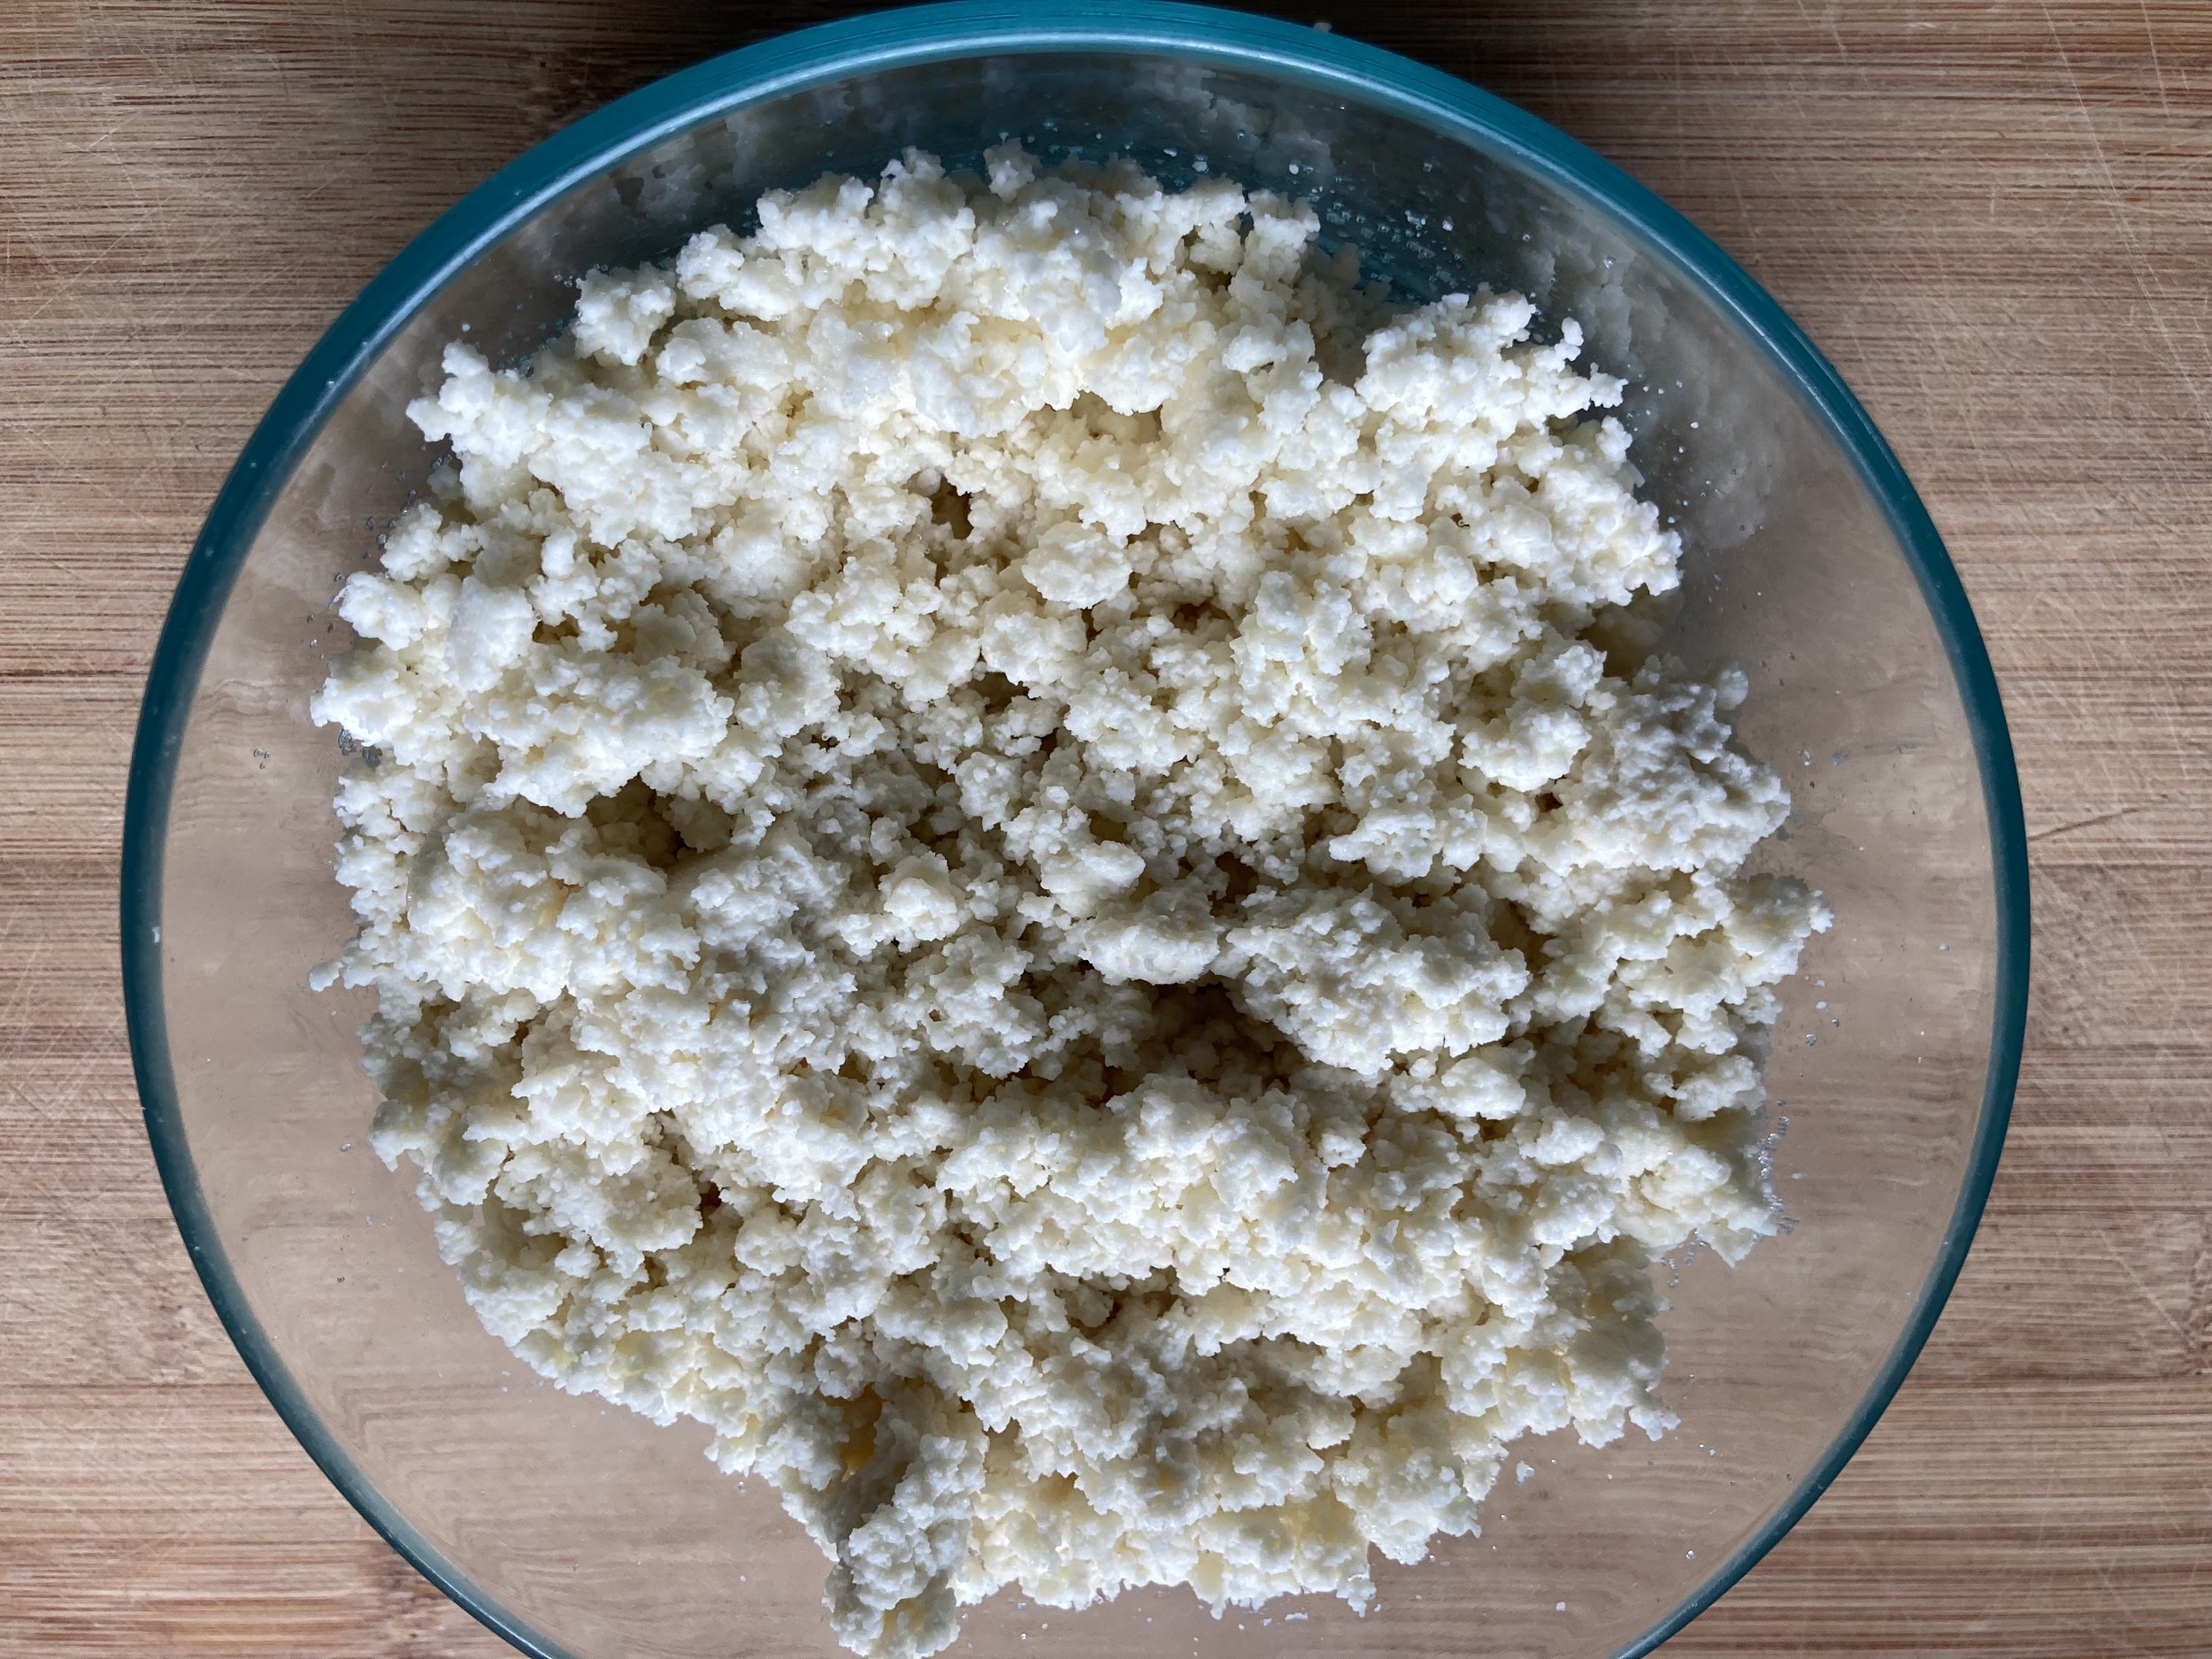
Transfer the cheese to a clean storage container. Stir in salt. Store covered in refrigerator for up to one week.
Tip and Tricks
Although this is a simple recipe, there are a few tips and tricks you should know.
In cheese making and when handling raw milk, cleanliness is next to Godliness. Start with clean and sterilized equipment. You can use the sterilization cycle on your dishwasher or soak everything in a mild bleach solution for 2 minutes. Be sure to have a clean plate handy to place your stirring spoon on when you are not using it to keep it off the countertop.
In my experience, milk that is a few days old to a week old and properly stored works better for this recipe. It is an excellent way to use up extra old milk. Fresh milk has a pH of about 6.3 to 6.8. The pH will lower as the milk ages. The lower pH helps in the curdling process. Fresh milk may require more lemon juice to curdle and because of this may taste lemony. Cheesemaking is an art, but the art is based on chemistry and pH plays a large rule in cheesemaking.
I have only used this recipe on raw goat milk from our farm. I have not used this recipe with store bought goat milk and therefore do not know if it will produce the same results. I also have not used this recipe for raw cow milk.

Mossygoat Farm Homestead Goat Cheese
Ingredients
- 1/2 gallon raw goat milk
- 1/3 cup lemon juice
- (optional) 1 teaspoon cheese salt or canning salt or to taste
Instructions
- Heat milk to 180℉ in a large non-reactive pot. Stir frequently to avoid scalding. As soon as milk reaches temperature, turn off heat.
- Slowly add lemon juice and stir. Curds should start forming. If no curds are present after one minute slowly stir in more lemon juice one tablespoon at a time for a maximum of one-half cup total. Be aware that the extra lemon juice will affect taste. Let mixture sit for 10 minutes so that the curds can fully form.
- Line a colander with a double layer of cheesecloth and place in a large baking dish to catch liquid. Pour mixture with curds into colander to drain the whey liquid off. Be mindful to not overfill your catch dish. Let drain for 2-4 hours on counter top. Add salt and store in air-tight container in refrigerator for up to one week.