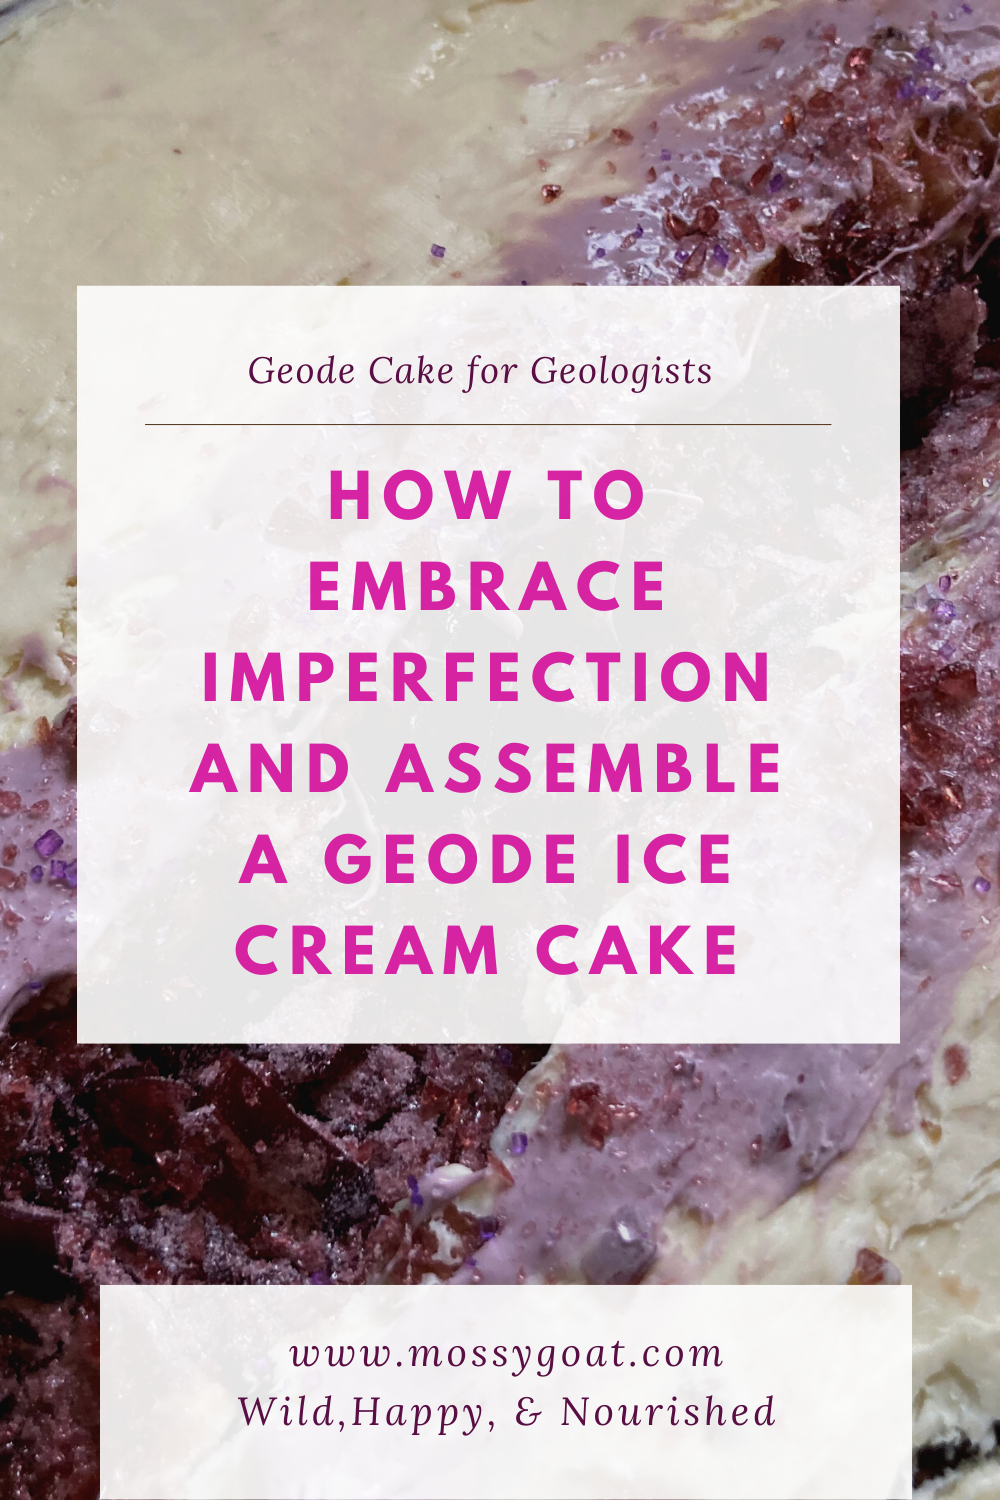
How to Embrace Imperfection and Assemble a Geode Ice Cream Cake
In our picture-perfect Instagram and Pinterest led lives we are bombarded with perfect images. People are less prone to show their first attempts and their many tries. The internet helps with this societal problem of feeling that we have to be an expert in everything.
Our culture is a culture of extremes. We have cupcakes frosted so well they look like books, or hamburgers, or fish. We have gymnasts who fall into the splits and instantly pop back up on their feet. We have horses that do high school movements at liberty. Amazing feats performed by talented people. We see these examples of par excellence thrown at us daily in the media. Some of them are great ideals to hold ourselves up to but we must look at the finer details. There is a process to get to these amazing feats. They are not accomplished instantly or on the first time.
In our fake media world of perfection, I am left wondering: What happened to real? What happened to realistic expectations? I started this blog partially to help fellow homesteaders have real life expectations on what to expect with this lifestyle. The simple life is not an easy life and expecting perfection from yourself will only make it harder.
I am a farmer and a baker. I do not professionally decorate cakes although I want to learn how to decorate cakes better to further my baking business. I have never made a geode cake before, much less a geode ice cream cake. I am showing you my first attempt. This cake is also mostly frosted by a 15 year-old boy for his birthday. There is a lot of love in this cake and represents a day of fun in the kitchen I shared with my son. I am astounded at the result.
Before I continue with the tutorial, I want to add that I personally do not recommend making a geode cake from an ice cream cake. The geode part of the cake takes time to decorate, and this time only caused the ice cream layer to melt. The cake was taken out of the freezer for ten minute increments only to have to be put back into the freezer again. However, it can be done. It requires patience and a sense of humor.
How to Make a Geode Ice Cream Cake: First Step, Bake Your Cake
Because this is a geode ice cream cake, the cake will be frozen. Frozen cakes naturally condense and become denser during the freezing process. I suggest you use a very light and airy cake recipe if you want a more cake like texture in the end. For this cake, a vegan gluten-free chocolate cake recipe was used. It is rich chocolate cake, and it created an almost fudge like texture and taste when frozen.
Grease the bottom of two cake pans. Cut out parchment paper to fit the bottom of your cake pans and grease again.

Make a double batch of the cake recipe you are using and fill the cake pans evenly.
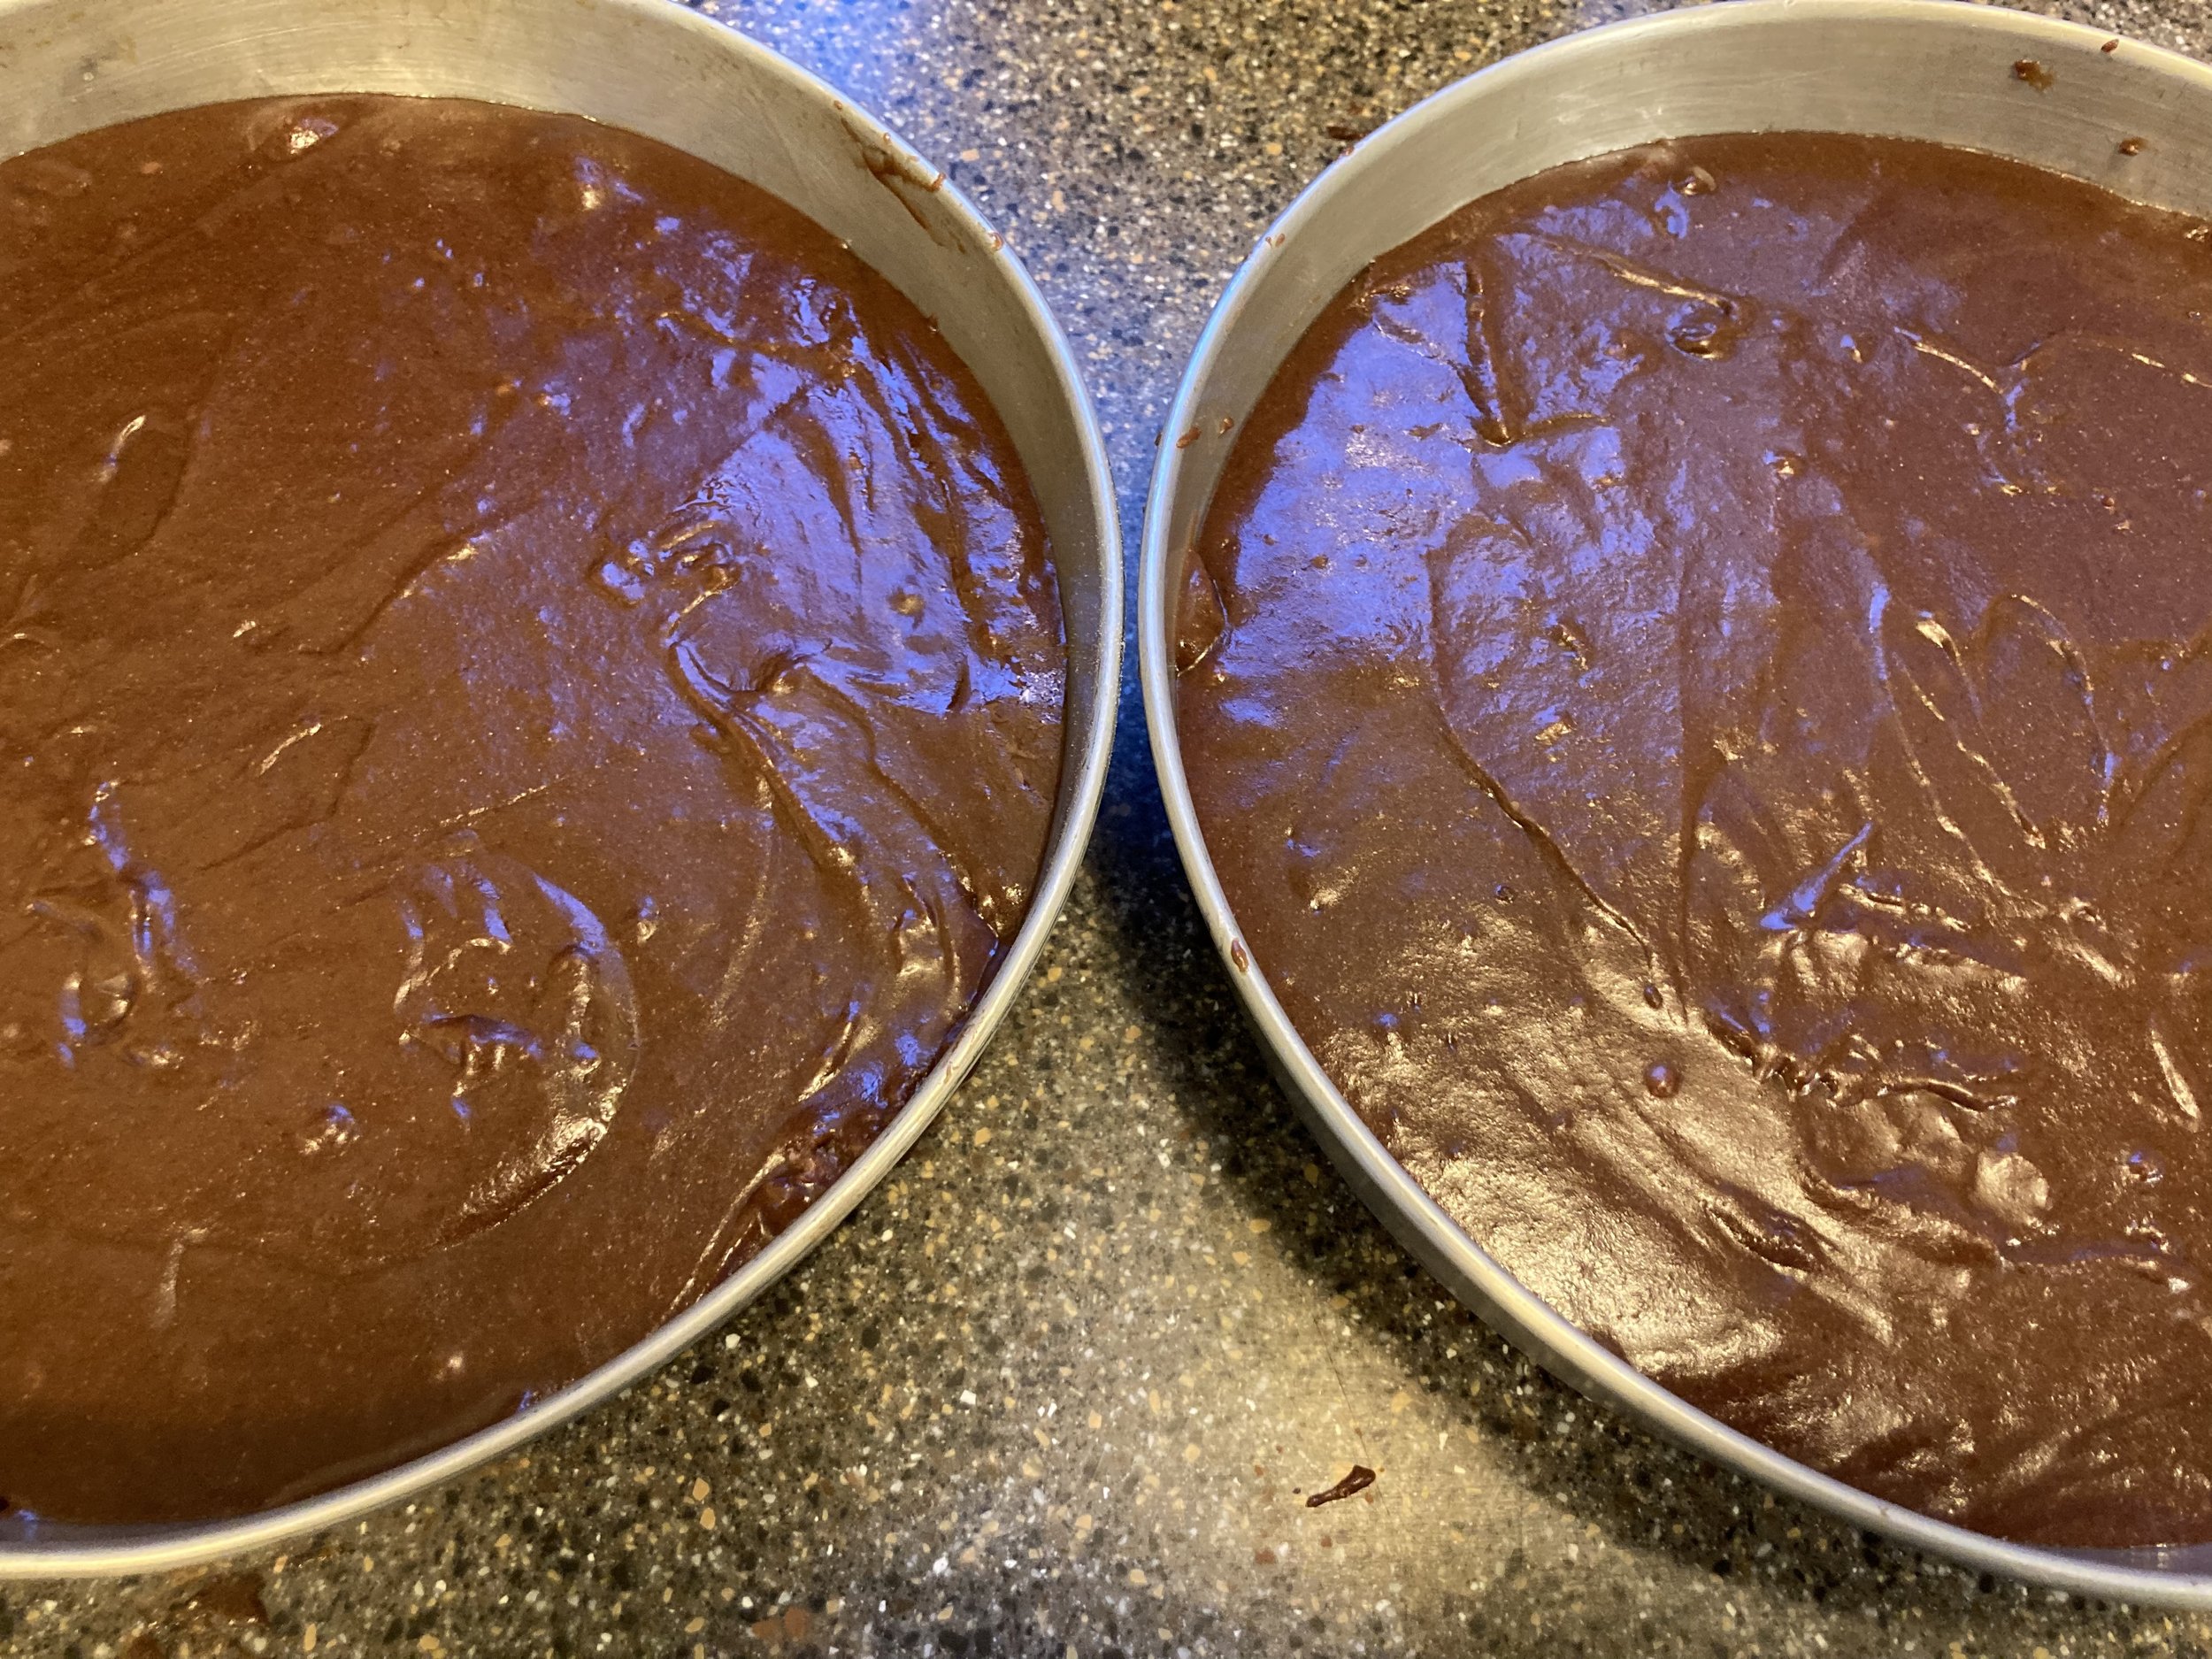
Bake your cakes as directed. Cool for 15 minutes before removing them from the pan to finish cooling on a wire rack. After 2 or 3 hours of cooling, cover your cakes and place in the freezer overnight. If you stack your cakes in the freezer to save room, be sure to separate them with a layer of parchment paper.
How to Make the Ice Cream Layer
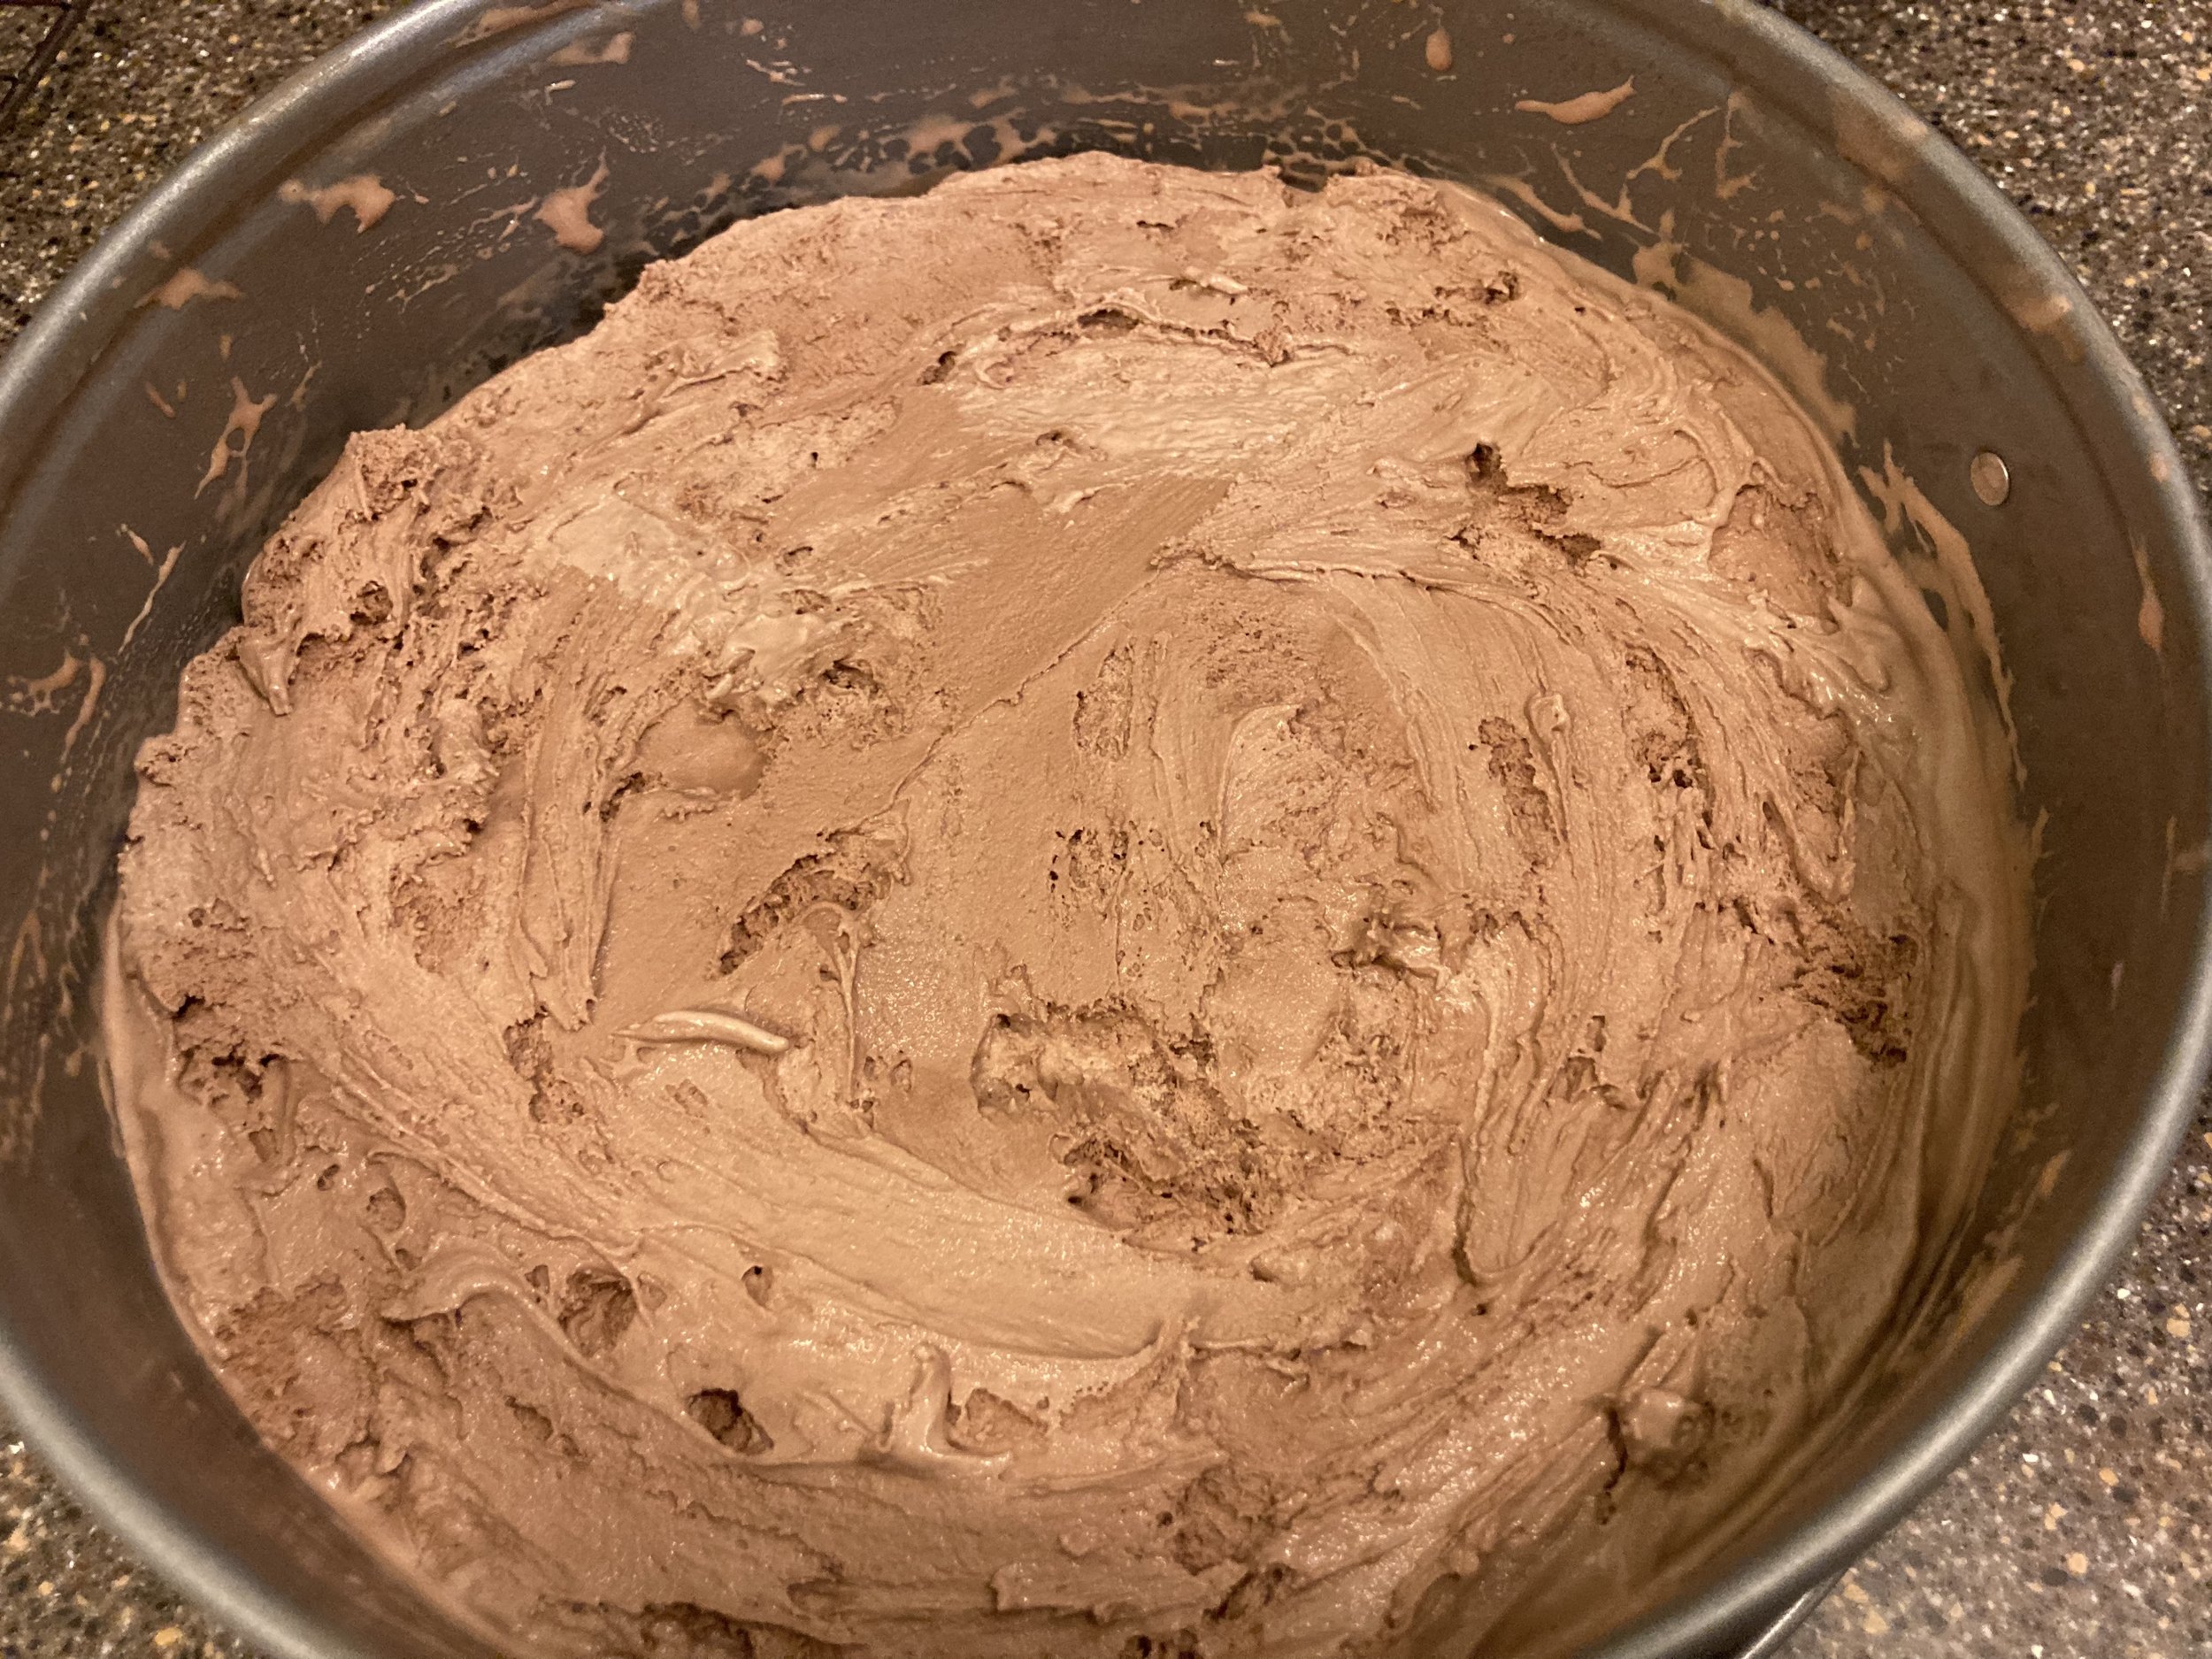
The ice cream layer is best made in a spring form pan of the same size of your cake pan. Dairy-free ice cream will work just as well as cow or goat milk ice cream. Do not use soft serve. I used one half gallon, or two quarts, for this ice cream layer. You can use more or less depending on the size of your pan and how deep you want the ice cream layer to be.
Let the ice cream soften on the countertop at room temperature for 10-15 minutes. Line the bottom of the springform pan with parchment paper. When the ice cream is thick enough to spread, but not liquid, transfer it to the springform pan. Spread the ice cream to the edges and smooth the top. Place in freezer overnight to refreeze.
How to Make Amethyst Candy
This cake is made using homemade hard candy instead of rock candy. I do not live anywhere near a store that sells rock candy. I think my homemade amethyst hard candy was an excellent substitute. It also gave way to crystals that were more varied in size and shape than store bought rock candy.
In nature, all geodes are different and are filled with many different rocks and minerals. This particular geode cake ended up being filled with amethyst. Geodes can contain quartz and other clear crystals as well as jasper, agate, and chalcedony. If you want to get behind the chemistry of rocks, all of those minerals are related and are basically some form Silicon Dioxide, or SiO2.
I initially wanted to imitate a botryoidal chalcedony geode. Botryoidal is such a fun word. It simply means bubble like. Here is an excellent example of botryoidal chalcedony from Adventure Boy’s collection.

I could not devise a way to freeze the candy bubbles without them flattening. I settled on amethyst. Although this was an imperfect geode cake, it was important that the geology of the cake be correct. Notice that the cake is chocolate cake. This is because chocolate is brown and the dirt the rock is in is brown. The geode cakes we viewed on google images for inspiration all featured a gold border. Although this creates a visually stunning cake, most geodes do not have a gold border around the minerals. Below is an amethyst geode from Adventure Boy’s collection.

Here is a full tutorial and recipe for making homemade amethyst hard sugar candy for geode cakes. No matter what hard candy recipe you use, be sure to line your pans with aluminum foil and lightly grease the foil. I used a 11” x 7” baking dish to get larger crystal sizes. A 13” X 9” baking dish would be acceptable as well.

Remove your amethyst candy from the foil. Lightly hit it with a mallet to break it apart in pieces. Place the pieces in a ziplock bag and hit with a mallet again until you get the size of amethyst you would like.
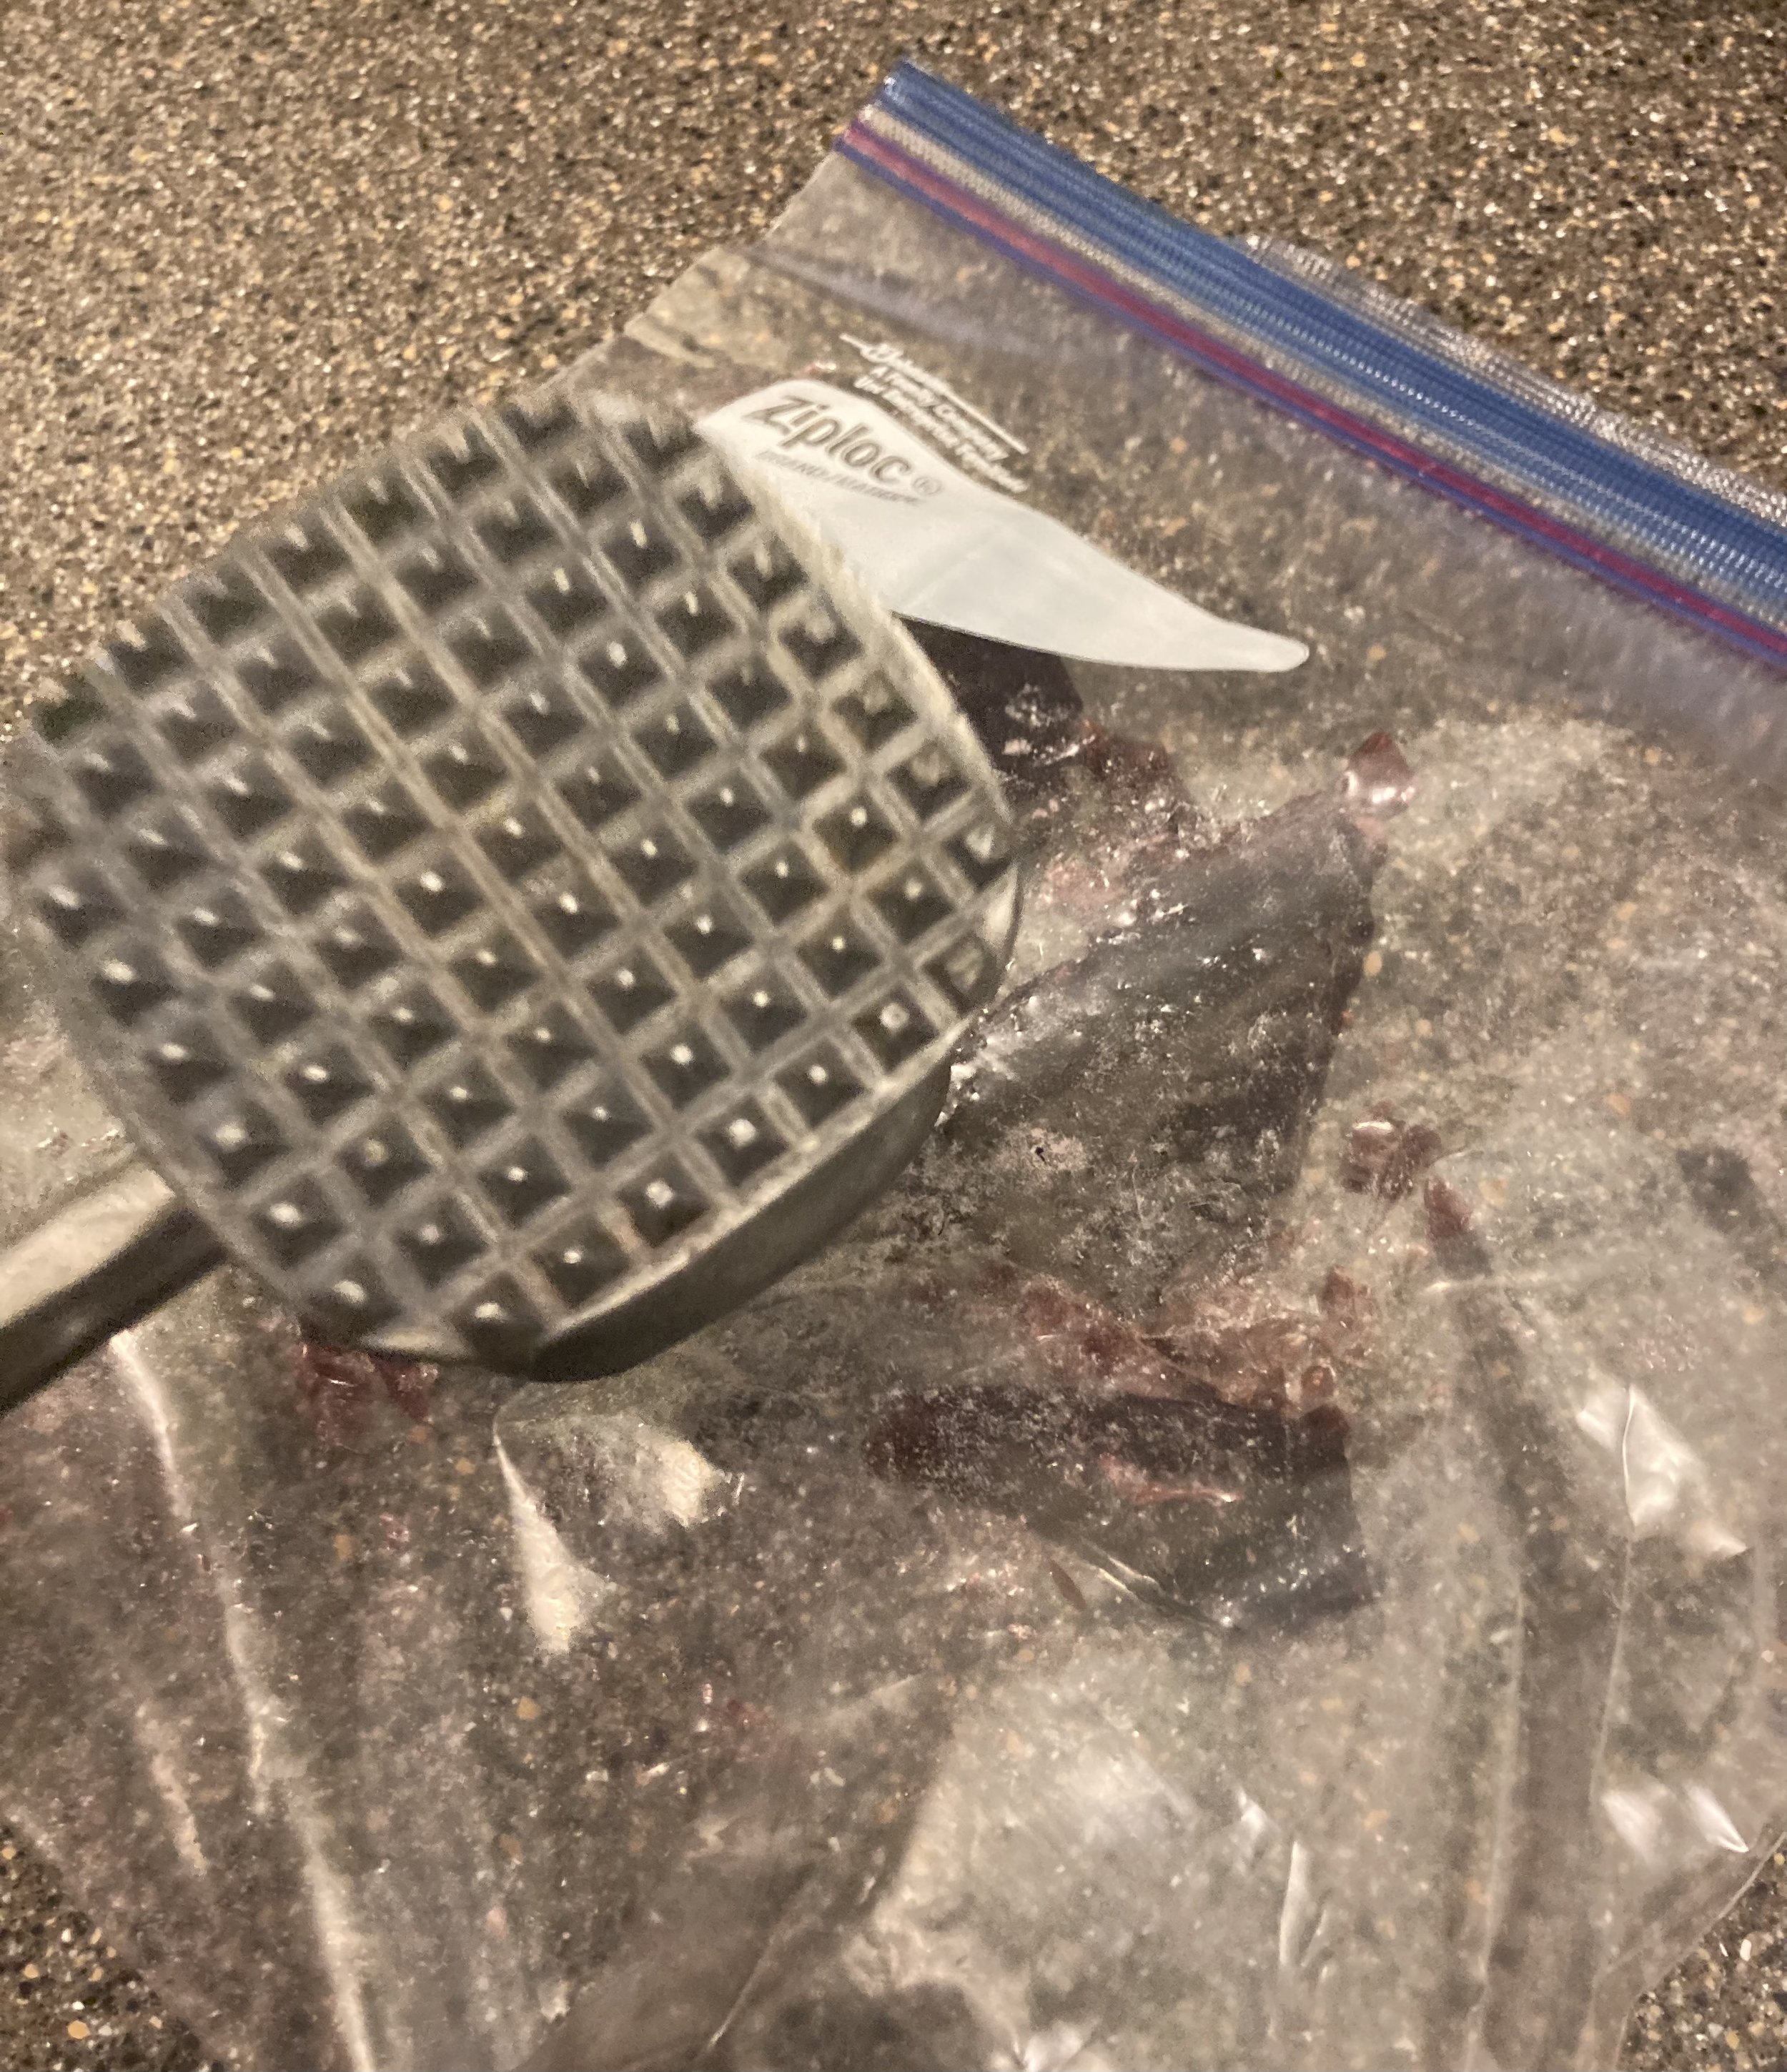
Sort the Amethyst pieces by size to be sure to get the perfect mixture of large and tiny crystals.

How to Assemble the Ice Cream Cake:
Now it is time to assemble your ice cream cake.
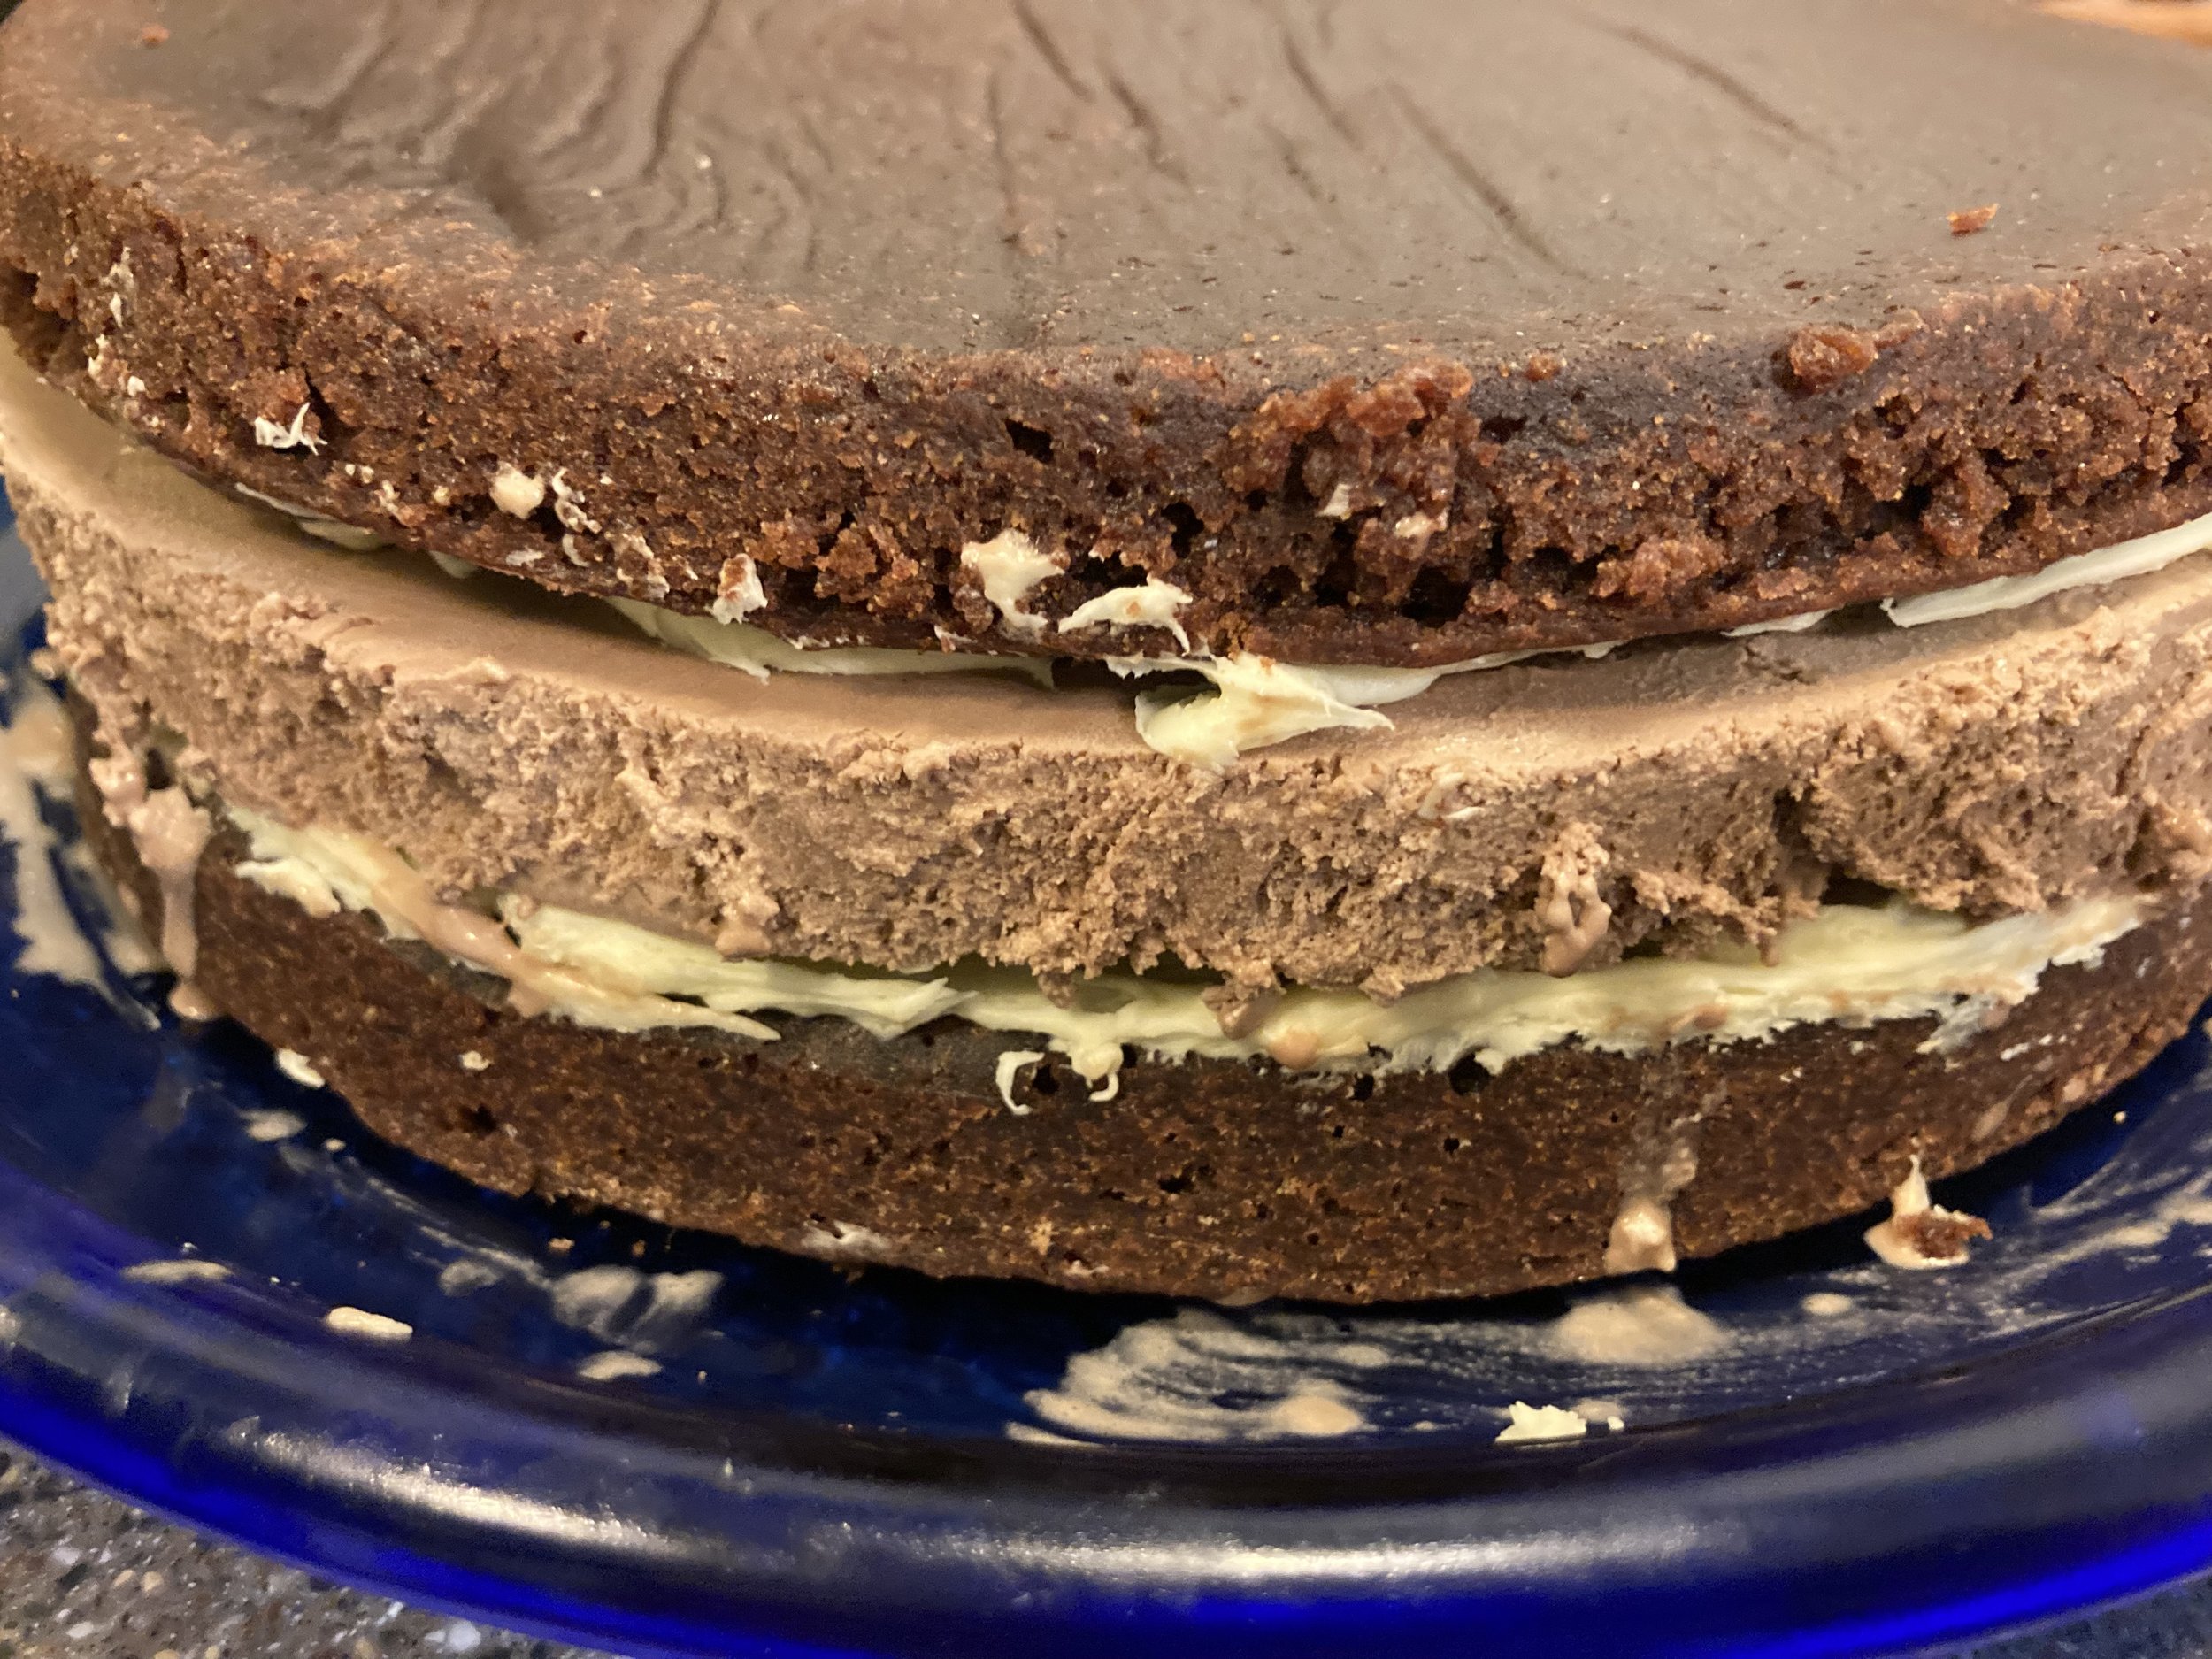
To assemble your cake place one cake layer so the flat part (bottom) of the cake is facing up. This creates a nice flat surface for the ice cream to sit on. Frost this layer to 1” from the edge. Remove your ice cream from the spring form pan. Place your ice cream on top of the frosting.
Frost the top side of the second layer of cake before adding it. This top side will actually be placed upside down on the ice cream layer. This makes a cake easier to frost smooth because the smooth side will be facing up although that comes down to preference.
From the top of the cake down you will have: cake, frosting, ice cream, frosting, cake.
Creating the Geode and Frosting the Ice Cream Geode Cake
Many geode cakes have the geode opening on the side of the cake. This birthday cake is not very tall. It only has two cake layers and one ice cream layer. The geode opening needed to be on the top of the cake. We will temporarily ignore the geology fact that geodes are round. After much discussion in the household, it was determined that digging a hole in the middle of the cake would look weird even if it was more accurate. A jagged line was cut from the first cake layer and ice cream was scooped out. In hindsight we would have made this opening even more jagged because the frosting and amethyst crystals smoothed the details out.
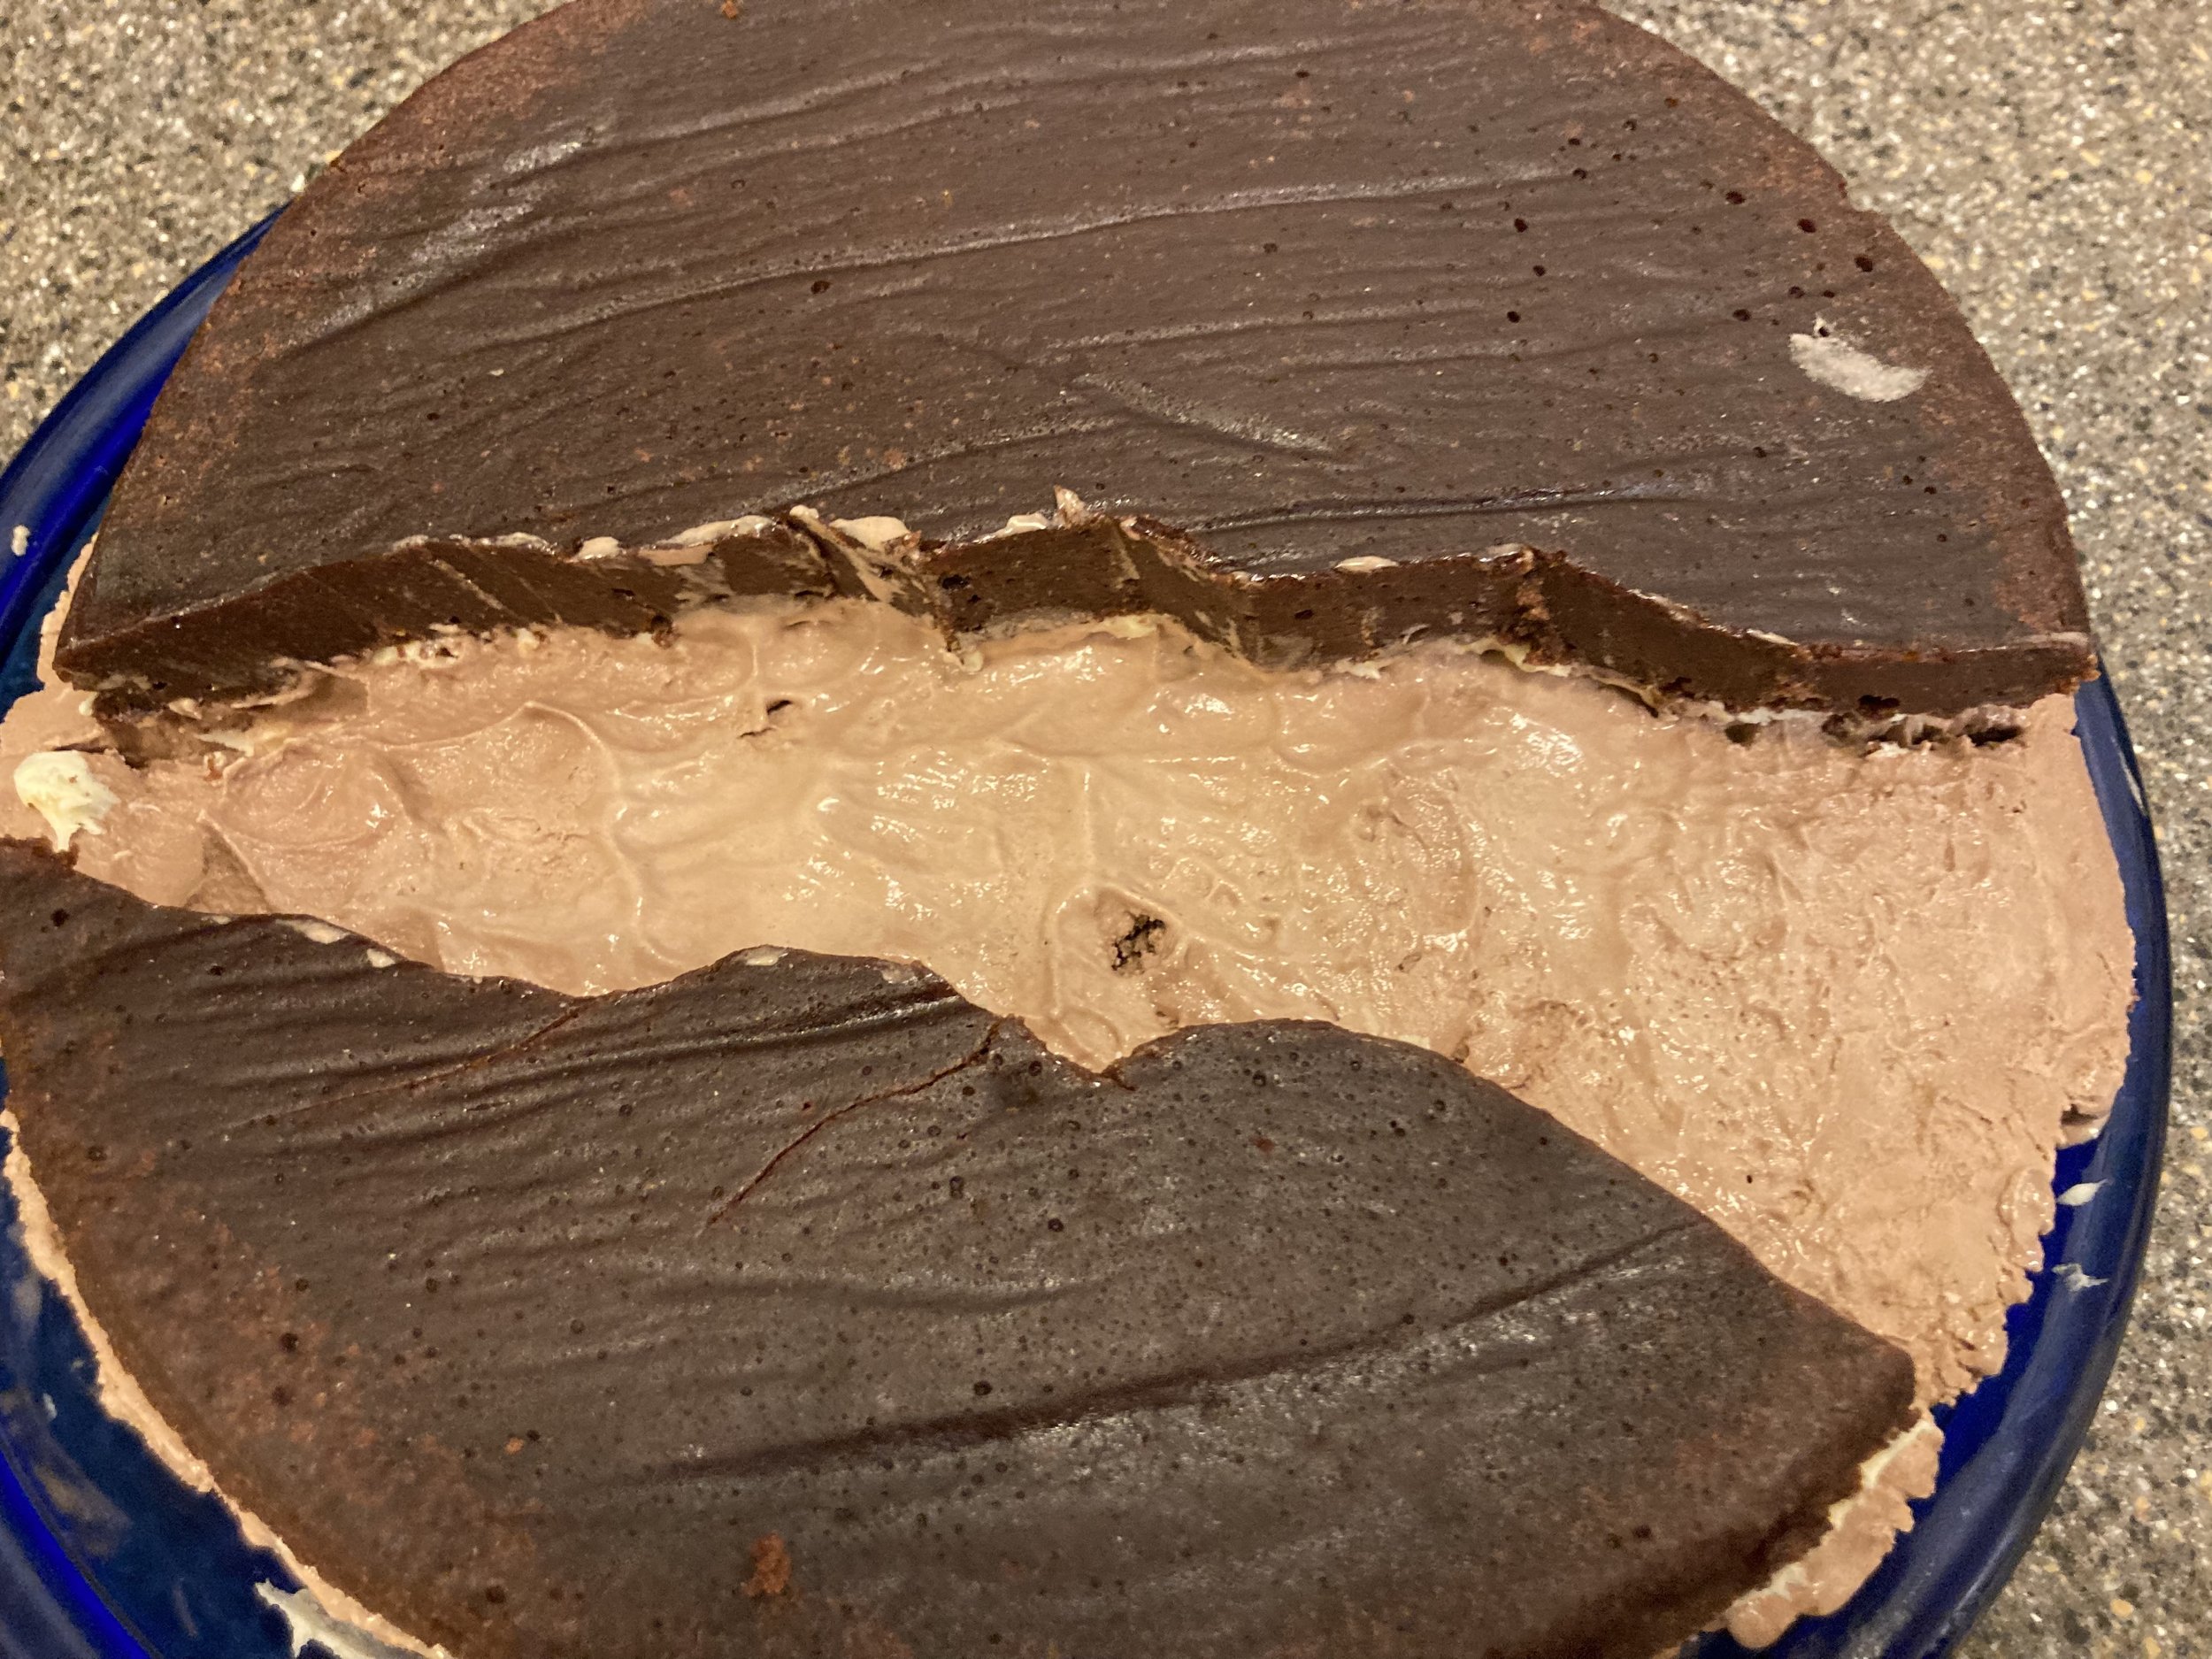
After cutting your geode open, return the cake to the freezer for a minimum of half an hour. If at any point you find your ice cream is getting soft and “squishing” out the sides simply scrape the sides clean and return your cake the freezer.
Your whole cake now needs to be frosted, including in the geode crack. It is the frosting that holds the amethyst crystals in place. After frosting your whole cake, return the cake to the freezer for 15 minutes to firm up your ice cream. You do not want to freeze the frosting fully because your amethyst crystals will not stick.
After 15 minutes in the freezer, it’s time to decorate the geode! This geode has a light purple rock layer surrounding the crystals.
When your cake in finished place it in the freezer for at least 2-4 hours to finish freezing everything. Remove from the freezer 15 minutes before serving. The ultimate irony is that in the end, after trying to keep the cake frozen while decorating, you need it thaw slightly before cutting.

How do you embrace imperfection? By doing it and sharing your results with others to encourage them to do it too. Is this a perfect cake? Oh my gosh, no. Did both of us learn something about cake decorating? Yes! I want to encourage you to try. Even if your cake is imperfect, there is love in it. Birthdays do not need perfect, they need love.